| 09-30-2018, 09:36 AM | #45 | |
|
Private
 
103
Rep 96
Posts |
Quote:
Are you all going genuine M-Performance parts or are you going IND, e-bay, Alibaba and the likes ? |
|
|
Appreciate
0
|
| 10-02-2018, 06:34 PM | #47 |
|
Performance Attaché

57
Rep 54
Posts |
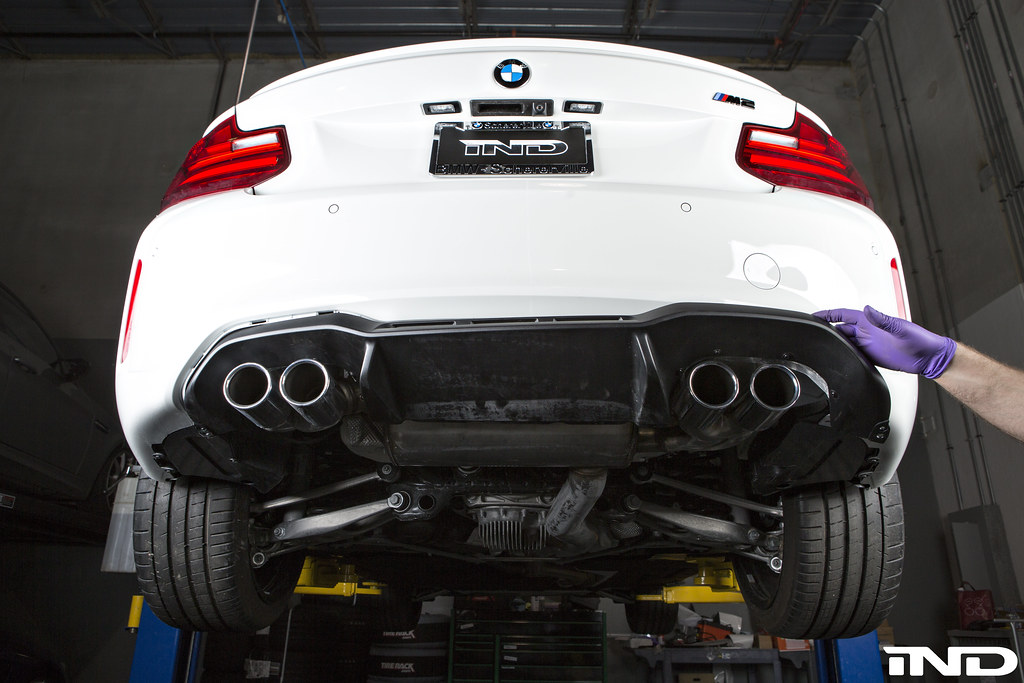
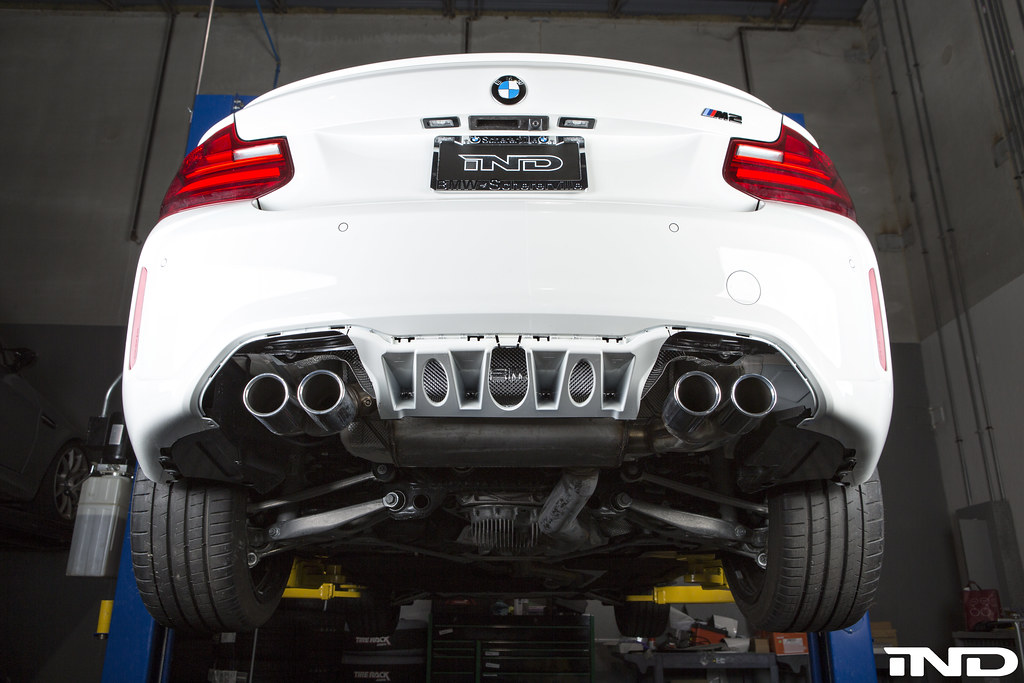
Did this today and here's my take...
What a ROYAL P I T A!!! Bolts and push pins were nothing, obviously. The ends of the stock diffuser came out fairly easily. I tried the pry tool method on the middle tabs with little success. It came down to wiggling and muscling the OEM unit out. I'm not a dandy, but my hands sure paid the price. And, I feel certain there was some minor damage to the female lip of the bumper where the tabs go. The M Performance C/F diffuser (thanks SunMotorsBMW) went in without a hitch - except for one tab. Had to reach my arm around and over the exhaust to push from the back side. WE HAVE ENGAGEMENT!! In the end, the new unit fits perfectly and looks great. Glad I tackled the job and always enjoy the challenge of doing things myself. Good Luck!! |
|
Appreciate
0
|
| 10-02-2018, 07:31 PM | #48 |
|
Major
 
1042
Rep 1,345
Posts |
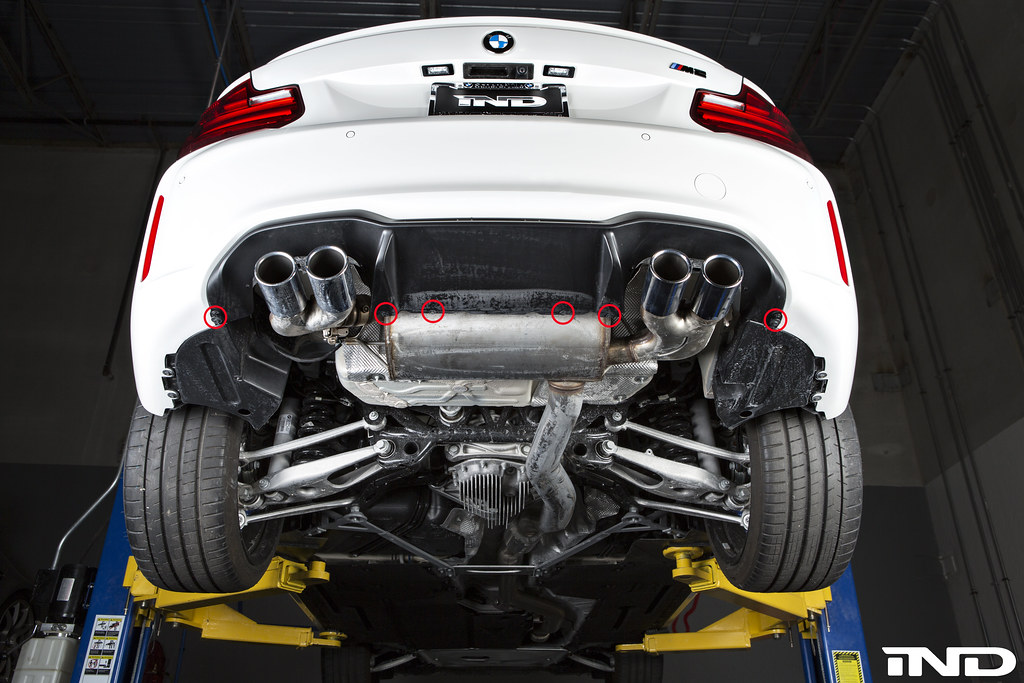
Yep, definitely a hard job. I think it's important to note the where the notches are on the tabs. I filed down a couple carbon tabs to make them go in more easily.
|
|
Appreciate
0
|
| 10-10-2018, 08:14 AM | #49 |
|
Second Lieutenant
 253
Rep 221
Posts |
Not sure why people stuggle with this so much
Removed my stock piece in 10 min max with 0 issues or damage - longest part was taking out the pop rivets Install was super easy MPerf diffuser was back on in 4-5 min Was my first time also |
|
Appreciate
0
|
| 10-10-2018, 09:39 AM | #50 | |
|
General Moron

247
Rep 158
Posts |
Quote:
|
|
|
Appreciate
0
|
| 10-10-2018, 10:11 AM | #51 |
|
Second Lieutenant
253
Rep 221
Posts |
The key is to place one hand on the bumper and then do a very quick sharp yank motion directly towards you on the stock diffuser at the tab areas - that will pop the tabs out safely - no need for pry tools or anything
Slowly pulling and prying flexes the plastic / urathane and causes cracks / tears the stock parts although at the surface seems like the safer way to do it by going slow - its more likely to cause damage 🤙🏻 Last edited by eatingpizzainthef87rules; 10-10-2018 at 10:18 AM.. |
|
Appreciate
0
|
| 10-24-2018, 01:50 PM | #52 | |
|
Lieutenant
276
Rep 466
Posts |
Quote:
Theres a place local to me that allows me to rent out a hydraulic car lift for only $15 an hour, wondering if it's worth it to do that while I install the Diffuser, Side Skirt, and Front splitter. Do you think it's worth doing that to make it a bit easier or should it be easy enough with just a car ramp I purchase from walmart? Also I'm assuming this is similar instructions to what I'll need to do on my M2 Competition? |
|
|
Appreciate
0
|
| 10-27-2018, 04:04 PM | #53 | |
|
Private
103
Rep 96
Posts |
Quote:
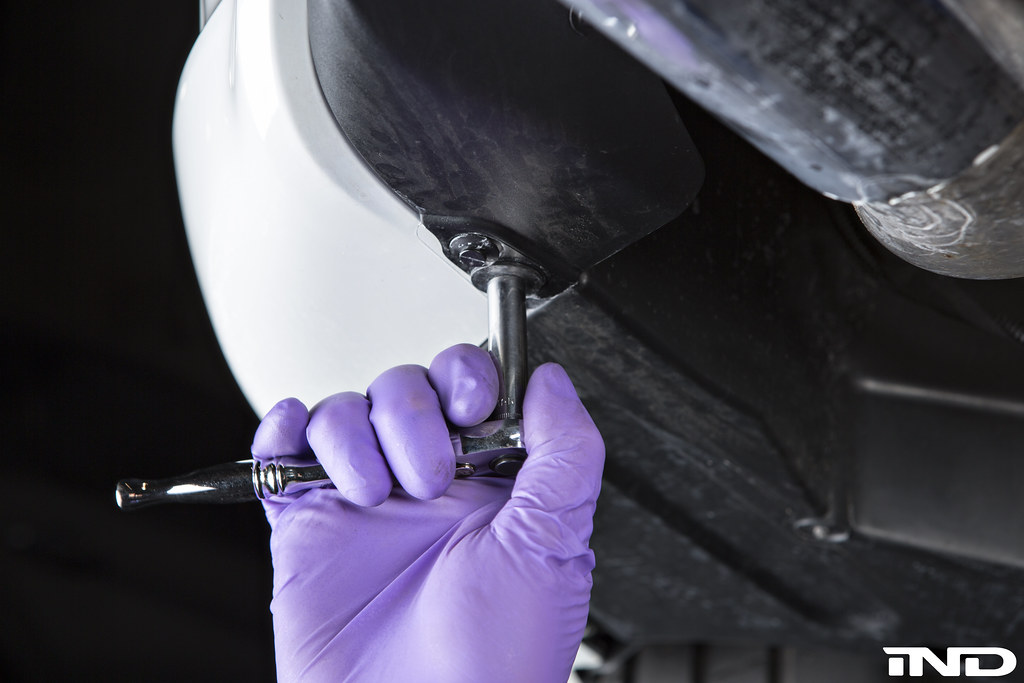
Of course it takes 5 more minutes for opening that shield but working from the inside gave me the security I was looking for. I didn't want/dare pulling blindly on the stock diffuser and ending up with a broken tab or a damaged diffuser. By doing that it took me 15 minutes all together but without any brute force. Just gentle traction while pulling down the tabs from the inside with a screw driver.  |
|
|
Appreciate
0
|
| 02-23-2019, 08:52 PM | #54 | |
|
Life is on the Track, the rest is just waiting.
381
Rep 731
Posts |
Quote:
 wait for warmer temps and remove heat shield to work on tabs from back. wait for warmer temps and remove heat shield to work on tabs from back. |
|
|
Appreciate
0
|
| 02-23-2019, 09:21 PM | #55 | |
|
Major General
 
10656
Rep 6,937
Posts
Drives: 2018 M2 AW DCT
Join Date: Aug 2012
Location: Seattle, WA
|
Quote:
|
|
|
Appreciate
1
chief1richard381.00 |
| 02-24-2019, 12:26 PM | #56 | |
|
Second Lieutenant
87
Rep 260
Posts |
Quote:
|
|
|
Appreciate
1
DanG10656.00 |
| 05-11-2019, 05:15 AM | #57 |
|
Private First Class
 58
Rep 110
Posts |
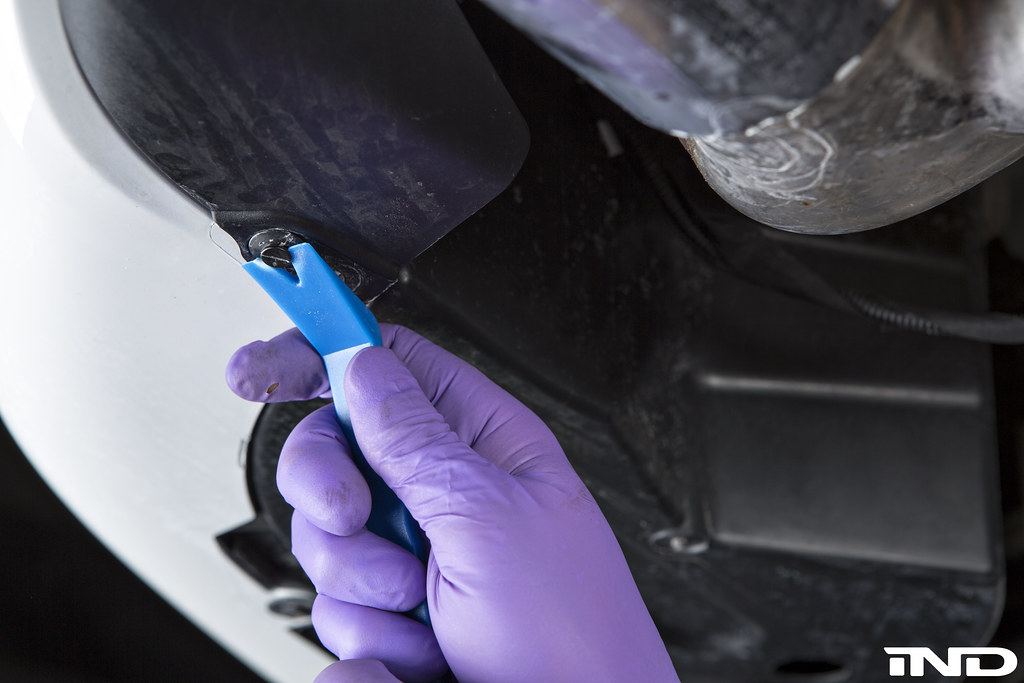
I put mine on last night and I didnt think it was to bad. I used plastic trim removal tools to release the clips which made t a lot easier.
Mike |
|
Appreciate
1
IND-Distribution9586.50 |
| 07-13-2019, 11:52 PM | #59 |
|
Brigadier General
3279
Rep 3,256
Posts |
Just finished installing. Oddly enough, not much of a problem removing, just took a bit of force. Installing was a bit more difficult as the driver side really didn’t want to go in. Eventually got it though.
Found the 2 extra pieces that fell out after I pulled the stock diffuser out. Any idea what those are for? Like everyone, left them out. Assuming this is fine. |
|
Appreciate
0
|
| 05-05-2020, 01:23 PM | #61 | |
|
BimmerPost Supporting Vendor
9587
Rep 10,877
Posts  |
Quote:

__________________
|
|
|
Appreciate
0
|
| 05-24-2021, 10:33 AM | #64 | |
|
Yoda of mods
1673
Rep 3,005
Posts
Drives: X5 RWD
Join Date: Feb 2018
Location: NC
|
Quote:
__________________
Current: 2020 Explorer ST (Agate Black Metallic), F15 SGM RWD
F87 AW (retired) F30 SBM 316rwhp/440rwtq (retired) Follow me on Twitter: https://twitter.com/EdwyerCLT YT: https://www.youtube.com/@DWYERGARAGE/videos |
|
|
Appreciate
0
|
| 09-03-2021, 12:03 PM | #65 |
|
Captain
137
Rep 718
Posts
Drives: N/A
Join Date: Jan 2009
Location: Phila, PA
|
Try to install the BMW CF diffuser on my M2C, the tabs wont go in no matter what angle I tried... Spent 2 hours still cant them push in... Should I ask my dealer to install it? Any other tips?
__________________
2021 F87 HS M2C
2018 F80 SO M3 (SOLD) 2016 F80 AY M3 (SOLD) 2014 F10 M5 LCI (SOLD) 2011 VO 1M (SOLD) |
|
Appreciate
0
|
| 07-11-2023, 02:06 PM | #66 |
|
Registered

0
Rep 2
Posts |
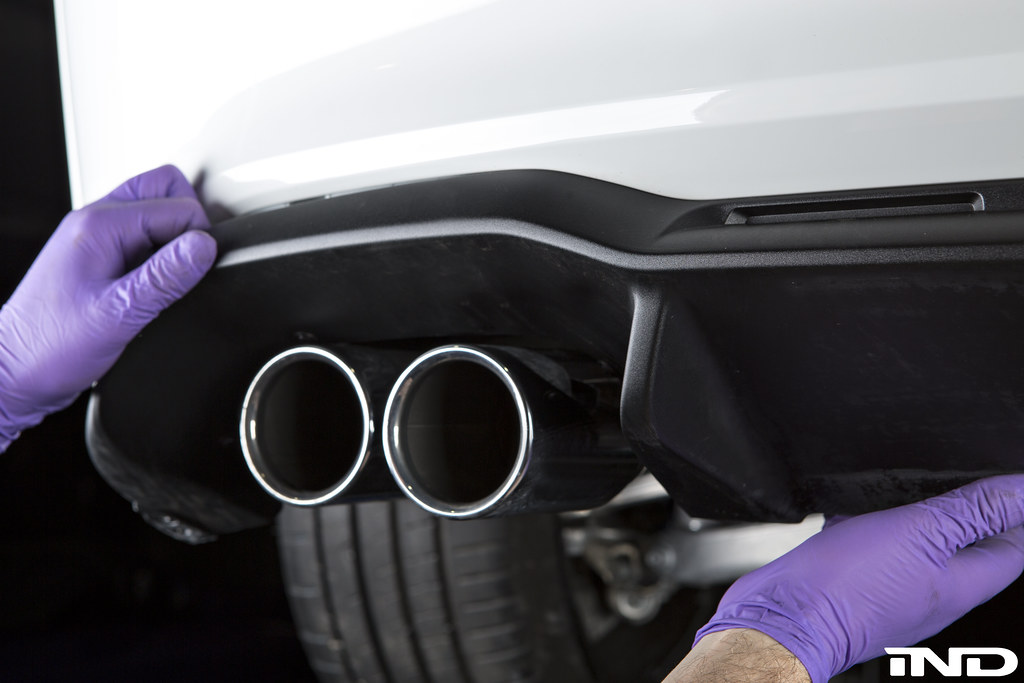
Fitted tonight. About 20 mins, the centre studs are a little tough but worked outsides in and it wasnt so tough. Juts a tug as close to each one as possible. New one went on very easily, but you do need to give it a firm push, again working outside ones in. Well happy with the results!
|
|
Appreciate
0
|
Post Reply |
| Bookmarks |
|
|