| 03-18-2020, 03:16 PM | #25 |
|
Private
 98
Rep 84
Posts |
this week I had 4 week days off so I started an intensive clean up , started with the brake disc bell's and wheels
using a rotary wire brush to clean off the dirt & corrosion  then they looked like this   then a coating of special aluminium paint and fitted spacers at long last!   cleaned up the wheels and coated them   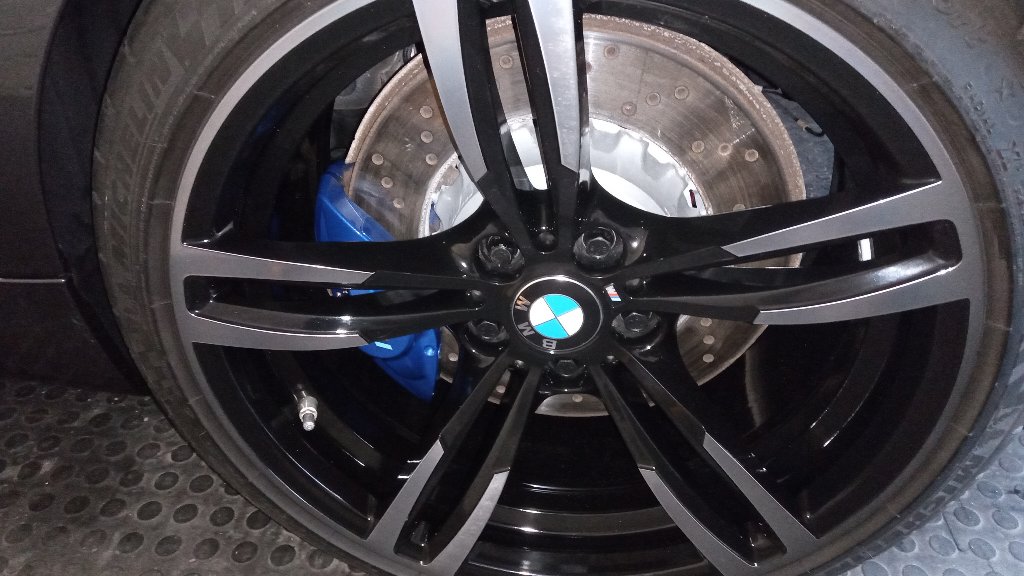 And cleaned the wheel arch liners whilst I was there!  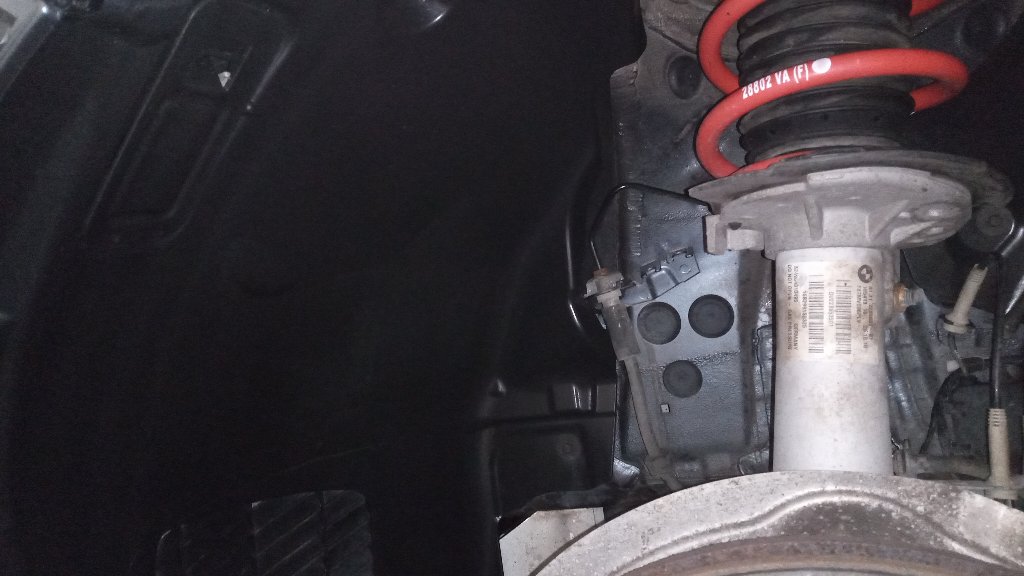 12mm spacers on the rear, I think I need 10mm like the fronts 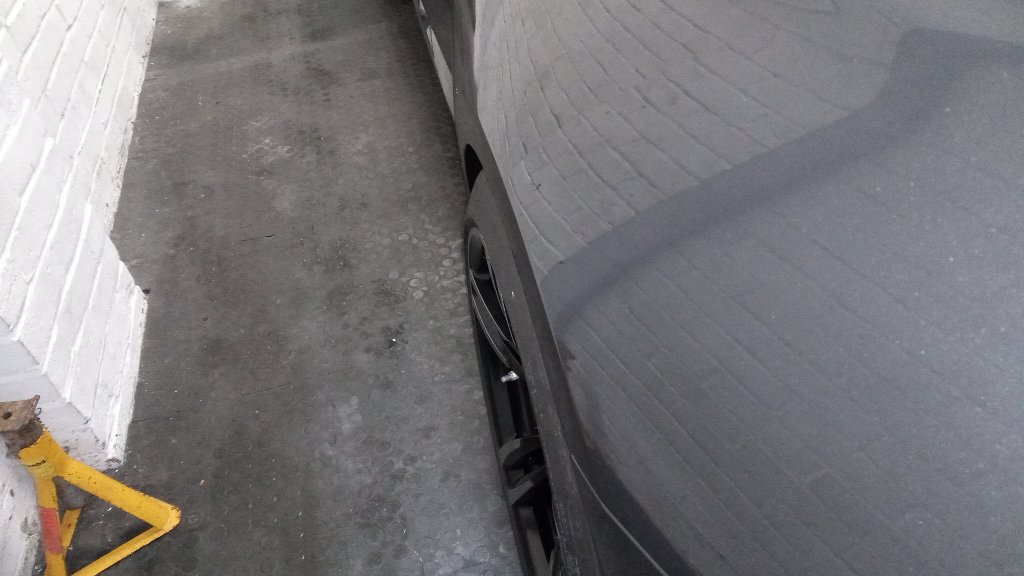  |
|
Appreciate
0
|
| 03-18-2020, 03:17 PM | #27 |
|
Private
98
Rep 84
Posts |
Part II
so the usual format of boring noisy machine polishing in the garage trying to get out as many scratches etc as I can then it looked like this    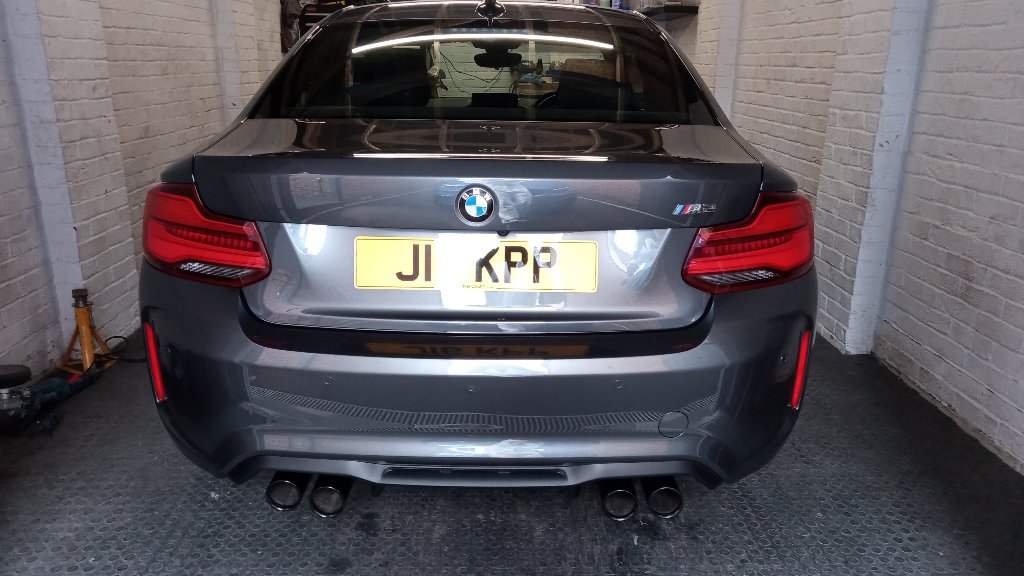    So it was only today with a break in the weather that I had chance to photograph it, I could'nt drive to an old industrial estate or a sh1tty old tunnel full of graffiti in this weather to take 3000 pics so you'll have to settle for outside the house ,for now! It's on the H&R springs now too       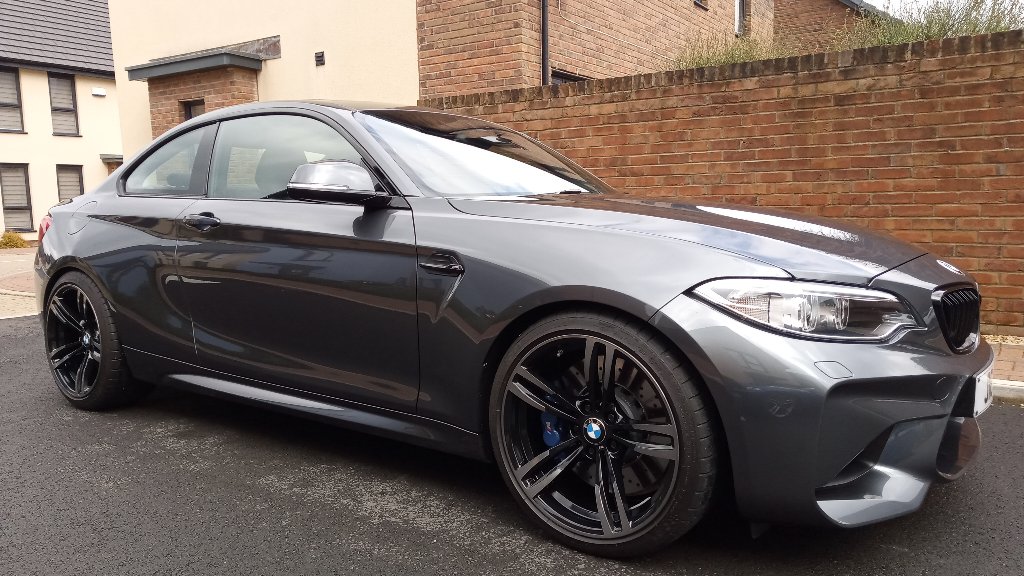   |
|
Appreciate
1
P111569.00 |
| 03-20-2020, 08:47 AM | #30 |
|
Private
98
Rep 84
Posts |
Had a nice dry sunny day last week so drove down my well known test road to fully test the H&R springs, they handle nice and flat but have shown up a few flaws with the shocks mainly ,seemed to understeer a bit more on my favourite roundabout as opposed to the oem springs and some lumpen roads had made the rear shocks bottom out slightly ,fronts were fine, but nowhere near like an E92 M3 lowered without shaved mounts and bumpstops, I may look at trimming down my rear bumpstops for this or new bilstein shocks but anyway thats on hold at the mo working for British Airways and this silly corona!
Some pics   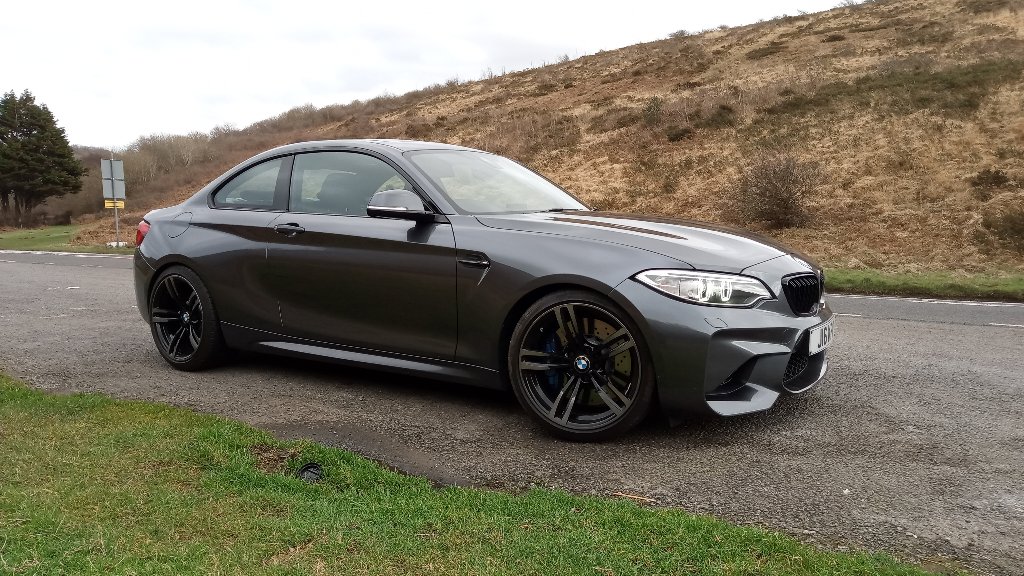 Was lovely to have the sunroof open, I havnt had one of those for years,not since my E36 days!  |
|
Appreciate
1
P111569.00 |
| 03-20-2020, 08:48 AM | #31 |
|
Private
98
Rep 84
Posts |
Another slight mod, I like the clocks on the pre LCI M2 but whats always bugged me is the white fuel gauge needle! why didnt they make it red like the speedo and rev counter is beyond me! so anyway had an idea that i did to an old E36 15 odd years ago , I could make the needle red myself ,so I did,heres how ,I did'nt want to paint it as it would look rubbish with brush marks etc and if it turned out rubbish I can't put it back oem so I ordered some different colour samples of red vinyl wrap for 99p
Here's my samples ranging from dark to light red, best match was the orangey light red so I used that  Removing the instrument cluster is easy, disconnect the battery , then theres two torx screws at the top, undo those and the cluster pulls forward ,then there are two plugs to disconnect, easy ,and you need the steering column far down and far out to aid access on removal   With the cluster on the table next thing was to remove the four small torx screws and unclip the clear plastic face, easy  next I roughly measured a strip to cover the needle then cut it out with a brand new scalpel , this is essential as a stanley knife simply wont cut it, excuse the pun , then place it over the needle and using some thin card under the needle to protect the cluster face i carefully trimmed the vinyl with the scalpel to suit, no pics as it was quite intense and needed a steady hand! red needle on before the clear face is fitted  clear face fitted back on  refitting is reversal of removal Illuminating! 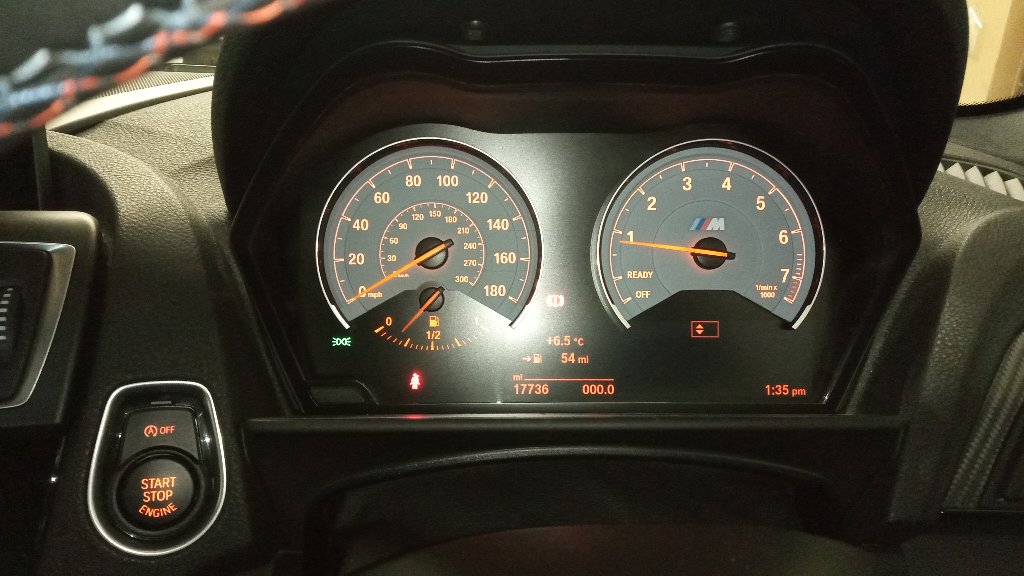 lights off!  All in all im quite pleased with the outcome 99p for the vinyl and a 2 quid scalpel! Still needs an oil temp gauge mind! Last edited by KevM3UK; 03-20-2020 at 03:14 PM.. |
|
Appreciate
0
|
| 04-29-2020, 05:59 PM | #32 |
|
Private
98
Rep 84
Posts |
A mild underside refresh next, looks quite grim underneath for a 3 year old car, mind it did reside in Scotland for a while ,so anyway something to do on my four days off! here we go then
Starting with the N/S front , stripping down in progress , wheel bearing removed  hub off    all stripped out 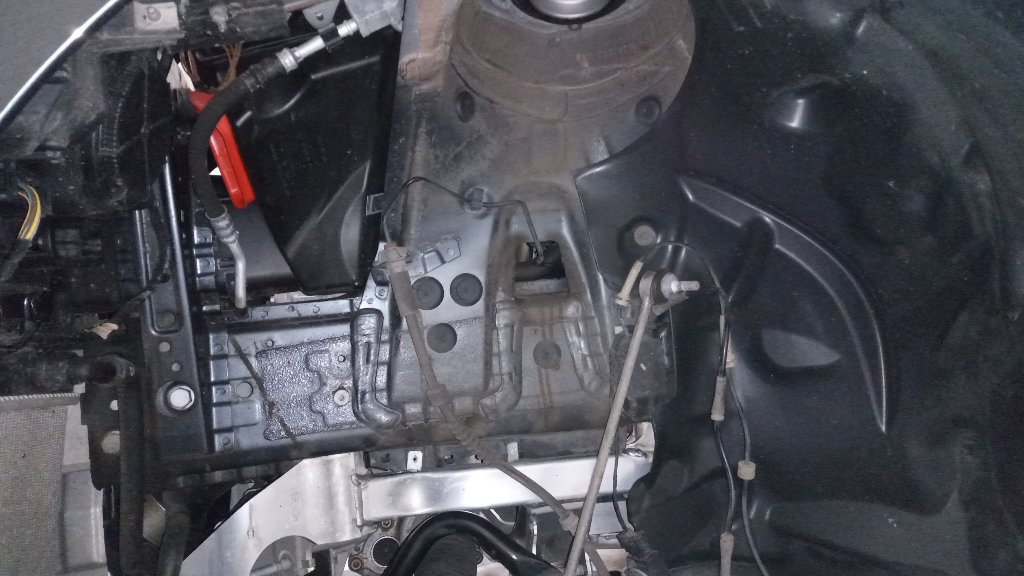 cleaning components in a special solution 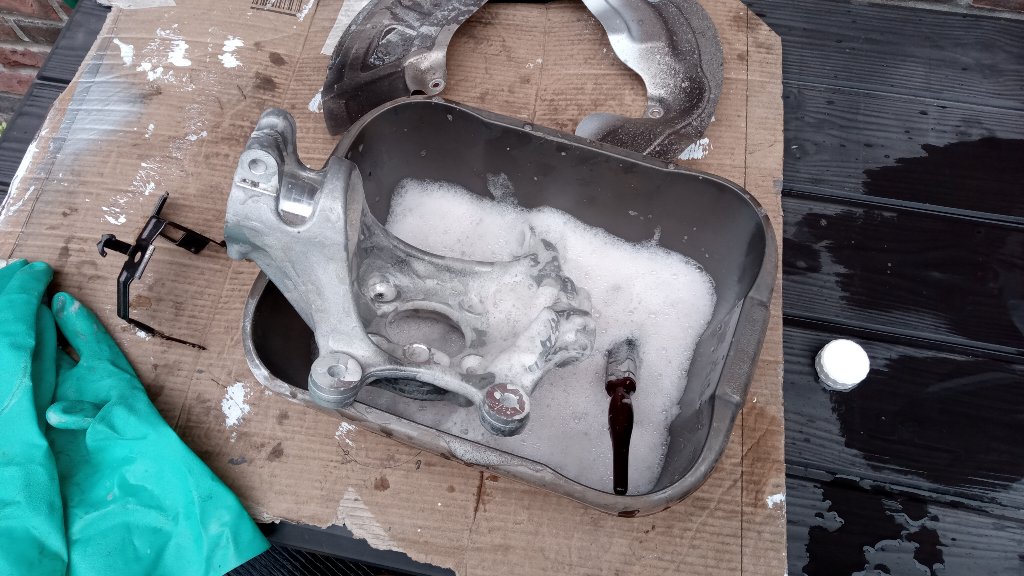 cleaned and ready for paint  Now whilst everything is removed I removed the plastic arch liners, on the M2 they employ a similar design to the E46 ,having a V channel on the lip of the steel wing and we all know about this on older 46's! so i'm taking no chnces and nipping this in the bud before any corrosion manifests itself ! Applying a liberal coating of CPF ,corrosion preventative fluid    also invested in a set of carbon mudflaps, or stoneguards as we call them now  cleaned up liners  and behind the wing lip  applying the CPF  liner refitted along with the carbon stoneguard   refreshed components refitted     |
|
Appreciate
0
|
| 04-29-2020, 06:01 PM | #33 |
|
Private
98
Rep 84
Posts |
A mild underside refresh next, looks quite grim underneath for a 3 year old car, mind it did reside in Scotland for a while ,so anyway something to do on my four days off! here we go then
Starting with the N/S front , stripping down in progress , wheel bearing removed hub off all stripped out cleaning components in a special solution cleaned and ready for paint Now whilst everything is removed I removed the plastic arch liners, on the M2 they employ a similar design to the E46 ,having a V channel on the lip of the steel wing and we all know about this on older 46's! so i'm taking no chnces and nipping this in the bud before any corrosion manifests itself ! Applying a liberal coating of CPF ,corrosion preventative fluid also invested in a set of carbon mudflaps, or stoneguards as we call them now cleaned up liners and behind the wing lip applying the CPF liner refitted along with the carbon stoneguard refreshed components refitted |
|
Appreciate
0
|
| 04-29-2020, 06:09 PM | #34 |
|
Private
98
Rep 84
Posts |
Following on from earlier ,the undertray had a good ol' seeing to also , all back on its wheels now , took 2.5 days in all , next week I start on the back end!
   Last edited by KevM3UK; 04-29-2020 at 06:45 PM.. |
|
Appreciate
0
|
| 05-07-2020, 03:46 PM | #35 |
|
Private
98
Rep 84
Posts |
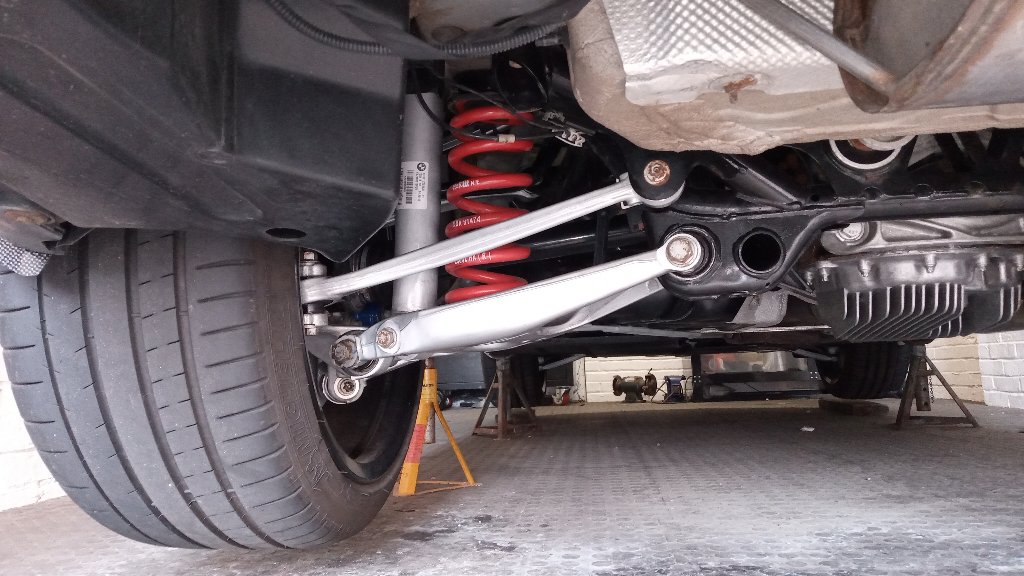
On to the rear corners this week, I'm not doing a full subframe and diff removal so its just the hubs and various arms etc
arch liners removed  discs and backplate removed  arms off,except that rear one in which the inboard bolt cannot be removed without dropping the subframe due to clearance issue's    parts cleaned and recoated    along with the hub assembly  along with the diff lower casing which was very crusty indeed      Now before fitting the rear shock mount I applied a coating of waxoyl as some of the underside is just primer and no underseal! I've witnessed first hand the effects of E92 M3s rusting underneath due to inadequate corrosion protection along with the horror show of rust in my old E46 ,poor show by BMW these days,nip it in the bud now is the key  waxoyled inside the arches  and the old E46 chestnut the rear bumper forward most clip, undone the nut and applied waxoyl  and new carbon rear stonegaurds , to match the fronts   Last edited by KevM3UK; 05-07-2020 at 04:18 PM.. |
|
Appreciate
0
|
| 05-14-2020, 02:24 PM | #37 |
|
Private
98
Rep 84
Posts |
About a month ago my HK amplifier stopped working, drivers speaker went first, in the end nothing,I removed the amp to find signs of water ingress dripping onto it, corrosion on the case and leaking through vent holes,I had to purchase a new amp and this is after BMW carried out the recall which consisted of a half baked plastic cover that dont even cover the whole amp and also the retaining tabs had broken off too ,anyway LTK came to the rescue with a new amp for me at a fraction of BMW's price, so a few weeks ago I set about making my own cover from sheet metal
BMW's inferior recall cover  New cover starts from this , 0.050" sheet aluminium  shaped to fit the amp    added a splash guard to stop water running down the sides  painted epoxy black  fitting it to the amp bracket   The boot vent in this photo is the main cause of water ingress I believe  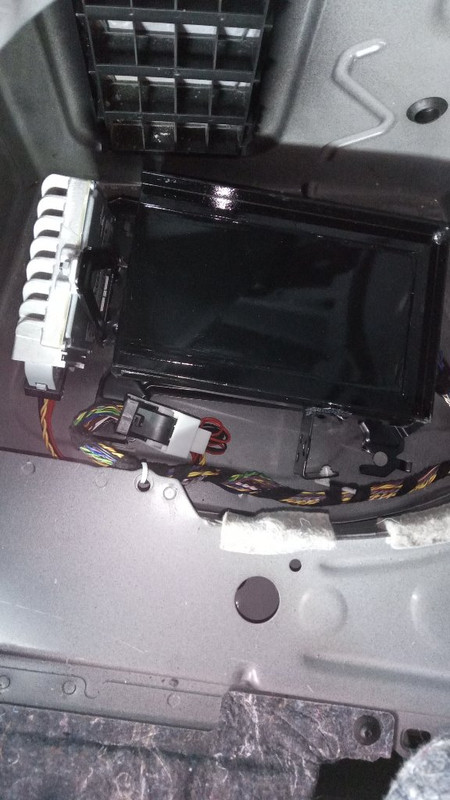 Hopefully this should keep it dry and also there's enough space around it for the amp to cool/breathe |
|
Appreciate
0
|
| 08-19-2020, 02:56 PM | #38 |
|
Private
98
Rep 84
Posts |
So continuing on with the back end the underside has no treatment except a thin coat of primer and some underseal here and there, I know this first hand what problems this can present further down the line as my 92 went the same way, so the best remedy is to wax it now while it's still new(ish) so I bought a can of dynax uc and set about coating the exposed rear underside and subframe, the subframe had a good even coating as I massaged it on to every awkward surface whilst the wax was still wet
  [URL='https://postimages.org/']  [/URL [/URL |
|
Appreciate
0
|
| 08-19-2020, 02:57 PM | #39 |
|
Private
98
Rep 84
Posts |
Couldn't resist this for a tenner, a red start button, the comp pack m2 had it and looks better for it
gently prying the old one out   New button clipped in  Back in the dash 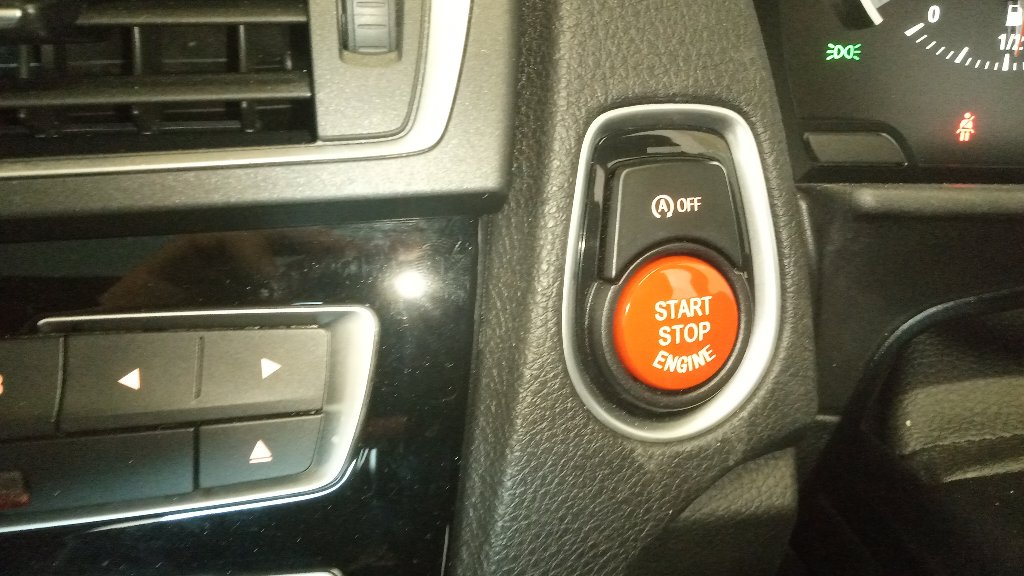 |
|
Appreciate
0
|
| 08-19-2020, 03:00 PM | #40 |
|
Private
98
Rep 84
Posts |
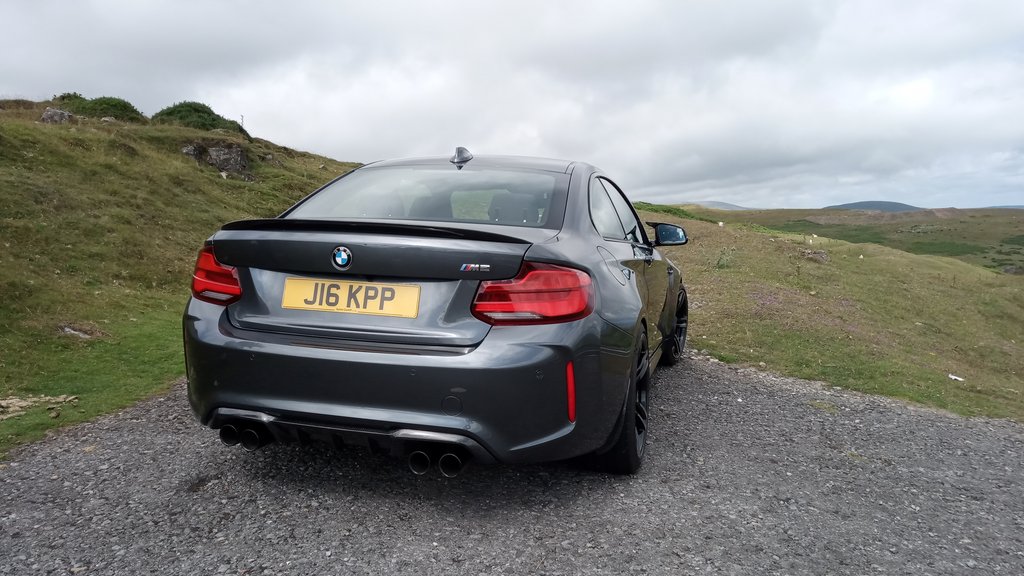
A few weeks ago I sold my oem performance carbon spoiler that I never fitted, I got almost my £290 back that it cost me and with it I bought this little lot, had a good coup on the m2 FB page, bought a carbon spoiler, diffuser and M mirror caps for £320! all reps but if they look sh1te I can always sell them on!
So fitting the rear spoiler, I did the donkey work a few months ago of removing the oem spoiler so I had a blank canvas to work from, I chose tiger seal to bond it on as double sided tape can lift in the corners, I have to say now that it's fitted the fitment is good, happy with it.   Diffuser  I had to fettle this a bit in order to get it fitting correctly, I had to drill the holes myself for the plastic rivets and the bottom four had no edge margin so the holes pulled through the material , so I had to reinforce the bottom edge with the cut off edge from a spare oem diffuser I bought for £12! 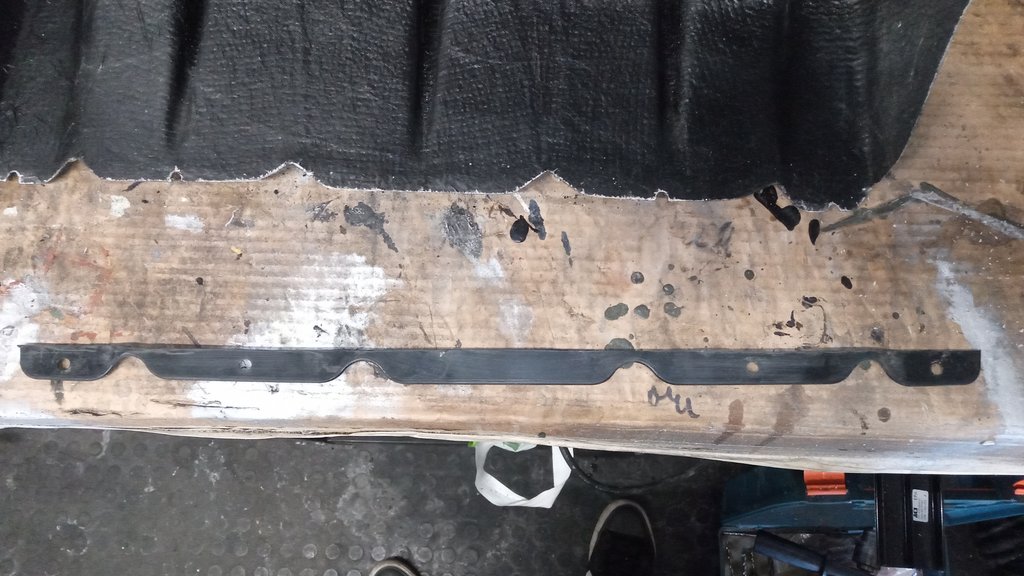  Also I had to pad out the retaining tabs with some cut up plastic from an old bin then bonded them on with tiger seal  Bit of a faff I know but I quite enjoyed it really, anyway its on now!      |
|
Appreciate
0
|
| 08-19-2020, 03:04 PM | #43 |
|
Private
98
Rep 84
Posts |
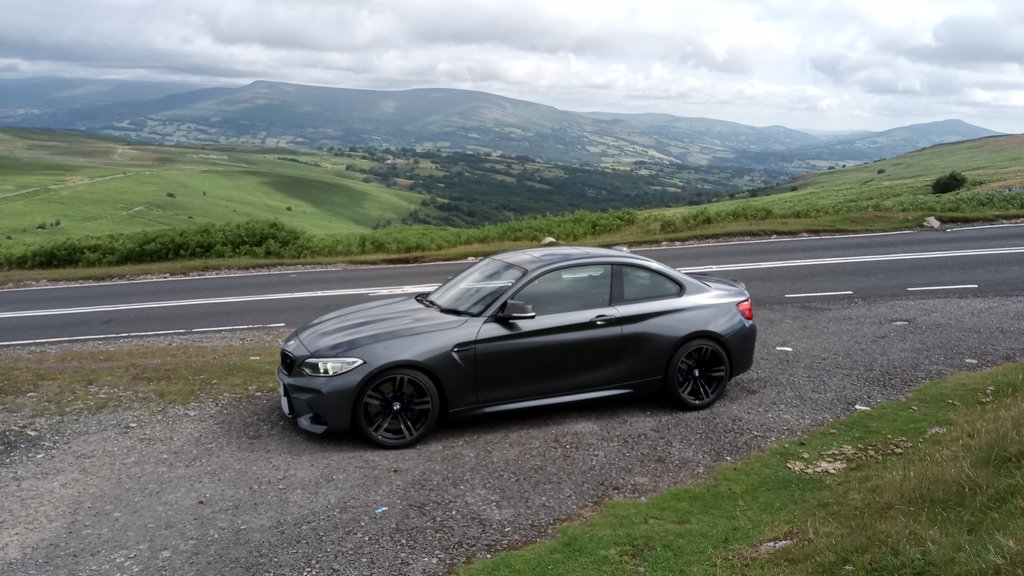
Bought these the other week 2nd hand ,Bilstein B6 shocks and Eibach springs,I fitted them two weeks ago, over that time I've been conduting various testing on various roads, I have to say i'm rather impressed, I now have more suspension travel with a lovely compliant ride ,this is due to the shocks, now the car just glides over bumps etc without wanting to spit you off the road! turn in is nice and sharp now but a bit more understeer than I'd like on a testing roundabout that I use as a benchmark.
Took it up the Beacons last week and it was truly amazing including the B4358 to Beulah ,now this is a testing road its like a rollercoaster and will challenge any car, I have to say it coped admirably. I'm loving these shocks on this car, should of left the factory with them! 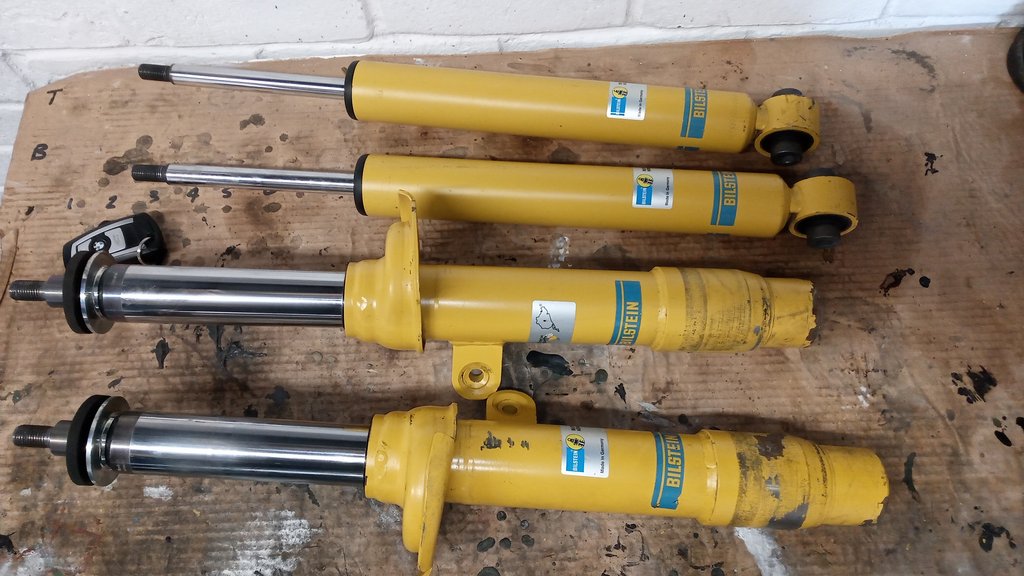  I removed the inserts out of the front shocks to trim the bumpstops by around 15mm to give back some suspension travel due to the lowering springs  standard length bumpstop  trimmed  Fitted  How it sits now   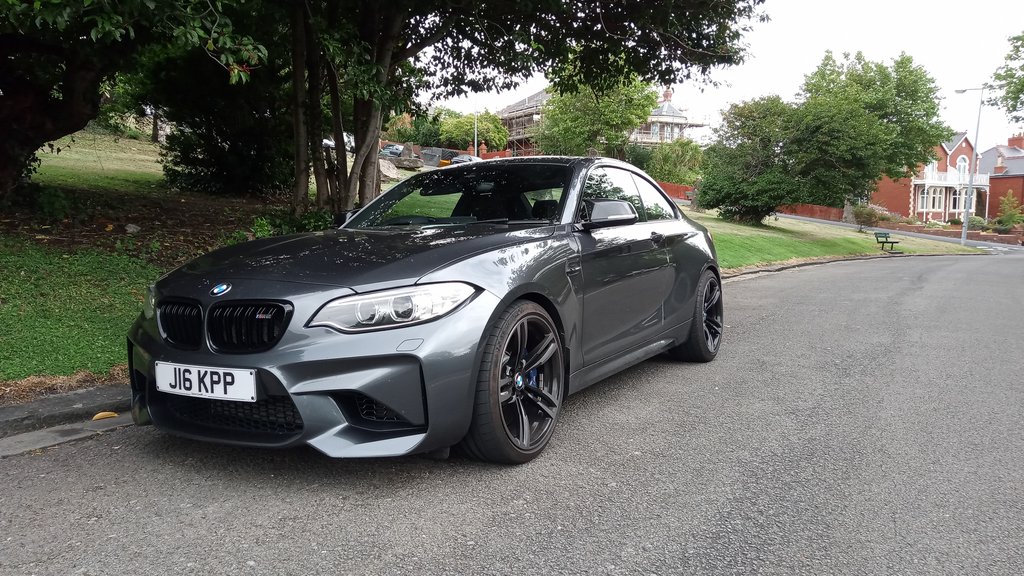 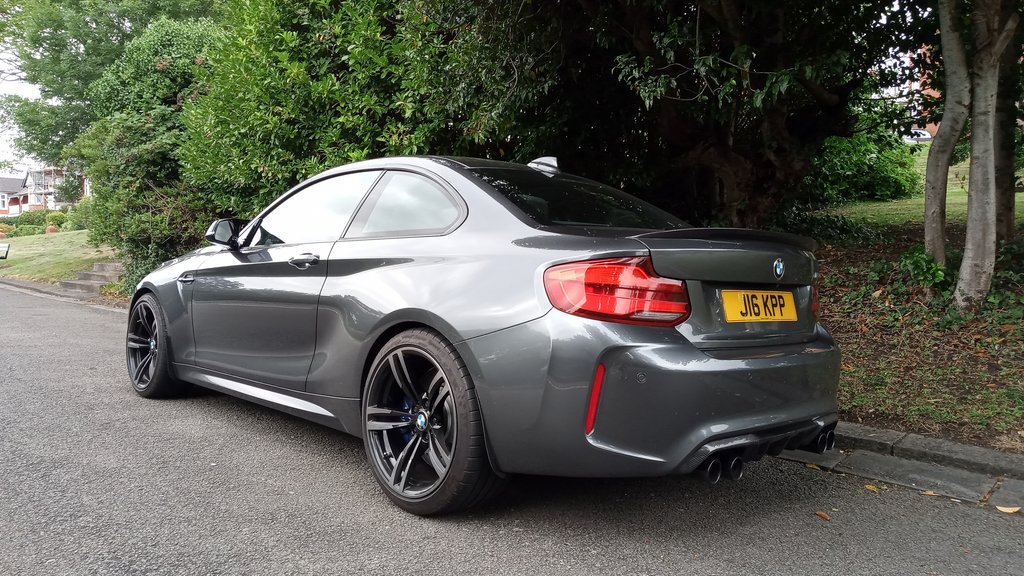   Up the Beacons   Misty Mountain Hop!  |
|
Appreciate
0
|
Post Reply |
| Bookmarks |
|
|


 [/URL
[/URL


