A step-by-step for how to do a
A) Valentine 1 Radar Detector hardwire
B) Concealed Remote Display integration into AC vent
C) Volume/Mute controller
D) Stealth Valentine 1 housing/mount on rear deck
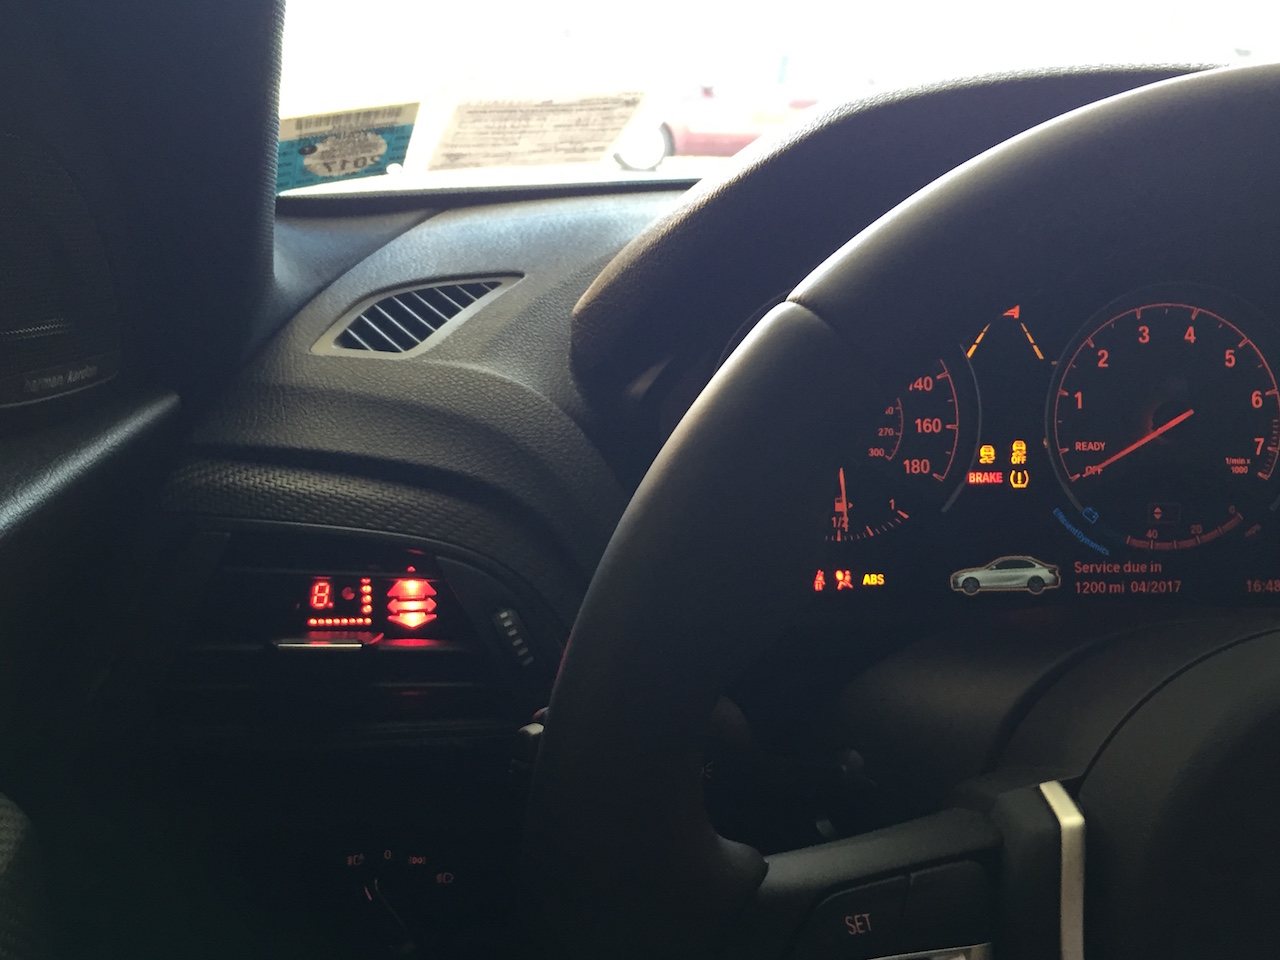


Ill start off by saying, this install is nothing special and takes no prior car/audio/electrical knowledge. Its pretty run of the mill stuff (hardwire, hiding wires) combined with a little attention to detail that comes together to make a nice clean install without any wires visible. My biggest gripes with having a radar detector was a) getting pulled over and having a ticket-magnet on the windshield/sunvisor and b) having someone break in for your goodies. With this stealth install, you have the benefit of a hidden detector, a display for the detector in an ergonomic location, and a mute button/volume control by the iDrive controller all while retaining that OEM+ look.
The radar detector is hidden in an recycled motion detector housing found on eBay (e39 or e46 motion detector housing). The unit is situated on the rear deck, wrapped in alcantara to blend in. Orienting the front and rear slats with the sensors allows the radar detector to preserve its laser detection capability (Ive tested and confirmed that laser still works, although I cant speak to whether its less sensitive or not). There is no compromise of radar detection since the sensors still have full front/rear view of the car.
Additionally, if you dont want to do the full monty here, you can pick and choose which parts of the install you want. Before I had all my supplies/time to install, I rode around with just the hardwired V1 on the sun visor with the remote display in the AC vent. Enough chattin, read on for the meat/potatoes and post comments/questions below.
Supplies:
Valentine 1 (hardwire kit included)
Remote Display
Remote Audio Controller
E39/E46 Motion Detector Housing
20, 16, and 8 RJ-11 telephone cord (8 included with V1)
Youll want the flat-type, not the coiled, to help facilitate tucking the wires.
Alcantara/Leather/Fabric, your choice
3M super 77 spray adhesive
Sugru moldable rubber, pitch black 8pack
Masking Tape
Zip ties
Scotch lock wire clips / spade connectors
Tools:
Dremel
Wire cutters
Pry tools for interior
Difficulty: 2/5
A) Hardwire
Essentially same process as other 2014+ bmws..
Link:
http://f80.bimmerpost.com/forums/sho....php?t=1026319
Video:
After removing the roof module as per the instructions in the links above.
Green/brown striped = positive, black/brown striped is ground. Cut the adhesive tape around the wires carefully to expose the wires and create some slack for separating/splicing.

Of note, f87 didnt have any ground screws up there, nor did I want to drill a hole. I changed the ground wire that came with the V1 hardwire kit to a spade connector similar to the positive wire. Search amazon for assorted splice wire (female)/ spade connector (male).


Use the Velcro-based adhesive stickers that came with the V1 to mount the hardwire unit to the roof.

Once all is connected, test the Remote Display and the V1 to make sure it all switches on with ignition! After you confirm, gently pull down the anterior roof trim near the top of the windshield, only to create enough room to snake the RJ-11 cords through. Route the wire along the edge of the windshield, over the A piller, and down the posterior edge of the A pillar within the rubber molding. On the driver side, we will have our Remote Display wire (8ft RJ-11), on the passenger side we will have the Remote Audio Adaptor wire (16ft RJ-11). Pry tools come in handy once again to help tuck the wire along edges.
