D) Concealed Radar Detector Housing
Time for some arts and crafts kiddos. I found the e39 motion detector housing off eBay for ~ $20. If you’re trying to remember where it was in the stock cars, it was on the interior roof towards the center of the headliner. I believe the e46 one was the same.
1) Remove the front and rear plastic slats. Disassemble the interior (if one came with your unit). Peel off the fabric gently since you will use this later as a template.

2) Test fit the V1. It will be at a slight angle in the anterior-posterior axis to allow the front and rear sensors to have maximum exposure through the two openings.

3) mark the outline of the unit, dremel away anything in the way of the V1 sitting flush against the housing. I found it best to remove the top cover of the radar detector and I fabricated a thinner cover using a thin plastic sheet. Shave away any edges to improve fitment. I marked what I needed to trim on the images below.


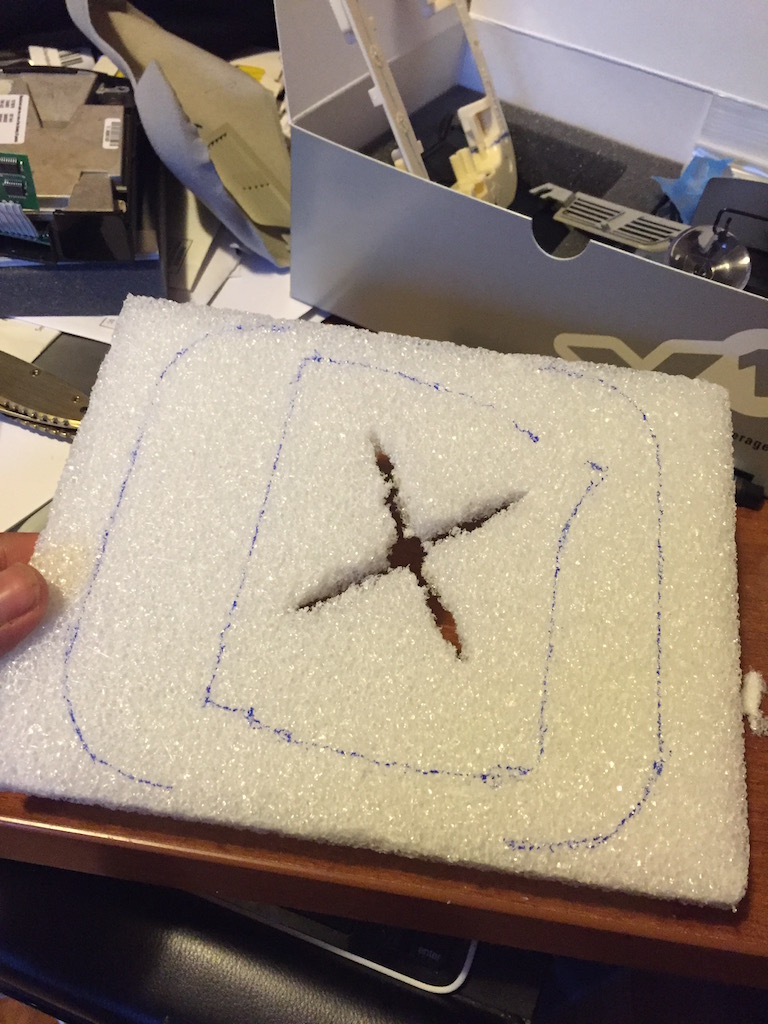
4) Get a couple sheets of high density foam from your local crafts store. Mark the outlines of the e39 housing and the RD in the appropriate orientations. Repeat with just a stencil for the e39 housing, this will be the 2nd layer (base layer). I then cut out sections on the top layer to improve line-of-sight detection on the valentine’s front and rear sensors.


5) trim all the extra foam, and tack the layers together. I used some pins I had saved from dress shirts, as well as masking tape. test fit the unit on the rear deck of the car and figure out the optimum angle. I found that to sit flush at the edge, without the possibility of passengers bumping into it, I made it have a slight rake. I added a 3rd layer of just a lip to make it sit flush in the grove between seats and rear deck.


6) I added the lip, glued all the pieces together with gorilla glue, then sanded/shaved everything until it was smooth and flush with the rear deck mounting location.
7) Time to it all look pretty. Primed and spray painted the plastic slats. I used leftover alcantara from a previous project to cover the e39 housing and the foam base. 3M super77 spray adhesive is the adhesive of choice for stretching fabric over these kinds of parts. Held the edges down with clamps thereafter and let it dry overnight.


8) Back to the vehicle, radar detector inside. I used black stitches to affix the e39 housing to the base, but you could theoretically use whatever you want for this step. I wanted something reversible in case I need to go back and muck around with something. I also used the same stitches to tack the base onto the rear deck since it was also reversible and wouldn’t show any damgae/wear on the rear deck. I used masking tape and a level to make sure the unit was centered. The window defroster grid markings denoting the center.
9) I tucked the 20ft RJ-11 cord in the following fashion. Straight down into the rubber molding behind the rear seats. Towards the passenger side, under the C piller, along the anterior edge of the C pillar, then along the roof and down the passenger side posterior A pillar rubber molding.

Final Wiring tucking, from passenger A pillar to center console:

Both the wires from the Remote Audio Adaptor and the Valentine 1 will be tucked under the passenger footwell. There are two 10mm bolts that need to be undone, and the footwell roof comes straight down with some tugging. Affix the wires with some zip ties, don’t let them cross directly over the knee airbags.
