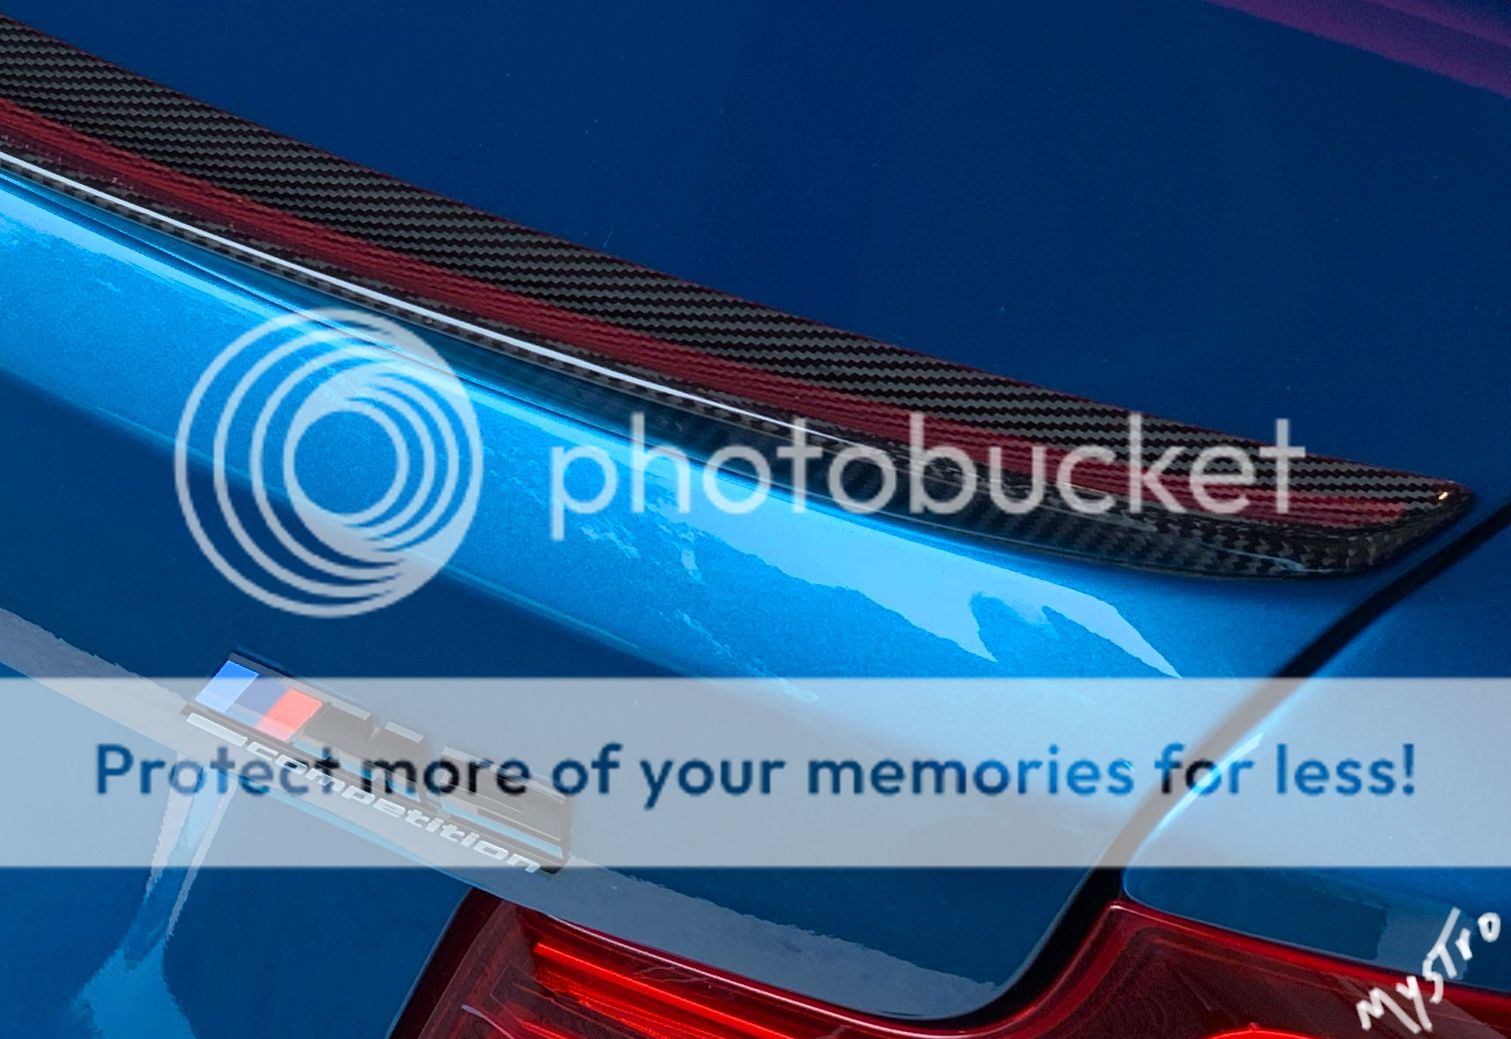
The temp has to be above 65 degrees to get the 3m tape to really stick. I also used adhesive promoter and put sandbags on the tips overnight. It takes 24h for the tape to set up in temps above 60. That said, I had to take fit and finish to the next level of ocd. You always tend to see a gap on the the sides just because the way the trunk is shaped and the CF spoiler is ridged and won’t bend like the plastic oem painted spoiler.
What I did to get a perfect fit after I did the factory MP tape and adhesive promoter was to add a thin bead of black silicon around the sides and edges.
What you are really trying to do is get a nice bead of silicon between the spoiler and trunk. You can’t put too much in between the spoiler and trunk where you will never see. In fact it is a good idea to get a healthy amount in there as it will bond the spoiler to the trunk better. The product was designed to do just what we are doing. It leaves a strong custom shaped flexible rubber gasket between the two items. It will hold up to stress and any flexing or vibration being pushed down on the spoiler. I worked with the trunk half open so I could really see the crack at directly eye level. Obviously no one gets this view with the trunk down but it will really show any spaces between the spoiler and trunk from the sides and rear.
I cut the tip to the smallest hole. I then pull up /flex the rear of the spoiler and this gives a tiny bit of more room to squirt the silicon into. Then run as much of the silicon in a long bead around the sides and back of the spoiler filling the voids. The bigger the void, the more you want to squirt in there. Then you let the spoiler go and it will squeeze out the excess. Don’t worry about getting all over the paint and CF spoiler as it easily wipes up with a damp rag. I used a lot of damp rags as you are constantly finding a clean spot to wipe across the crack to wipe away and push in the silicon. You will do this until you leave a clean black line of silicon in the space. This not only gives it a cleaner look of no voids but also will hold down the entire area after it dries in 24 hours. You have about 1 hour working time with the silicon so don’t feel rushed. Think of it as a art protect. I didn’t feel clamping it down was what I was after as I just wanted the silicon to fill in the void and adhere the spoiler better. I did the whole entire sides and back of the spoiler. Do it right and the CF spoiler looks like it melts into the trunk without any gaps around the sides or back. The front of the MP spoilers tend to sit tight and perfectly flat against the trunk so no need to fill in any visible voids. I only used 1/2 of the smaller 3oz tubes. I can’t take credit for this idea as another member reported doing this with his. I recommend doing this project 60 degrees or warmer. I also soaked my tube in warm water for 10 minutes before starting to keep the silicon thinner so it flows out that tiny hole like toothpaste.
I purchased mine for under $3 from amazon. Here is the manufactures info:
https://www.permatex.com/products/ad...esive-sealant/
Amazon:
https://www.amazon.com/gp/product/B0...k_ql_qh_dp_hza
