
 M2 Technical Topics >
N55 Engine / Drivetrain / Exhaust / Bolt-ons / Tuning >
Evolution Racewerks Intercooler Install on a 2018 M2
M2 Technical Topics >
N55 Engine / Drivetrain / Exhaust / Bolt-ons / Tuning >
Evolution Racewerks Intercooler Install on a 2018 M2
M2 Technical Topics >
N55 Engine / Drivetrain / Exhaust / Bolt-ons / Tuning >
Evolution Racewerks Intercooler Install on a 2018 M2
M2 Technical Topics >
N55 Engine / Drivetrain / Exhaust / Bolt-ons / Tuning >
Evolution Racewerks Intercooler Install on a 2018 M2
| 05-23-2021, 11:02 PM | #1 |
|
Captain
 433
Rep 753
Posts |
Evolution Racewerks Intercooler Install on a 2018 M2
I finally got around to installing the Evolution Racewerks (ER) intercooler and charge pipes on my M2 this weekend. This intercooler install is a bit more involved than your common stepped units and requires removing the bumper, crash bar, replacing the black brace with a trimmed unit that comes with the intercooler, and bolting two steel braces on top of the intercooler to the crumple beams that the crash bar bolts onto. The last bit does require a second person and a couple of mock up attempts to get it perfectly aligned and bolted up. Thanks to bentom2 for the help with this.
Car jacked up and front wheels removed 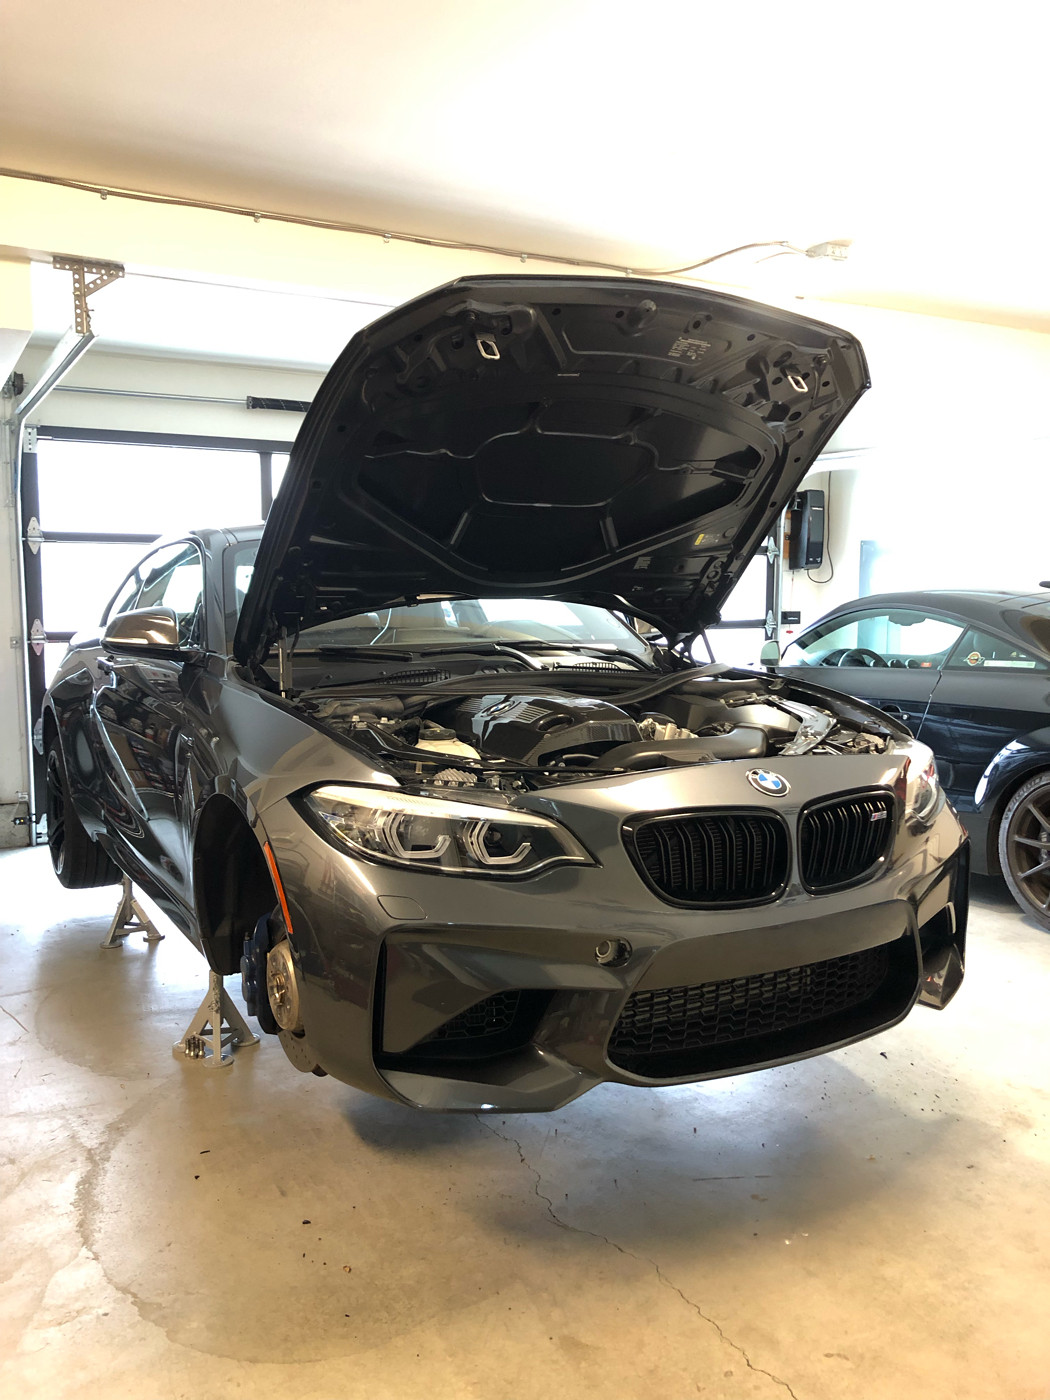 Front half of the wheel liner removed from both sides. This gives nice visibility and access to the bumper bolts, the headlight washers, the horn connectors (one on each side) and the external temp sensor (driver side only). 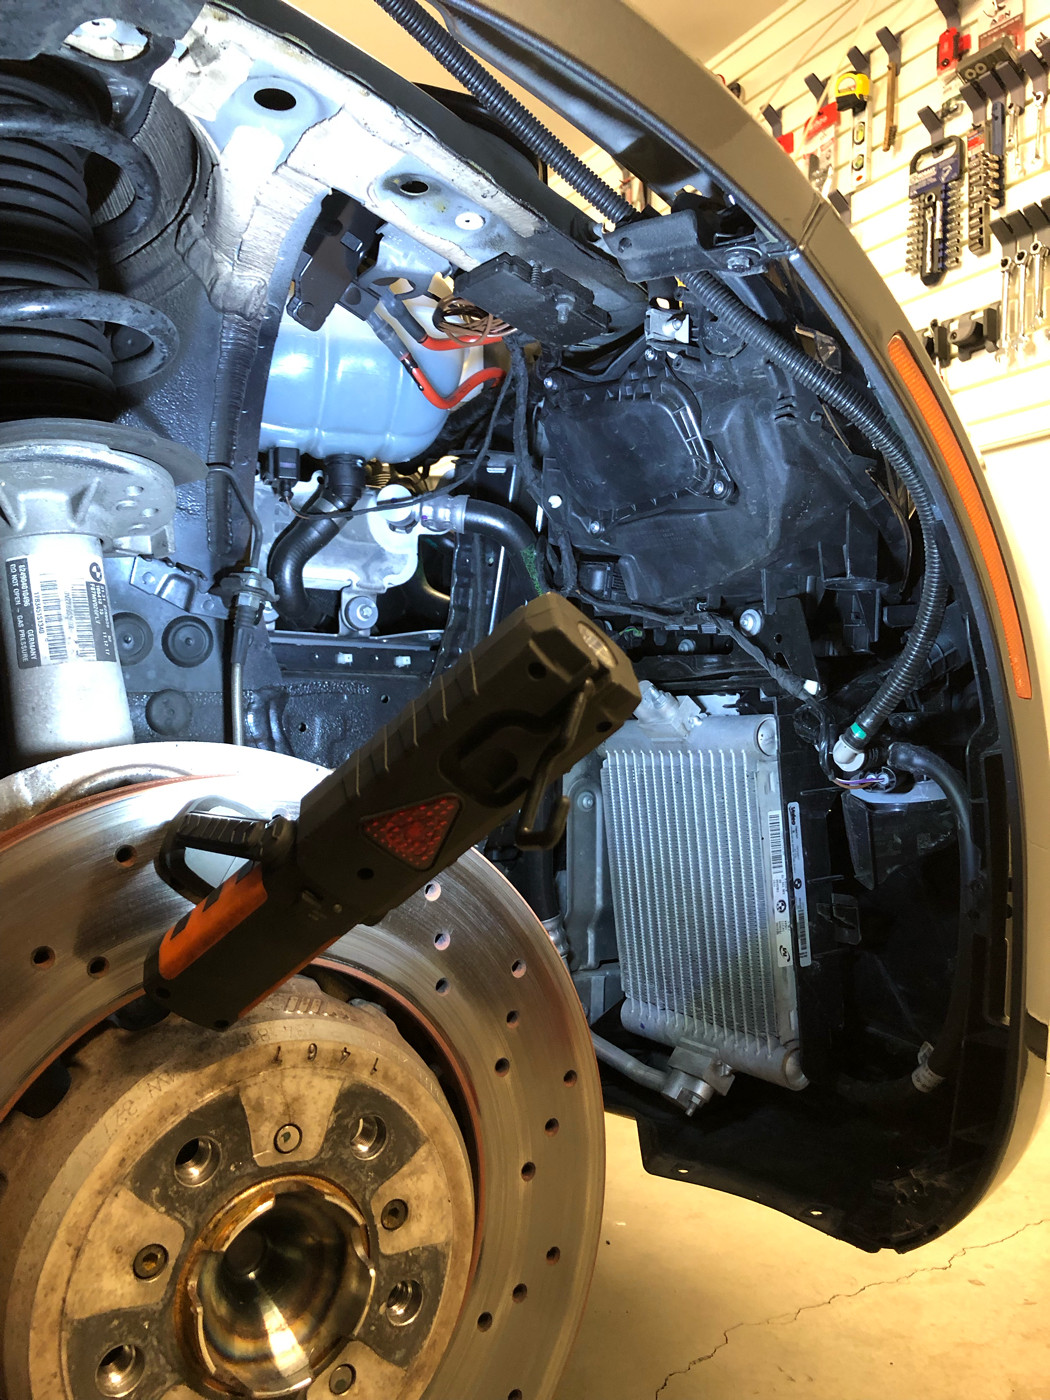 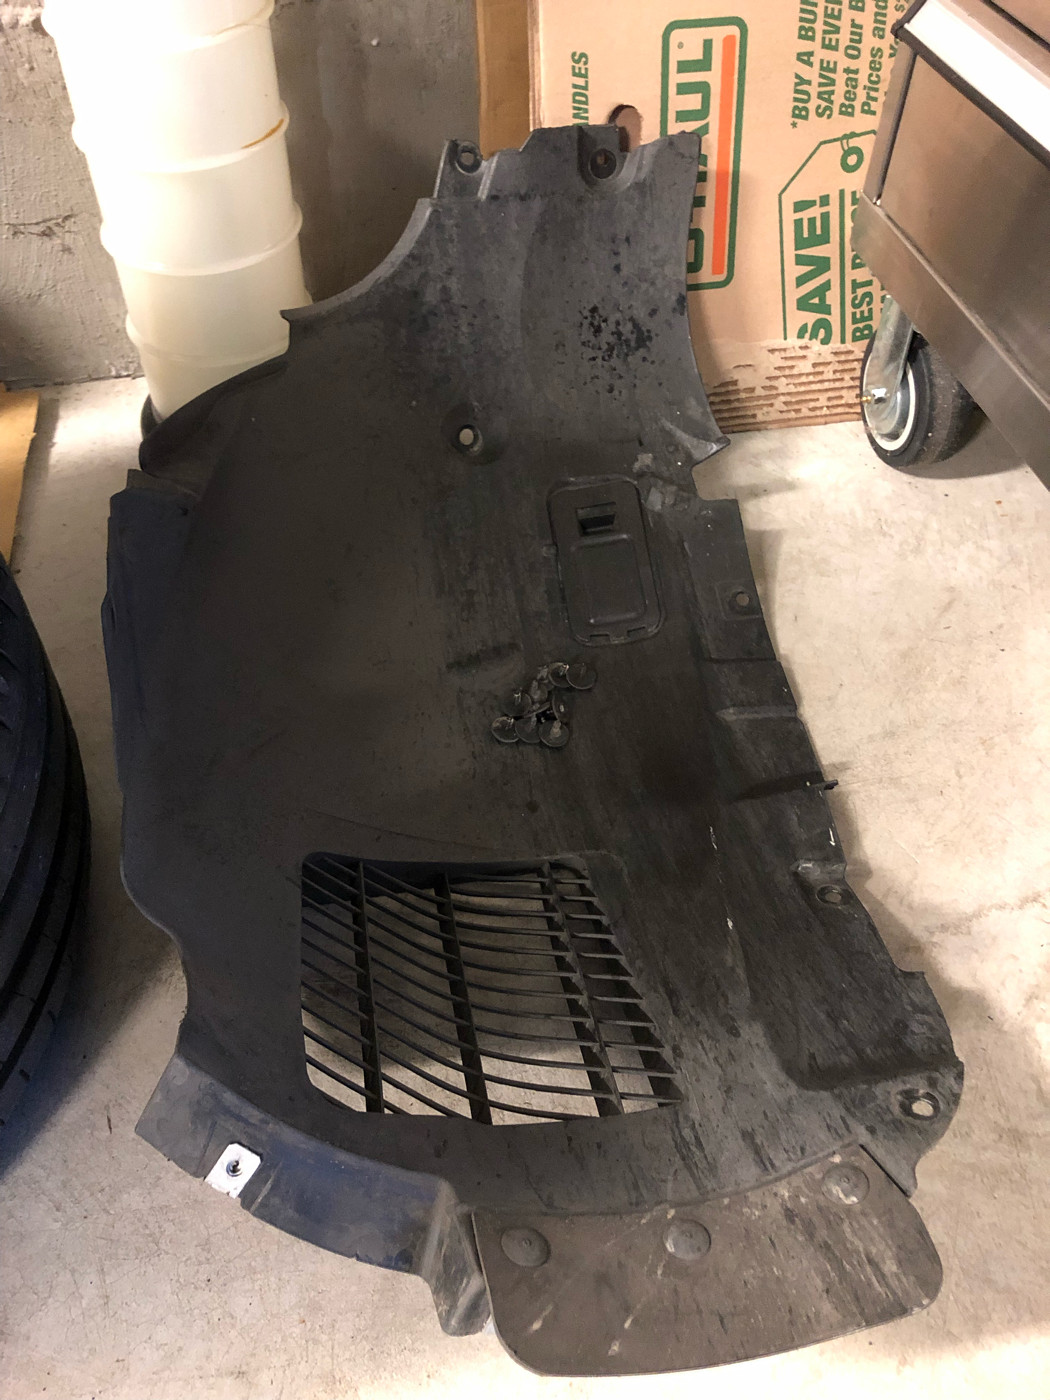 Removing the headlight washers involves pushing the front of the washer mechanism from behind the bumper so it pops out of the bumper. Then I carefully pried off the painted caps off it. These are loosely held onto the washer by two tiny posts on either side. 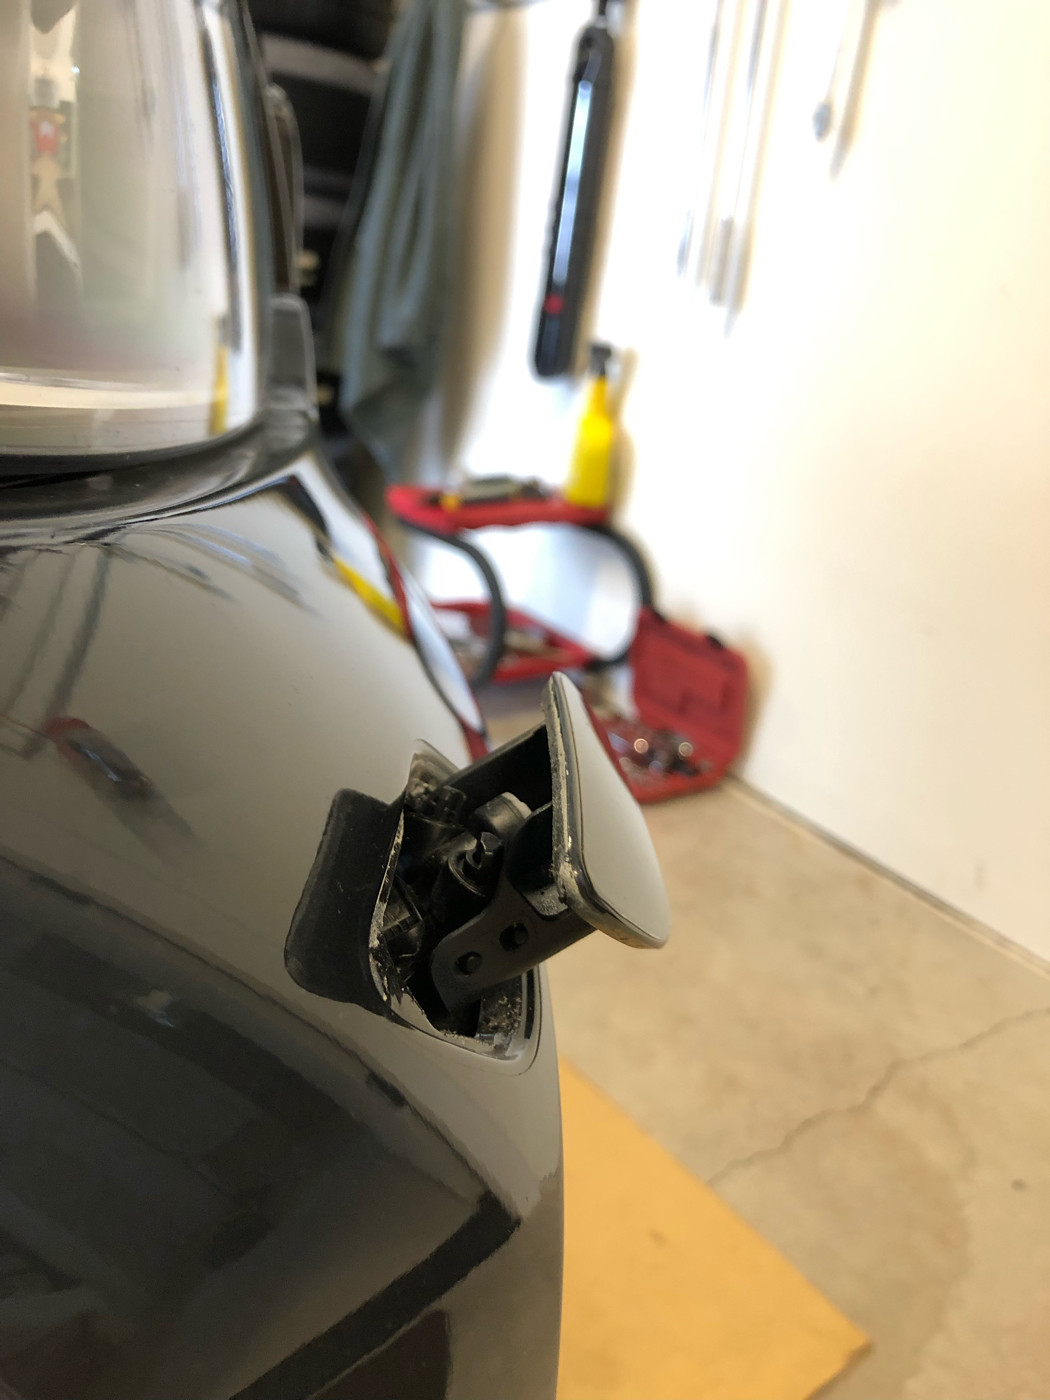 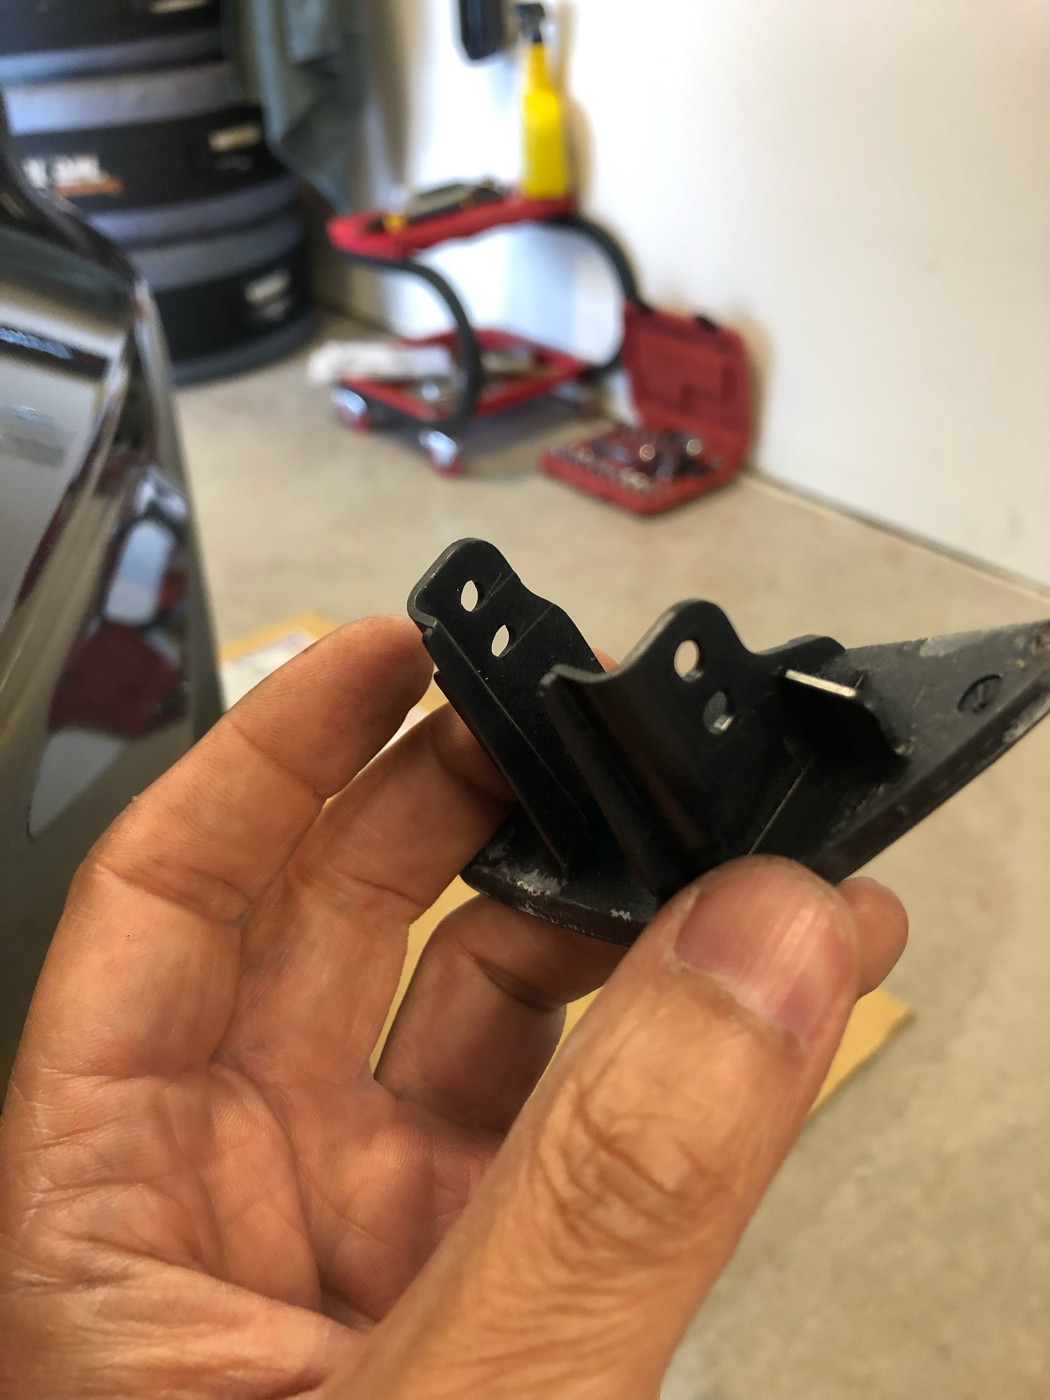 The headlight washer can now be removed from behind the bumper. It's held on by two plastic locking arms - one above and one below - and located by a clip in the center. I carefully pushed the arms while pulling the washer away from the bumper. Once out, I left it hanging until the bumper was pulled.  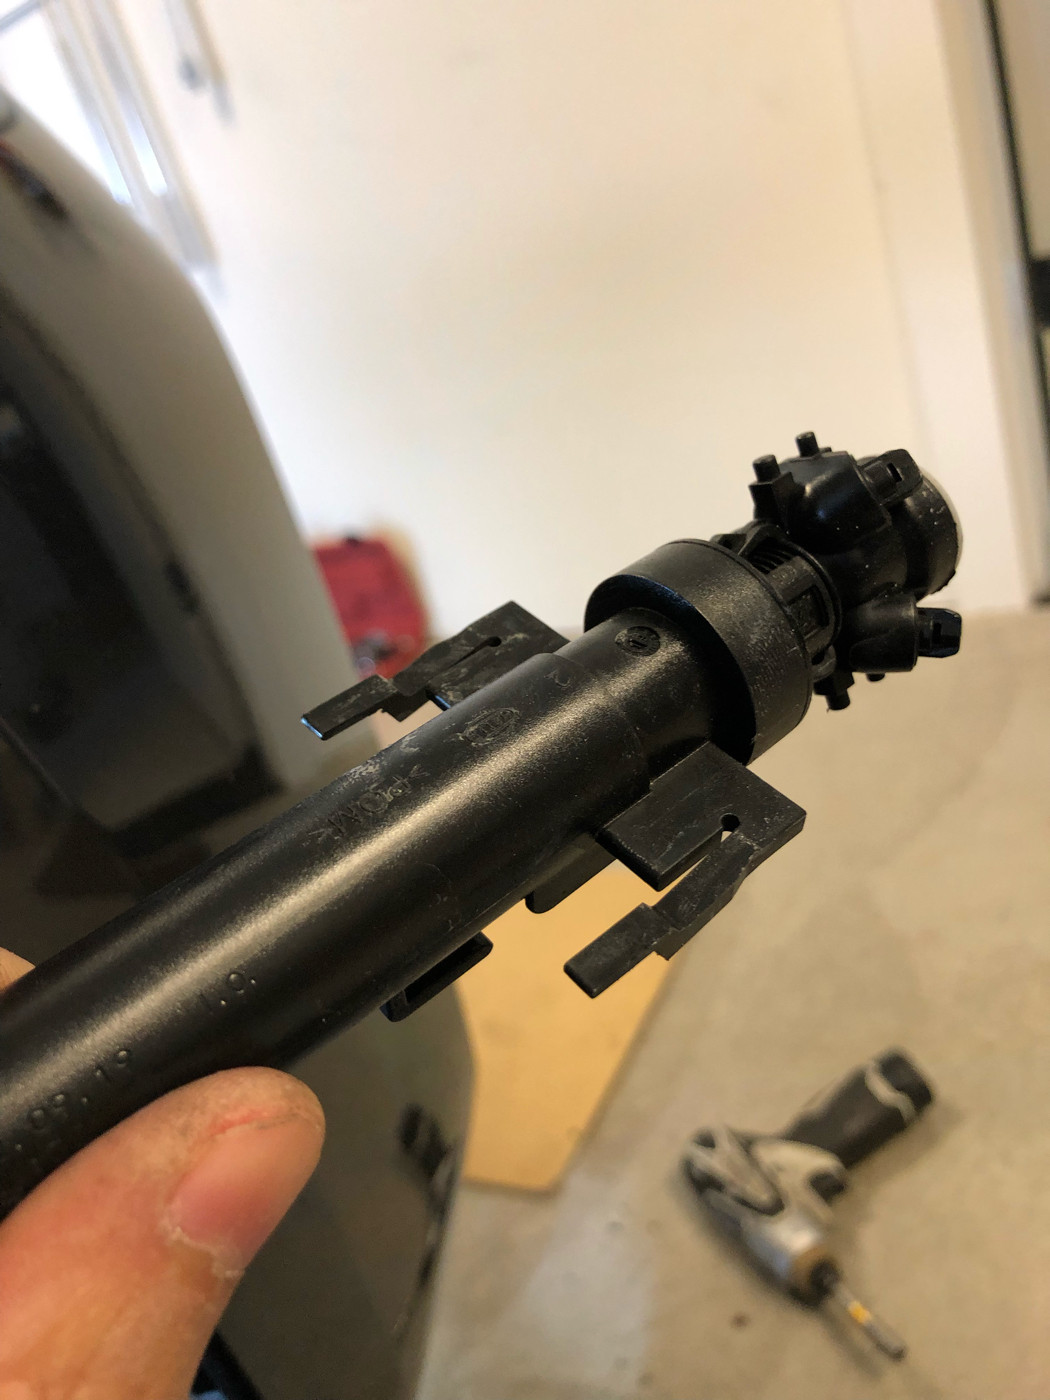 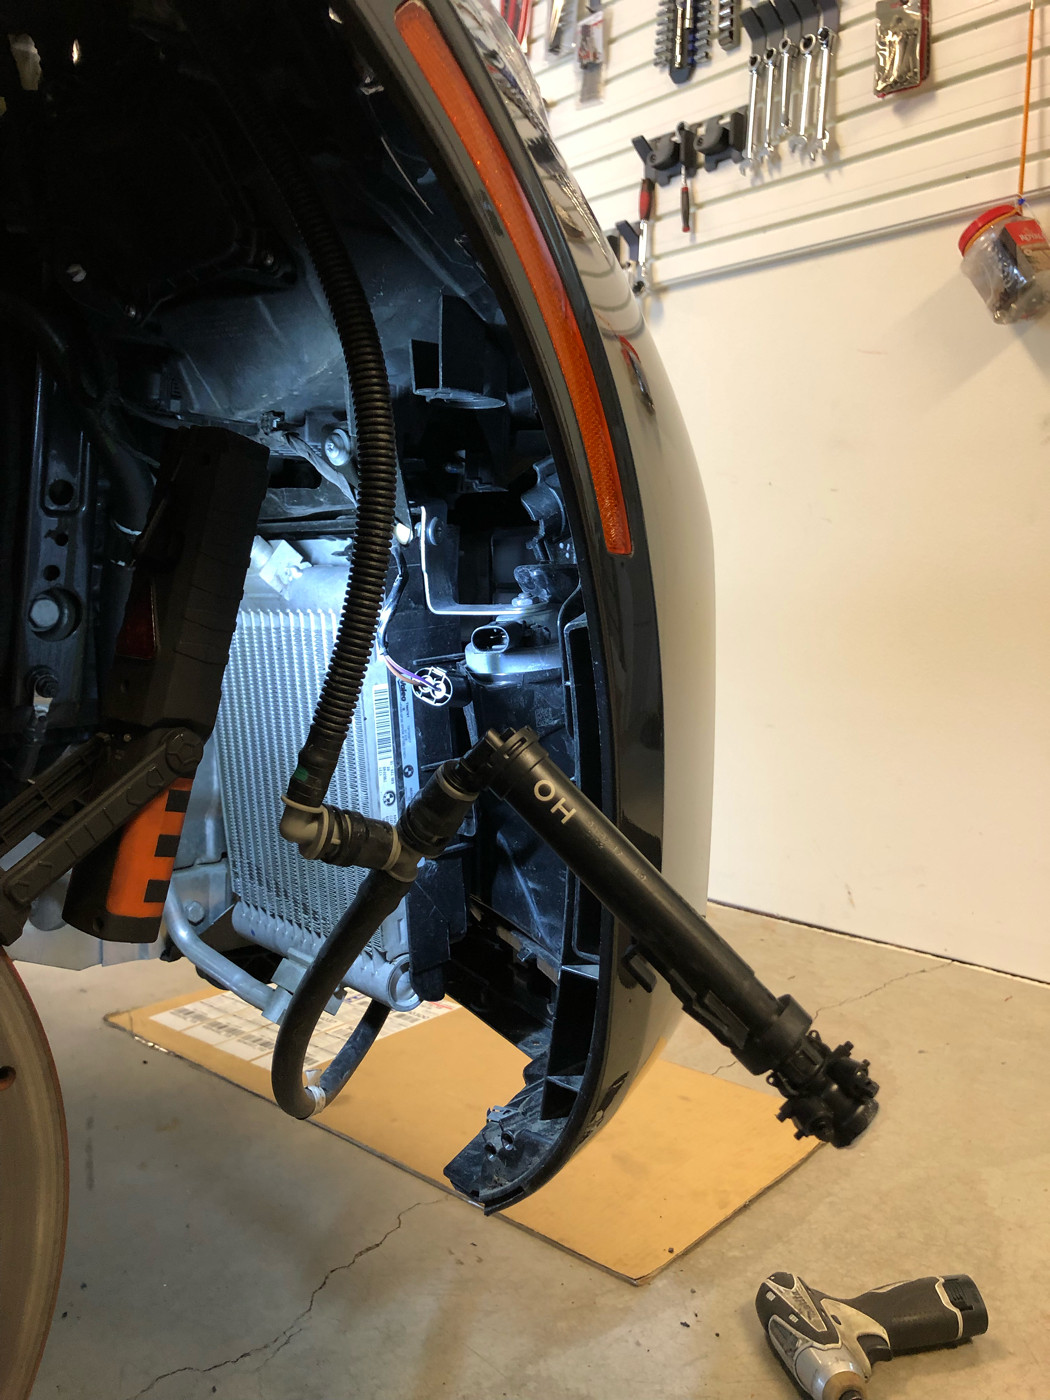 On the driver side you can see the temp sensor by the fender and the horn connector in the foreground. 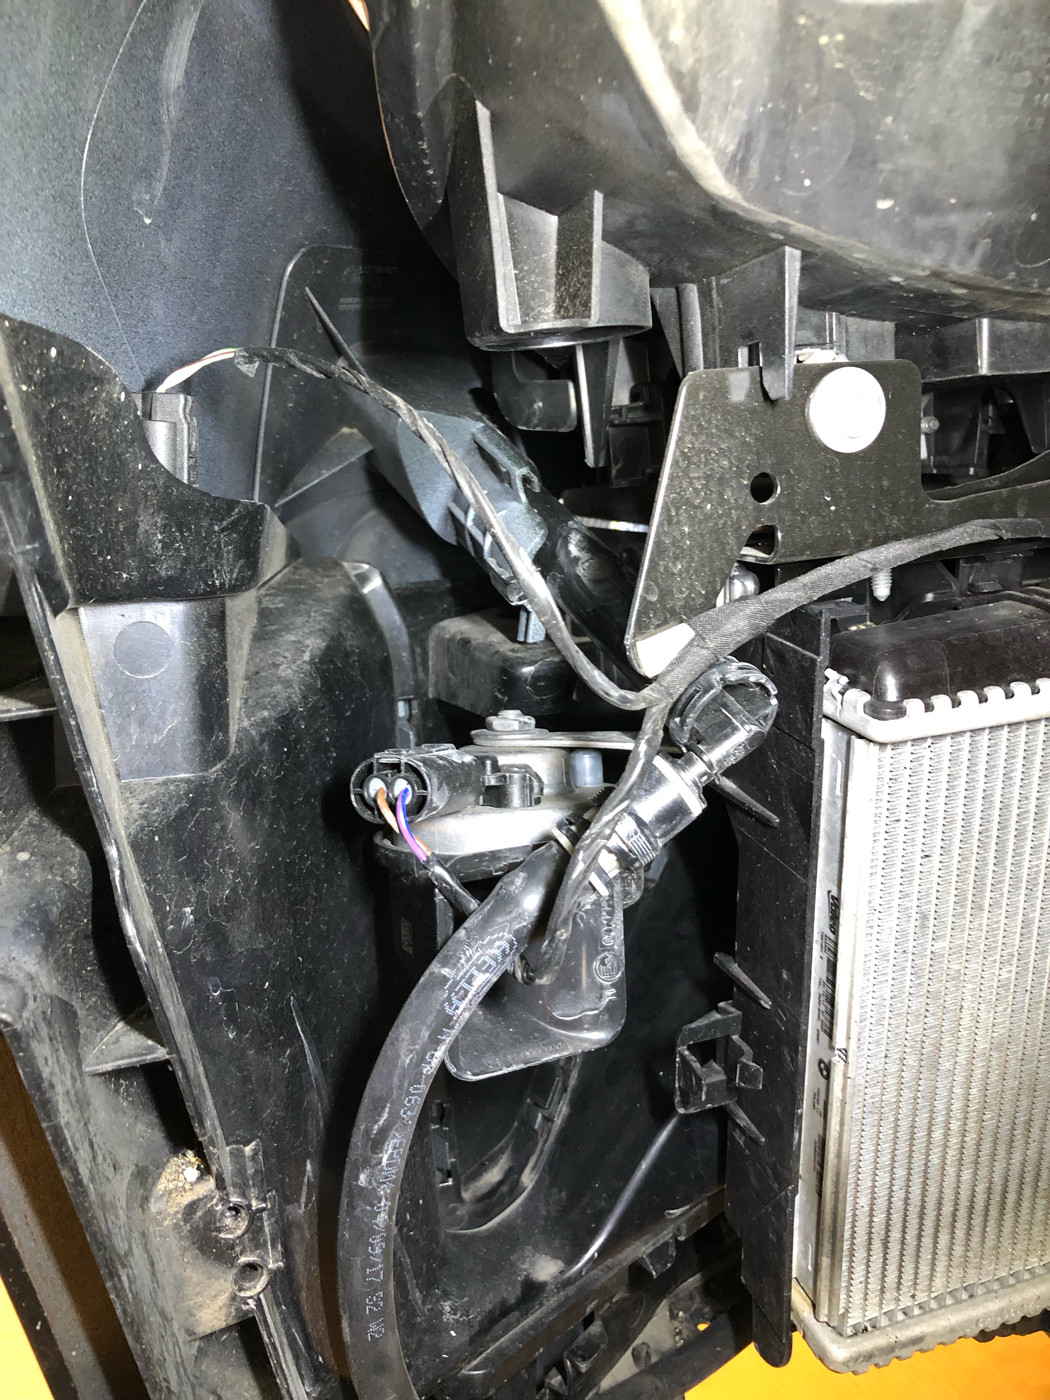 Edge of bumper by fender has 3 long screws that hold the two together. I used a short 1/4" wobble extension with a 8mm to remove these. 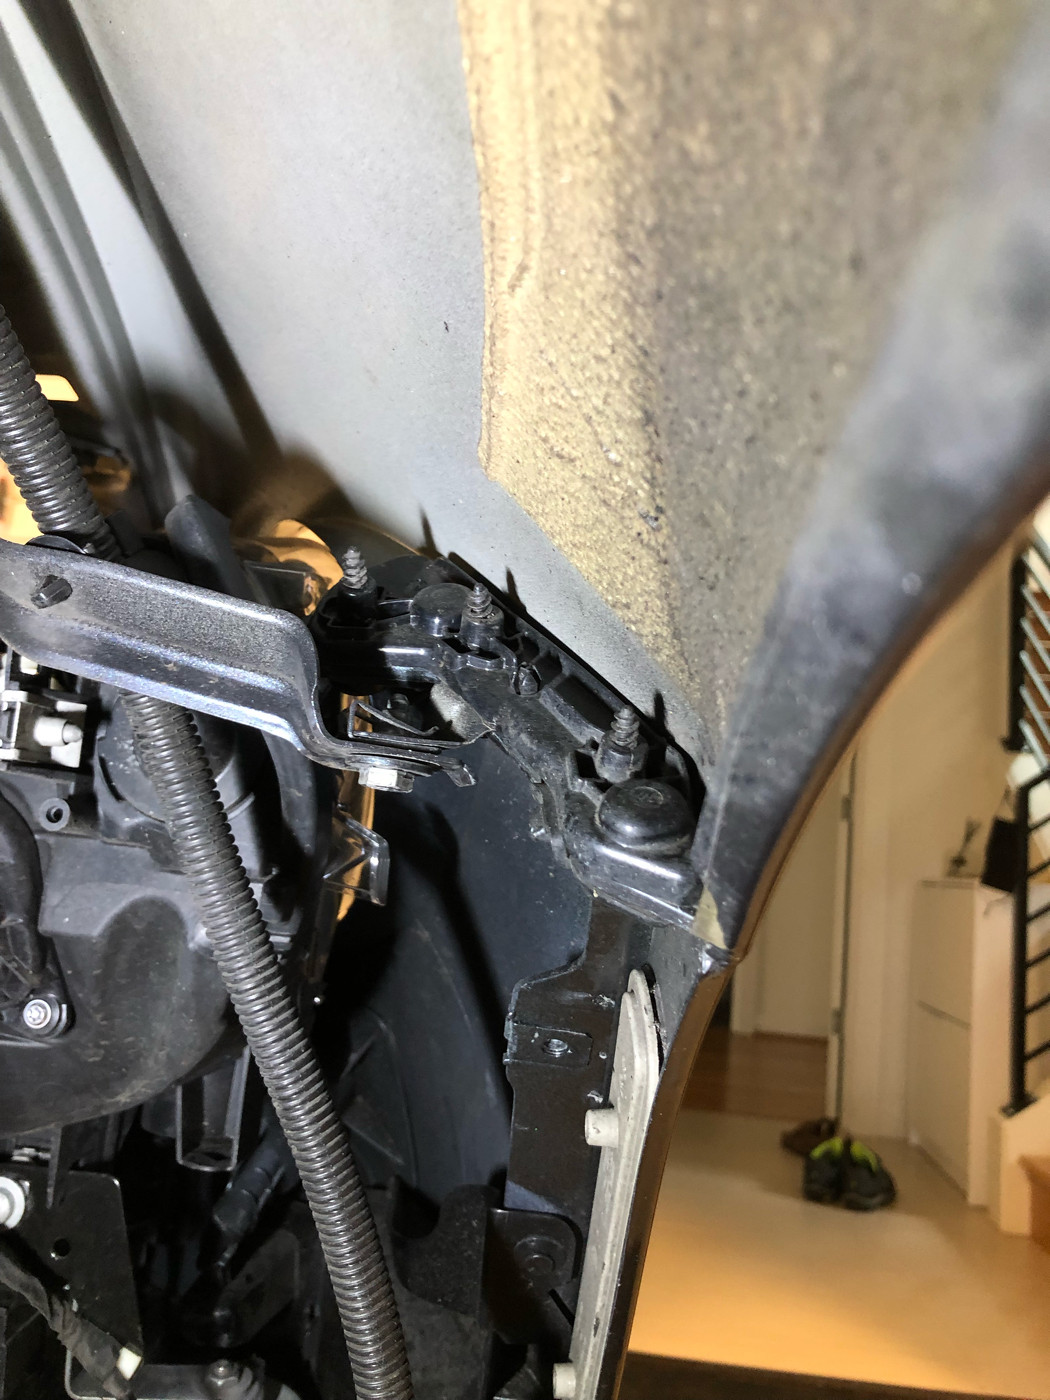 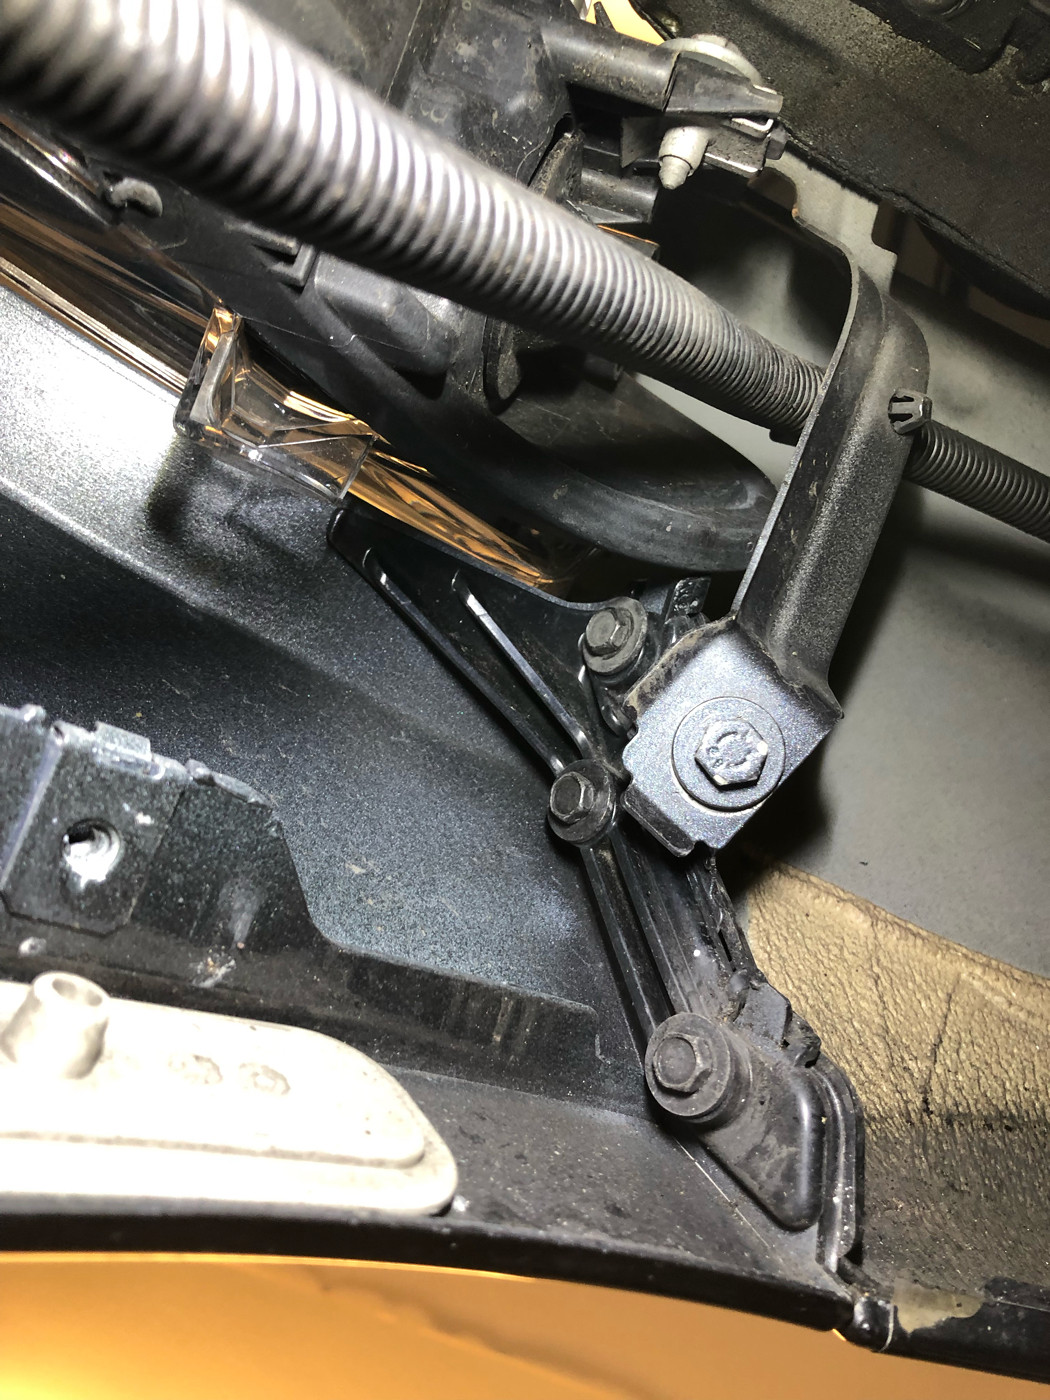 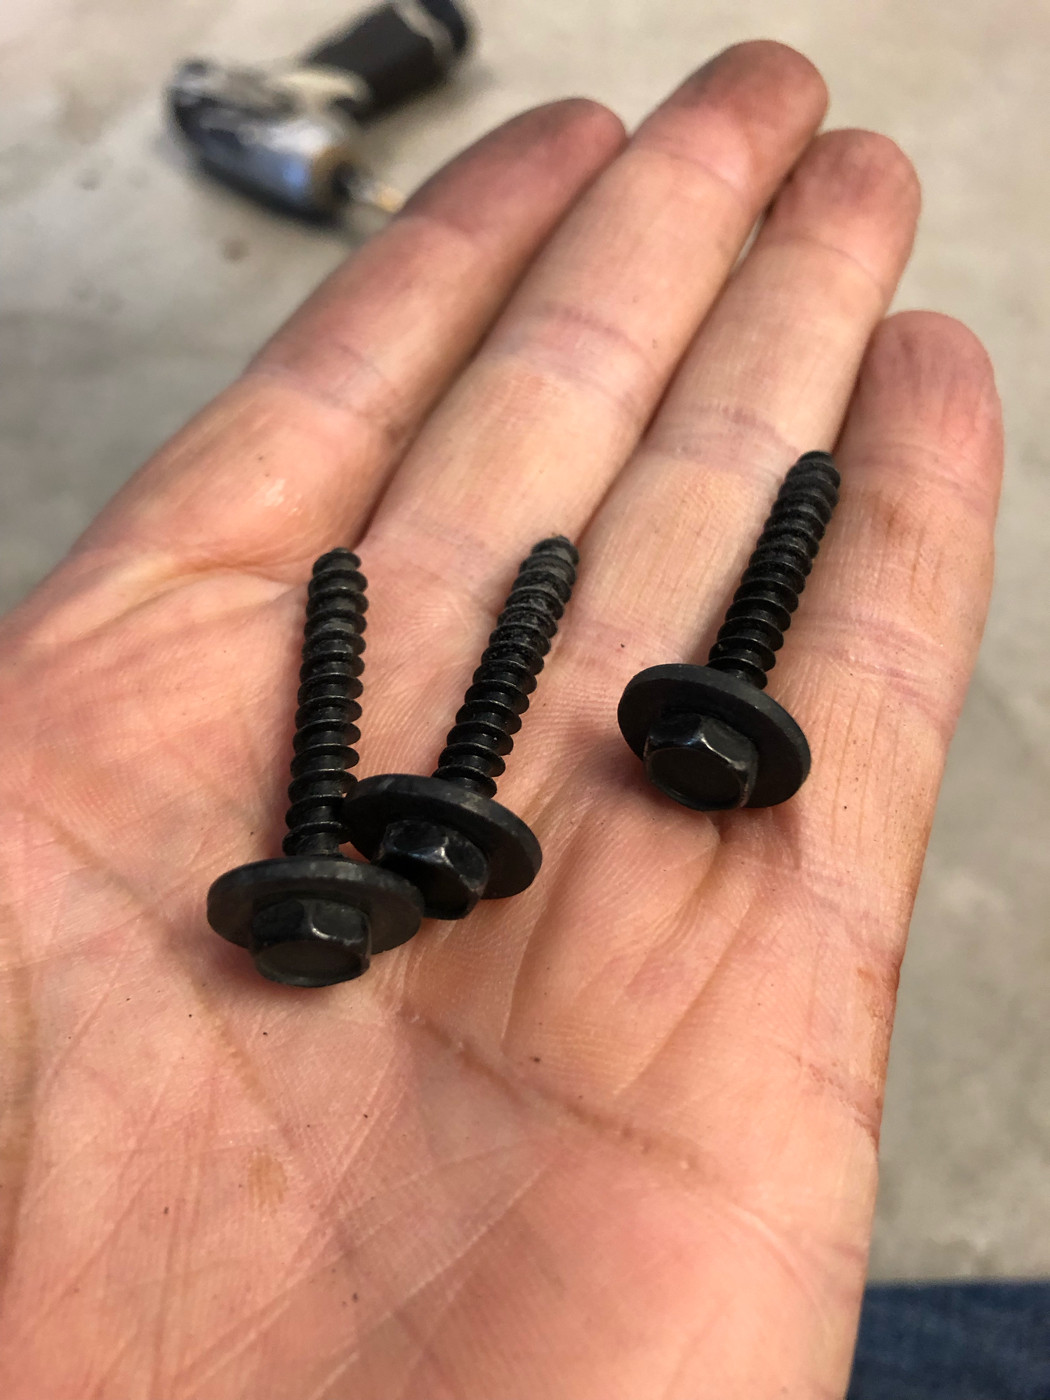 There are plastic locator tabs on the bumper for the interface with the fender. I carefully pulled the bumper away from the fender just a touch. 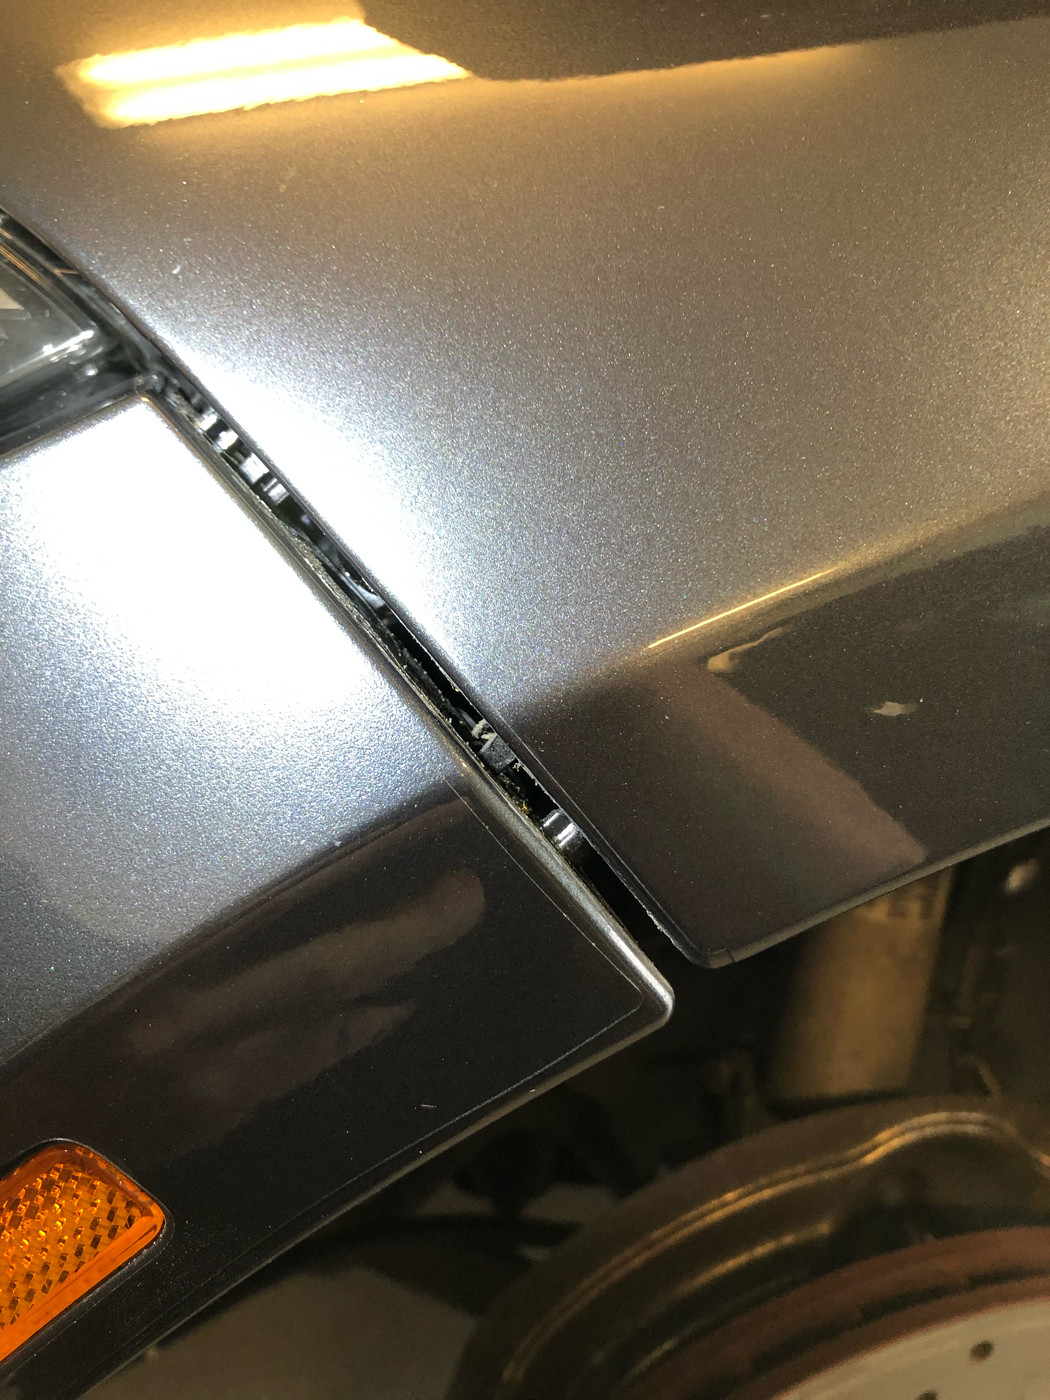 Top torx bolts are the last to come off. Ready the floor for the bumper. 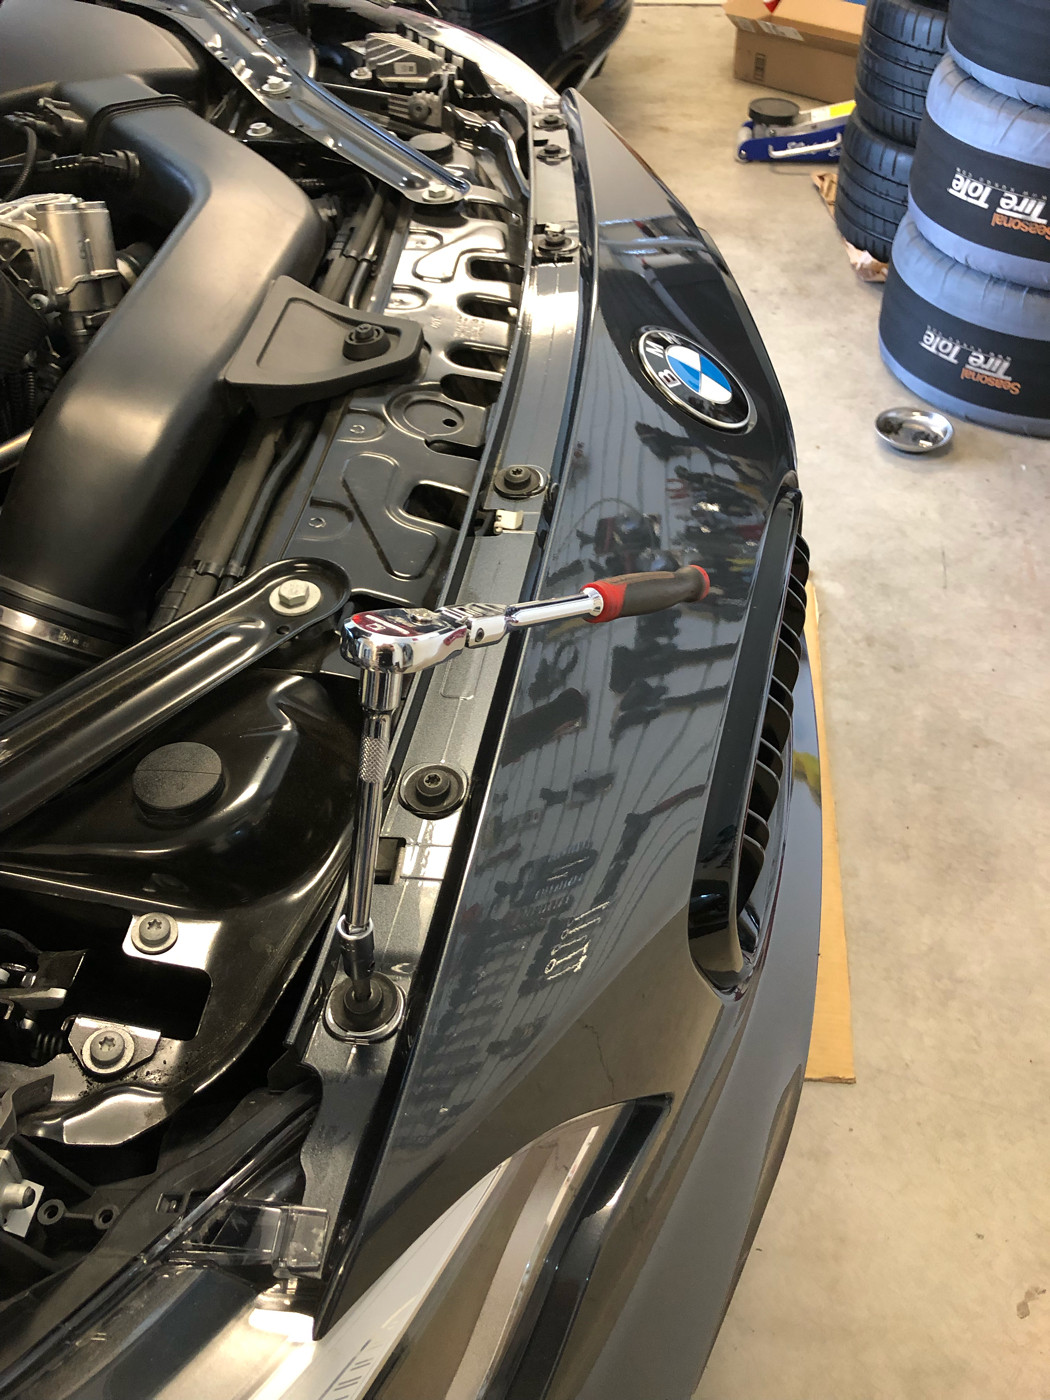 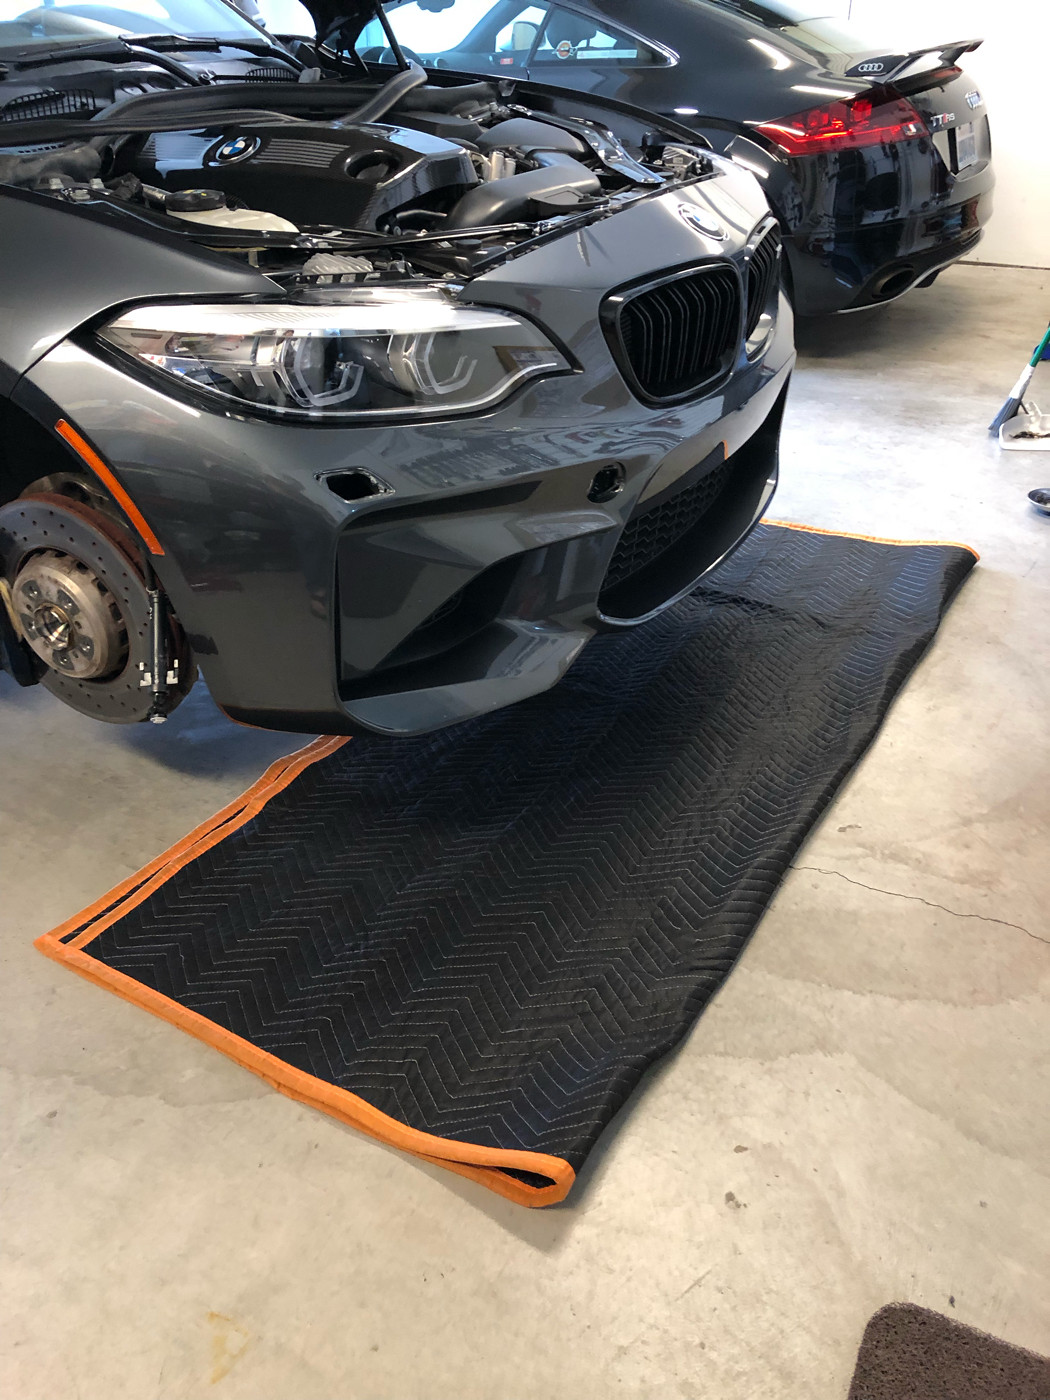 With a second person, carefully pull the bumper away from the car. Before placing it on the floor, remove the headlight washer rubber hose from the locating tabs on the bumper. Then I simply slid the assemble with the hose and the two washers under the passenger side wheel and behind. 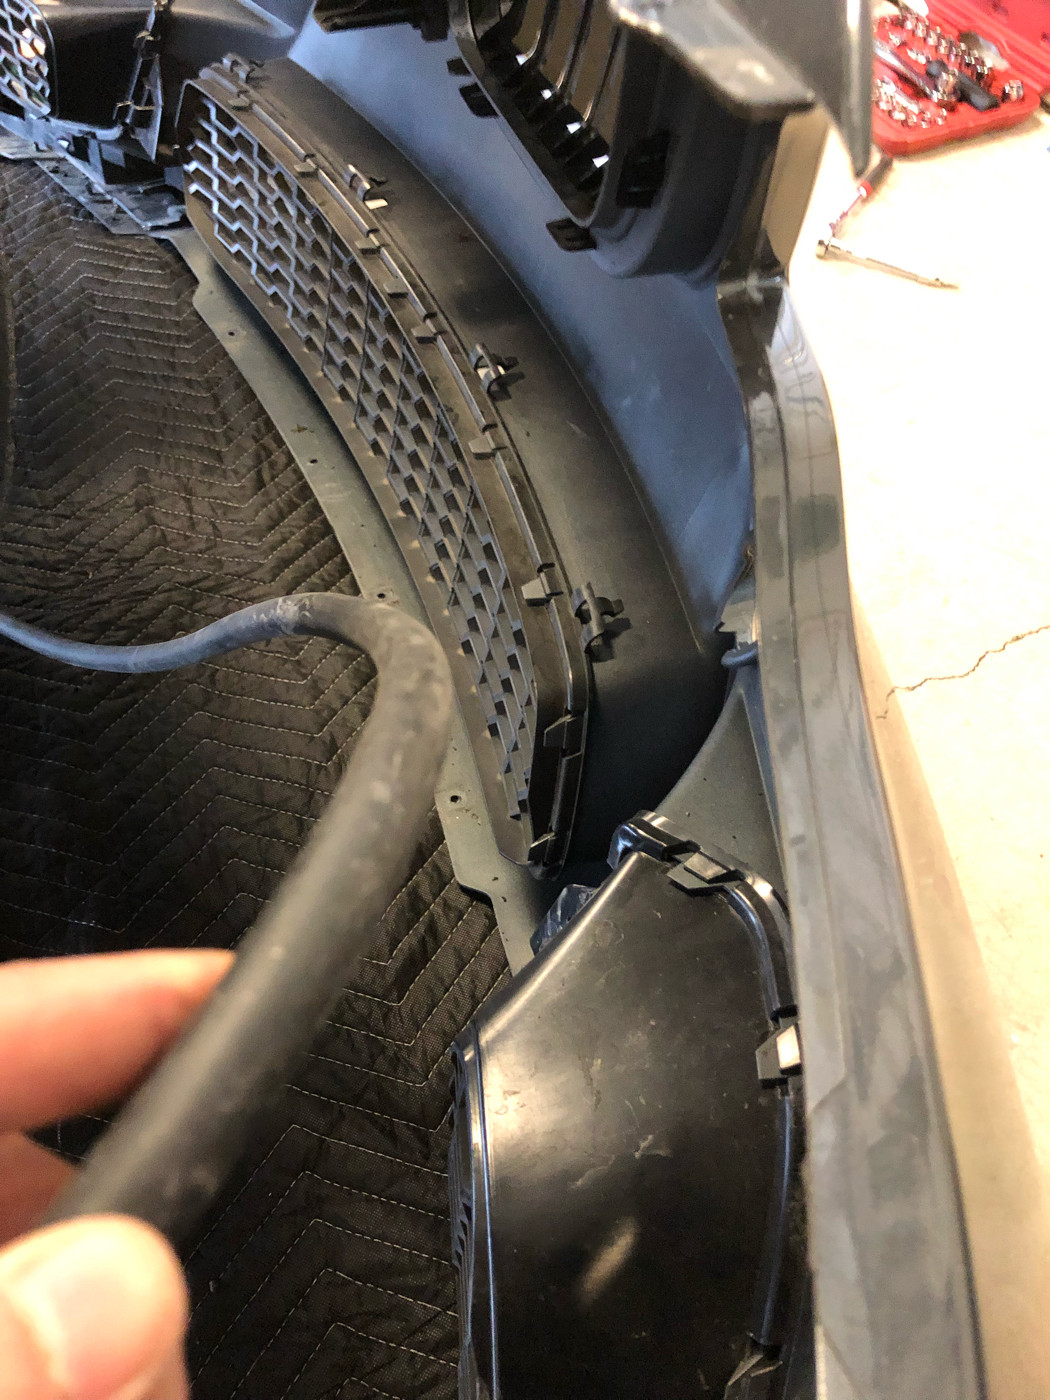 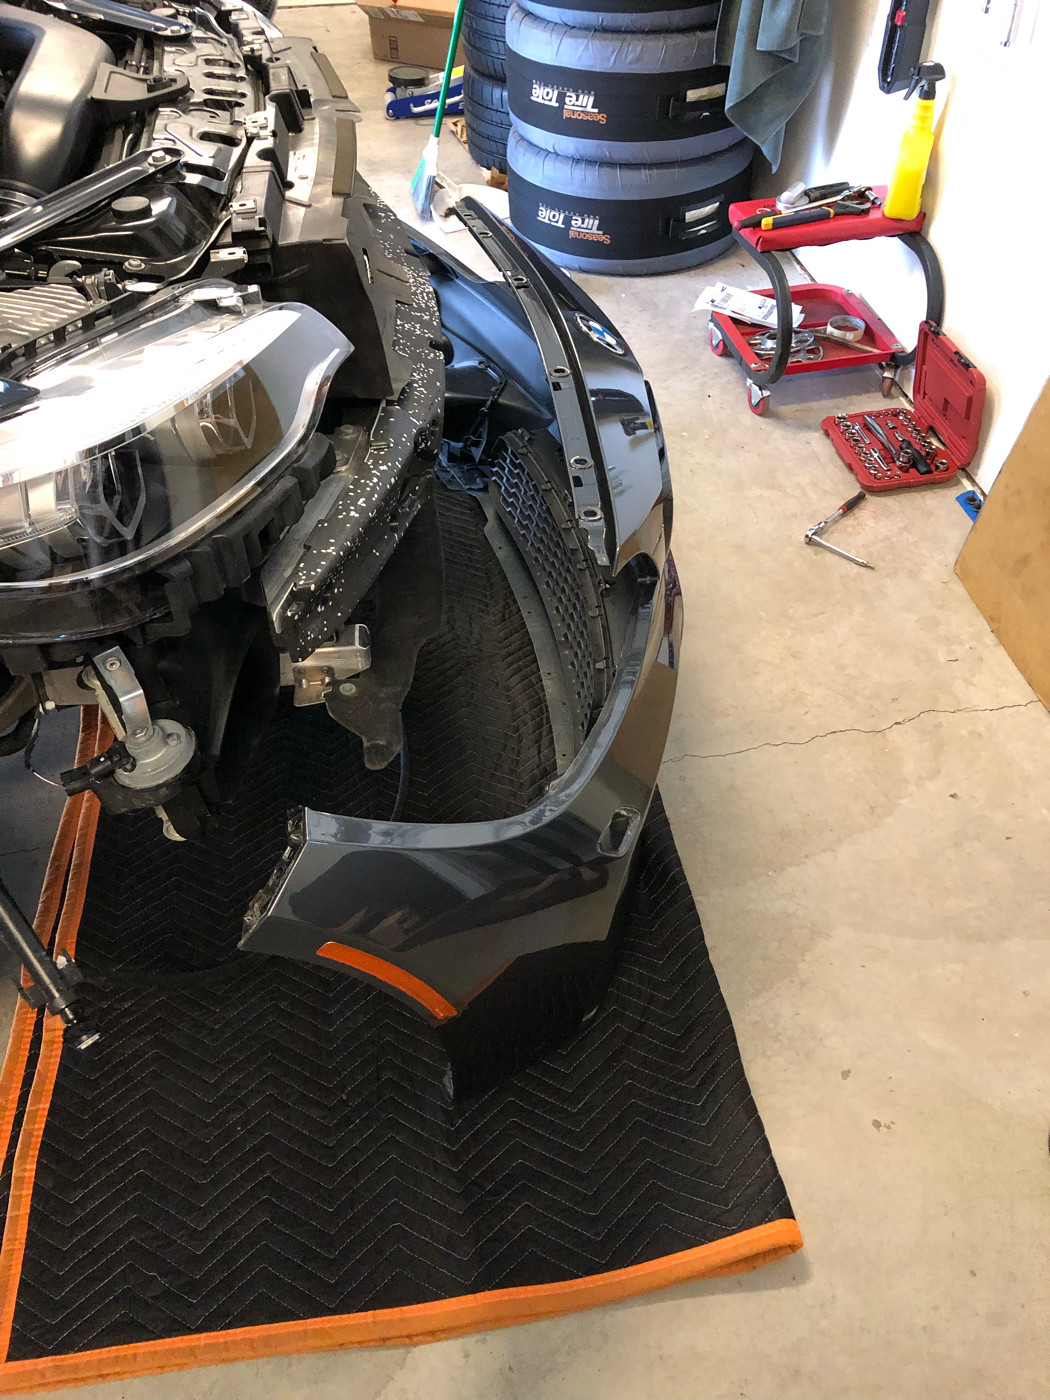 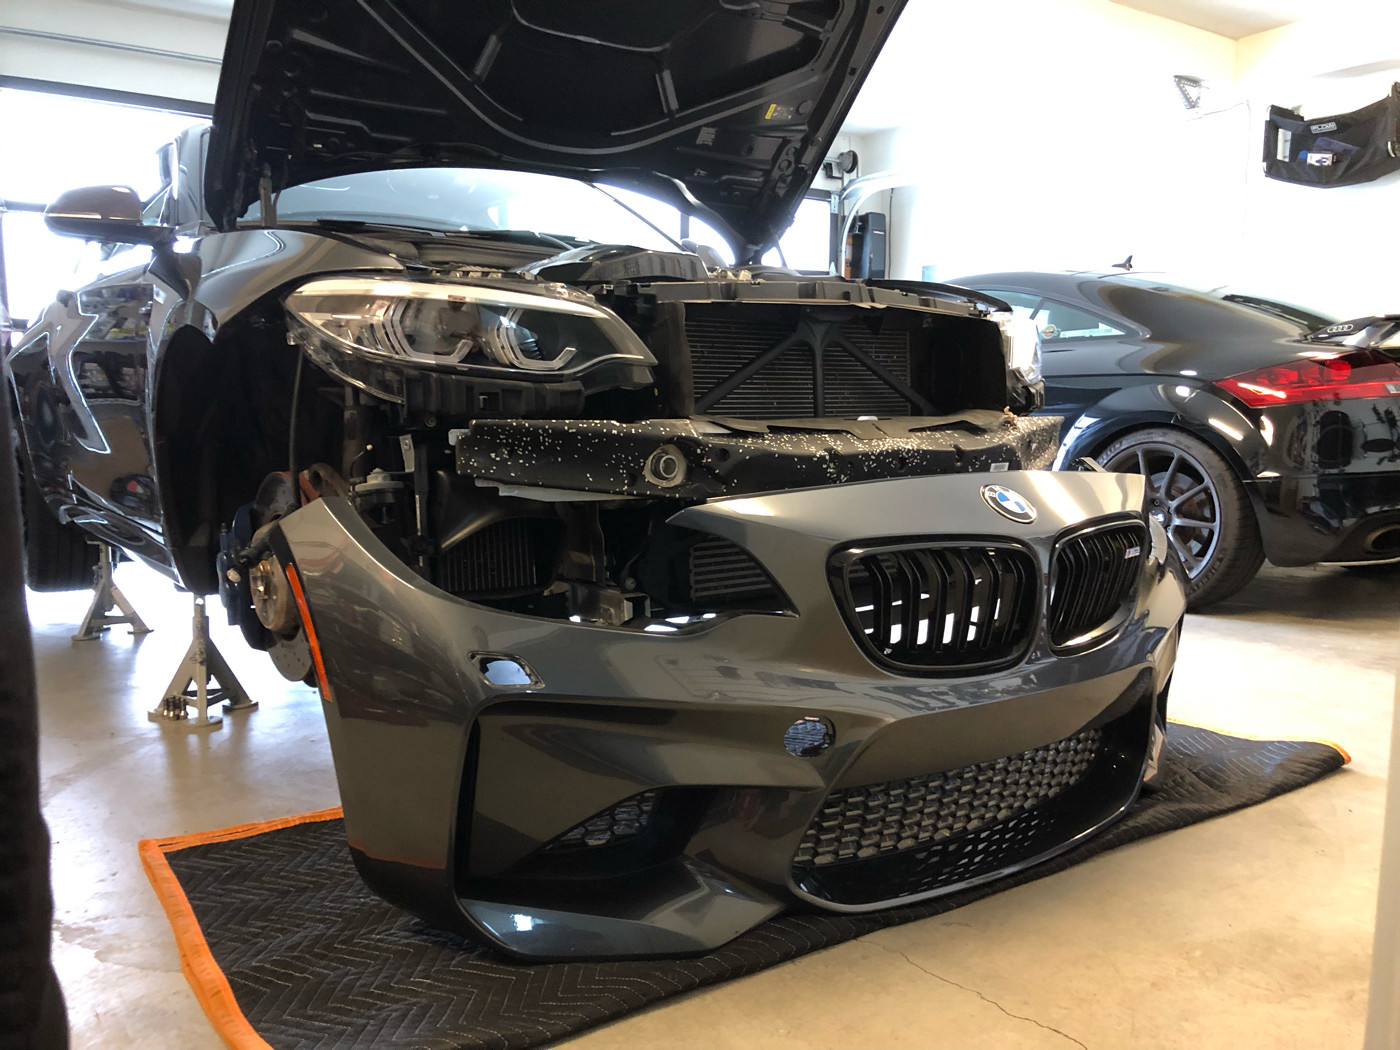 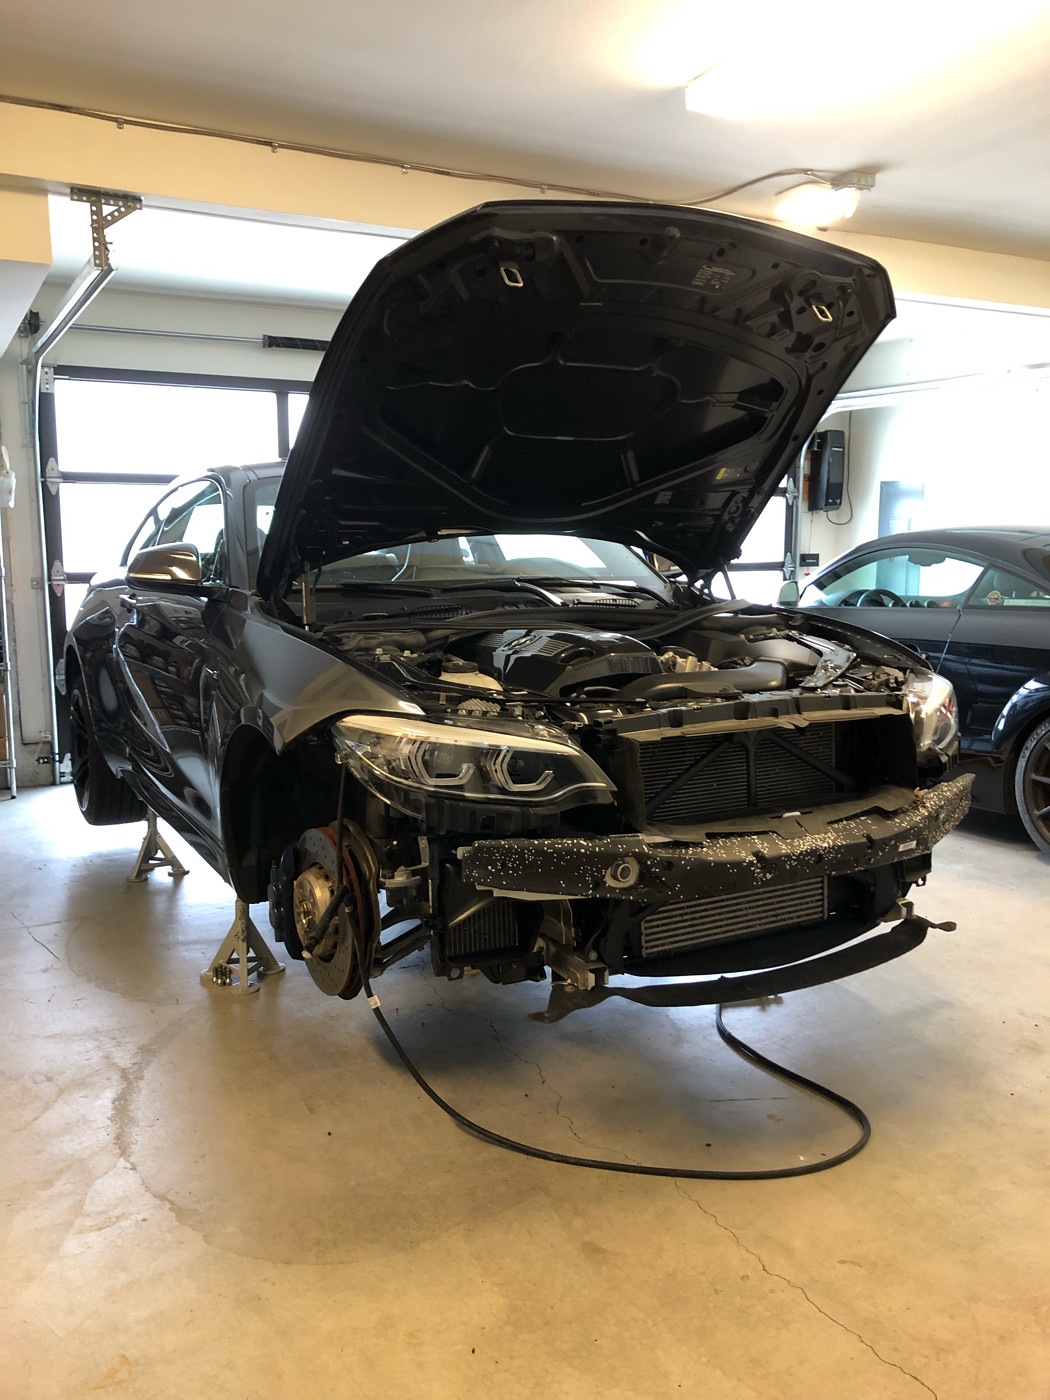 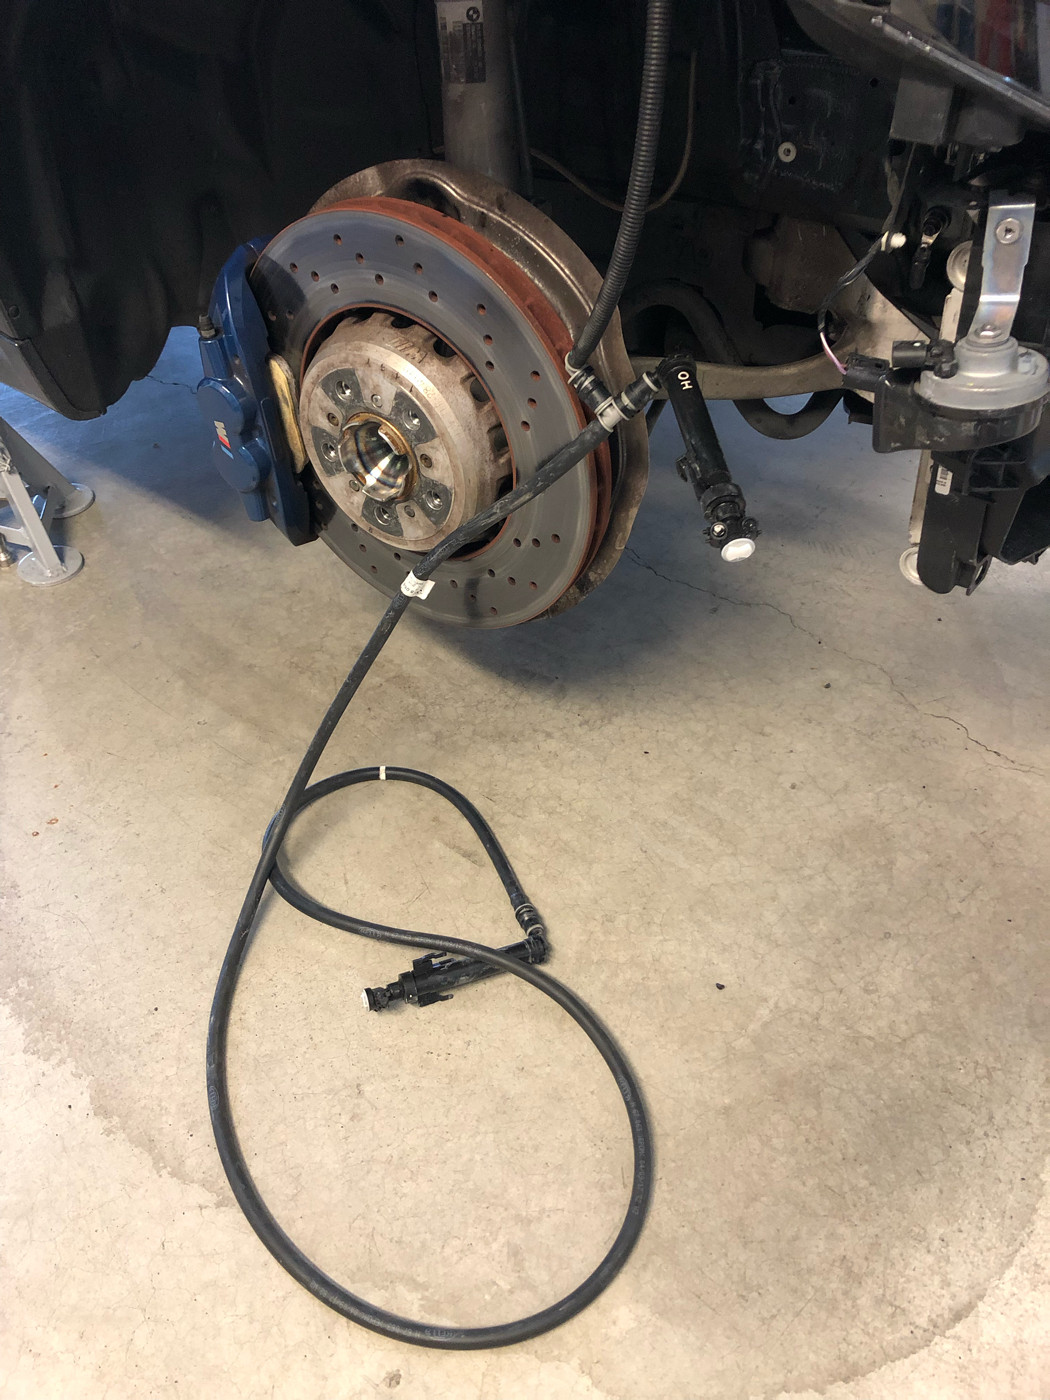 Intercooler couplers and torx screws 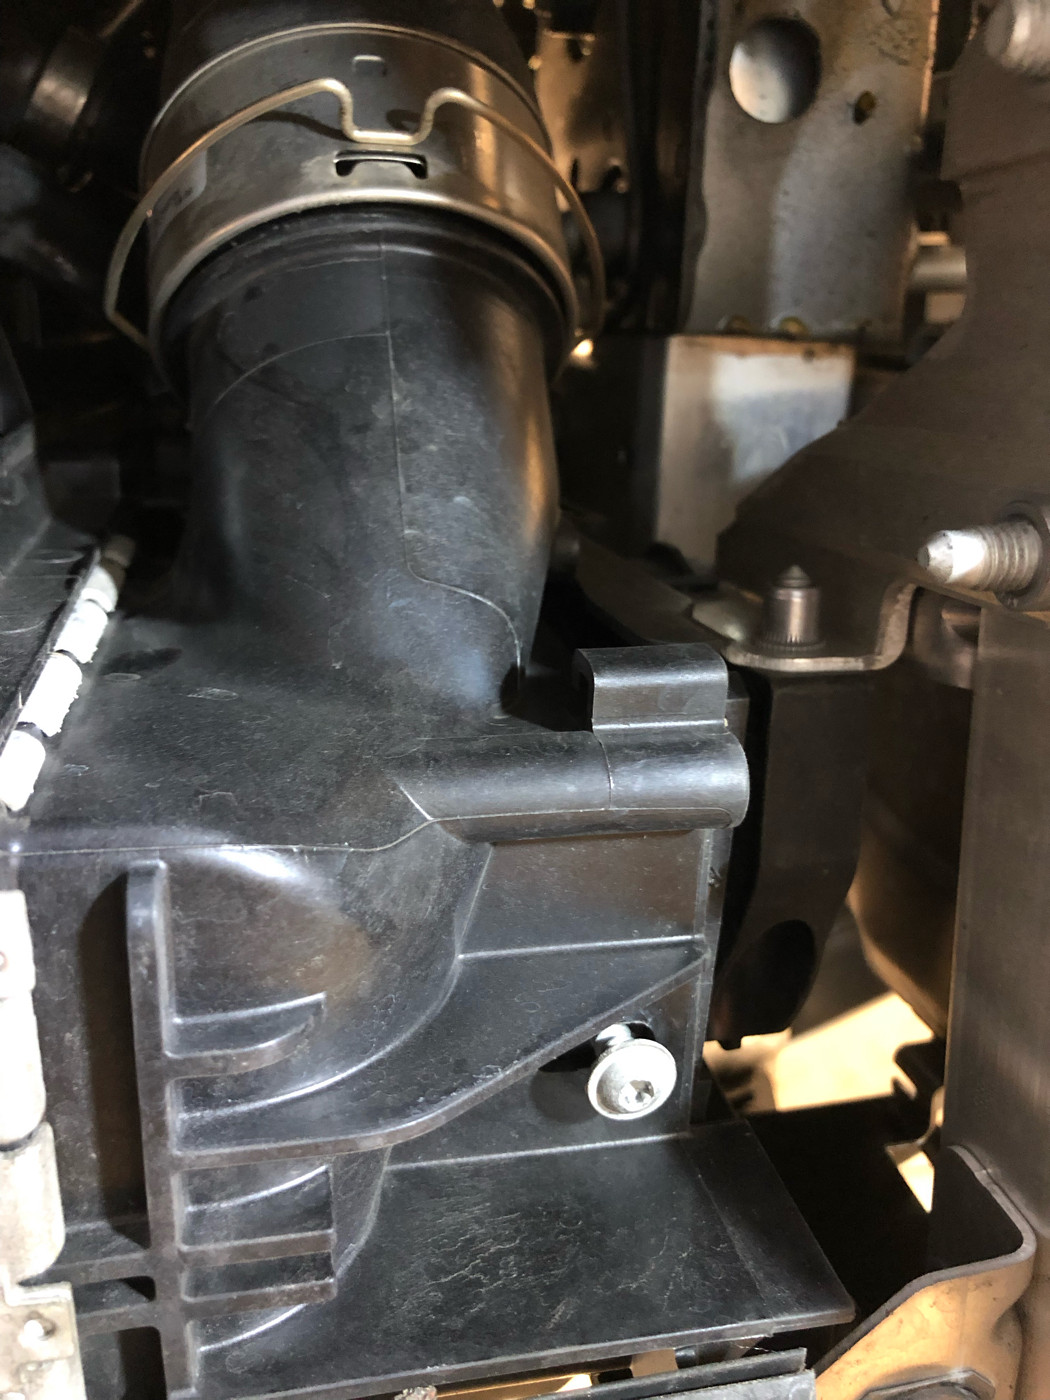 There is a plastic rectangular "C" connection that is holding the intercooler to the car. Gently pry those plastic pieces and the intercooler is free and can be carefully angled down and out. 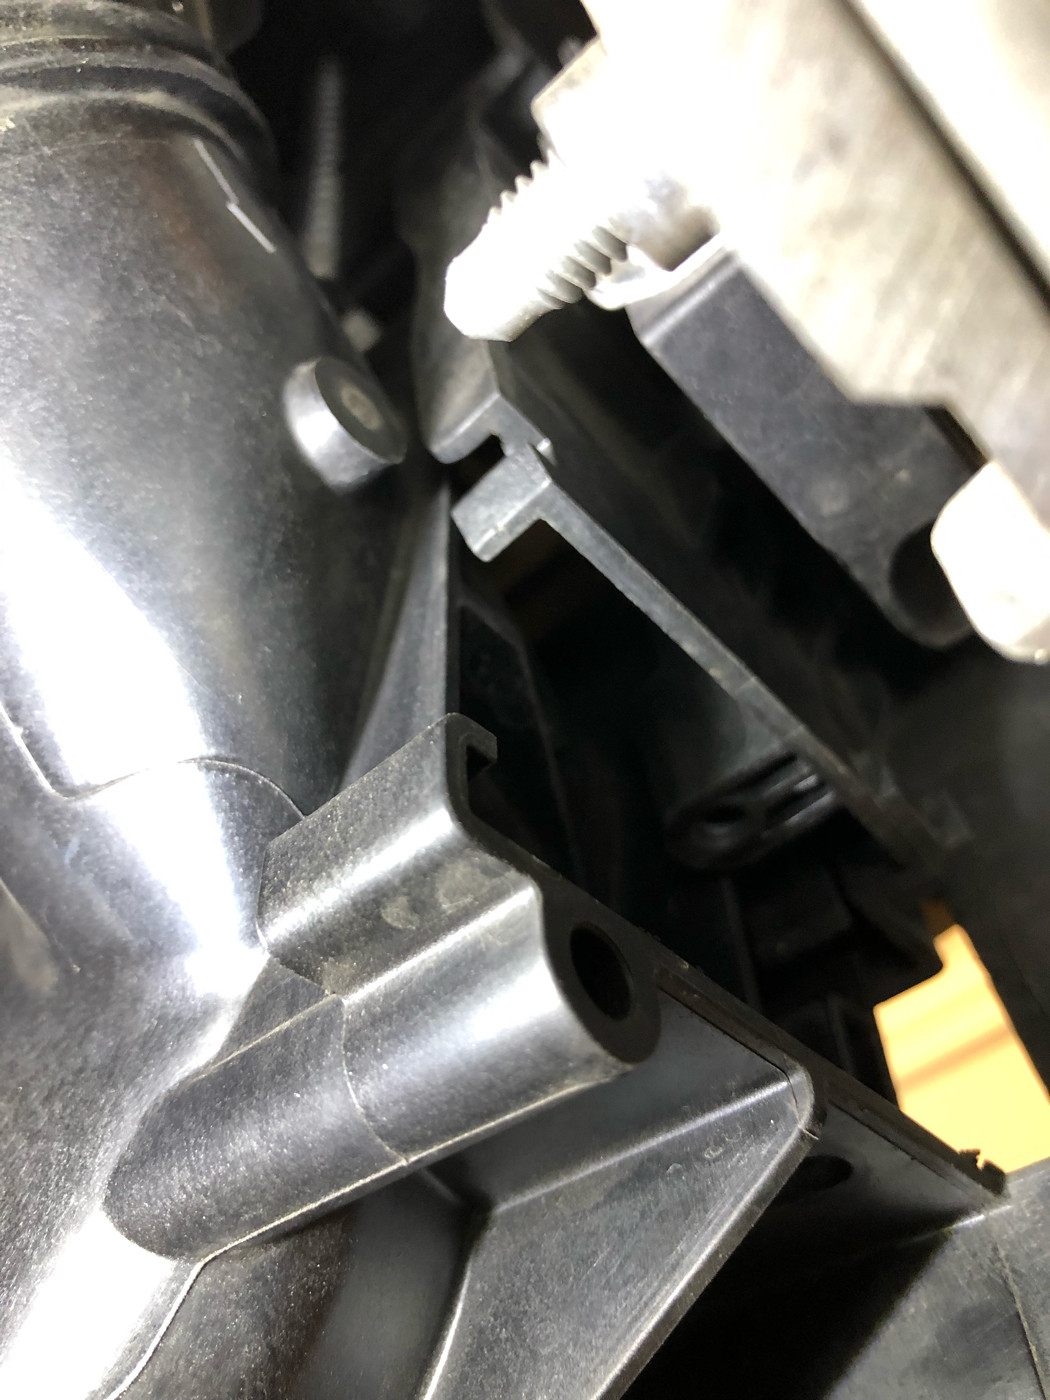 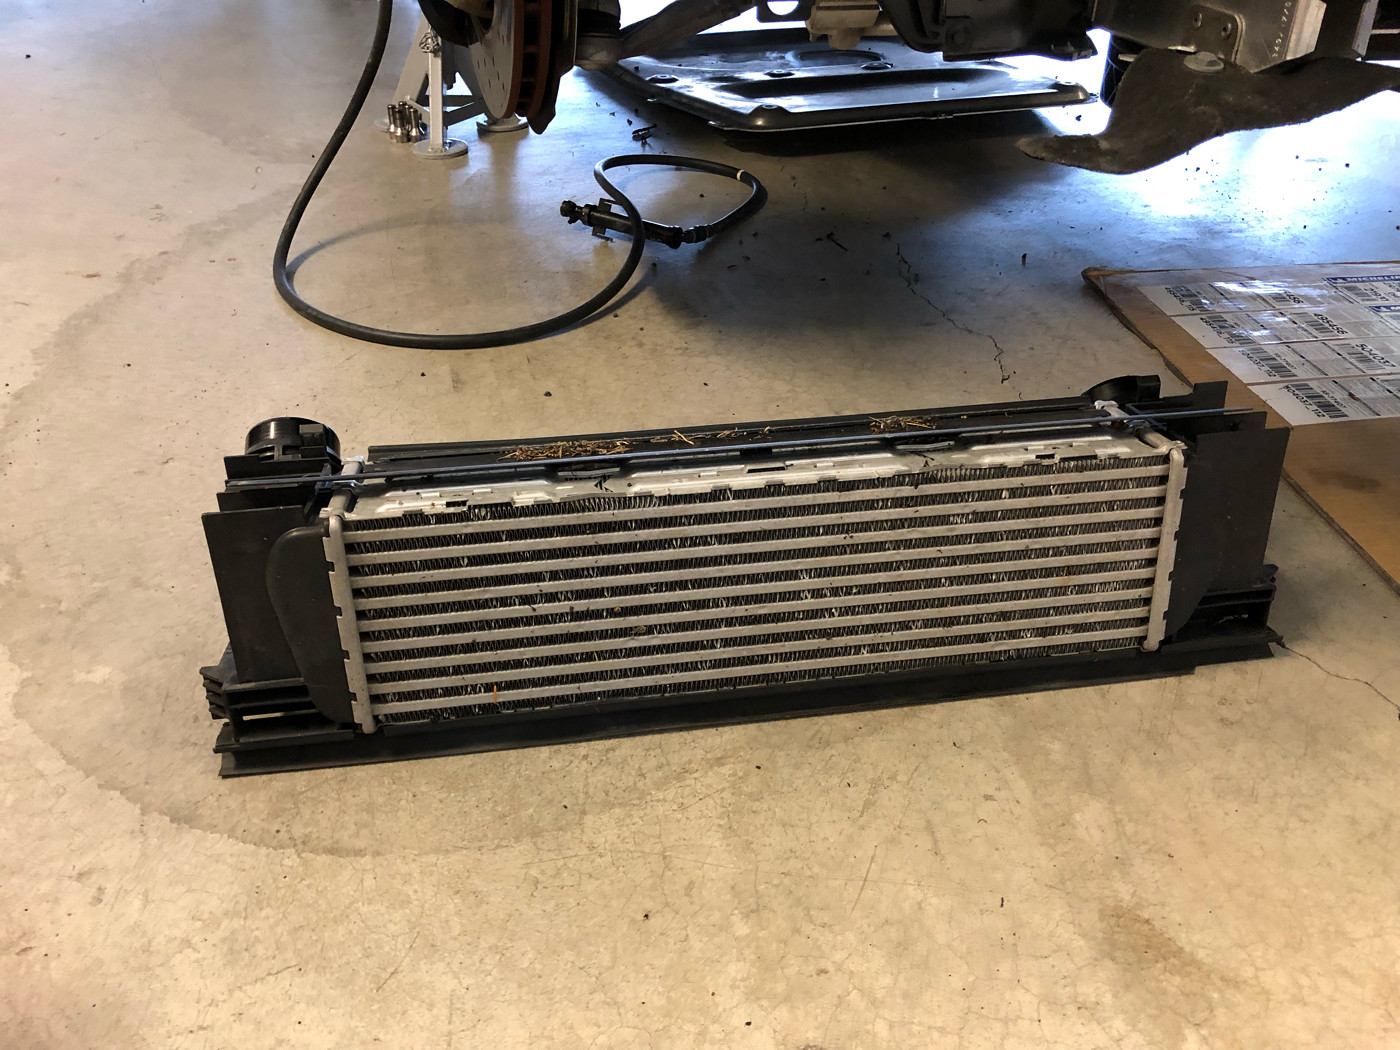  Weight of I/C: 7 lbs 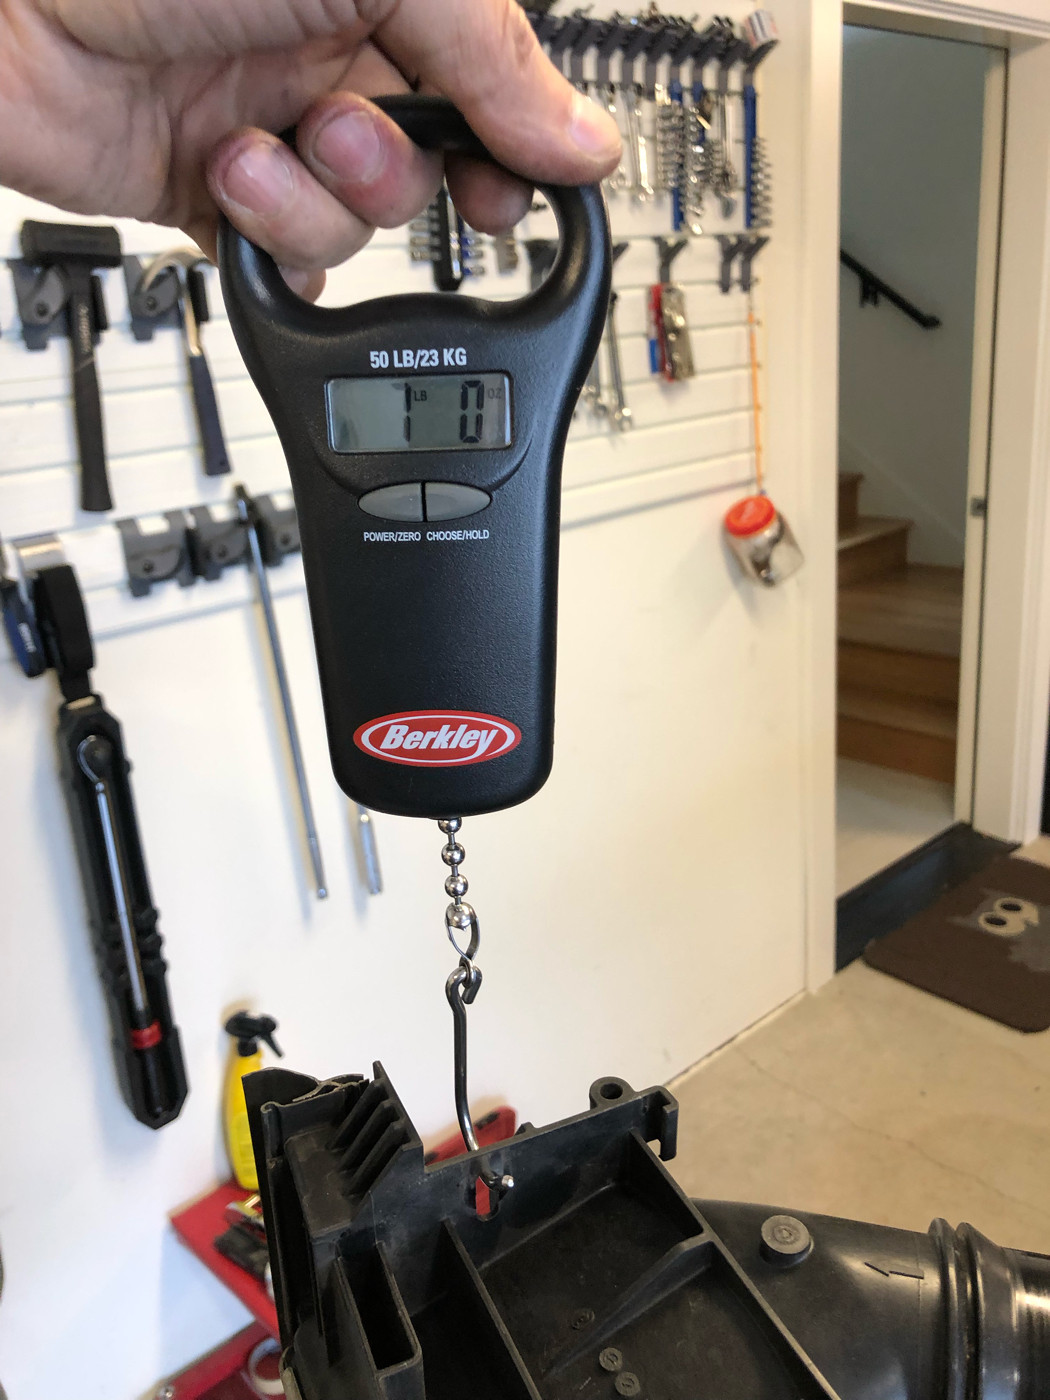 ER vs stock 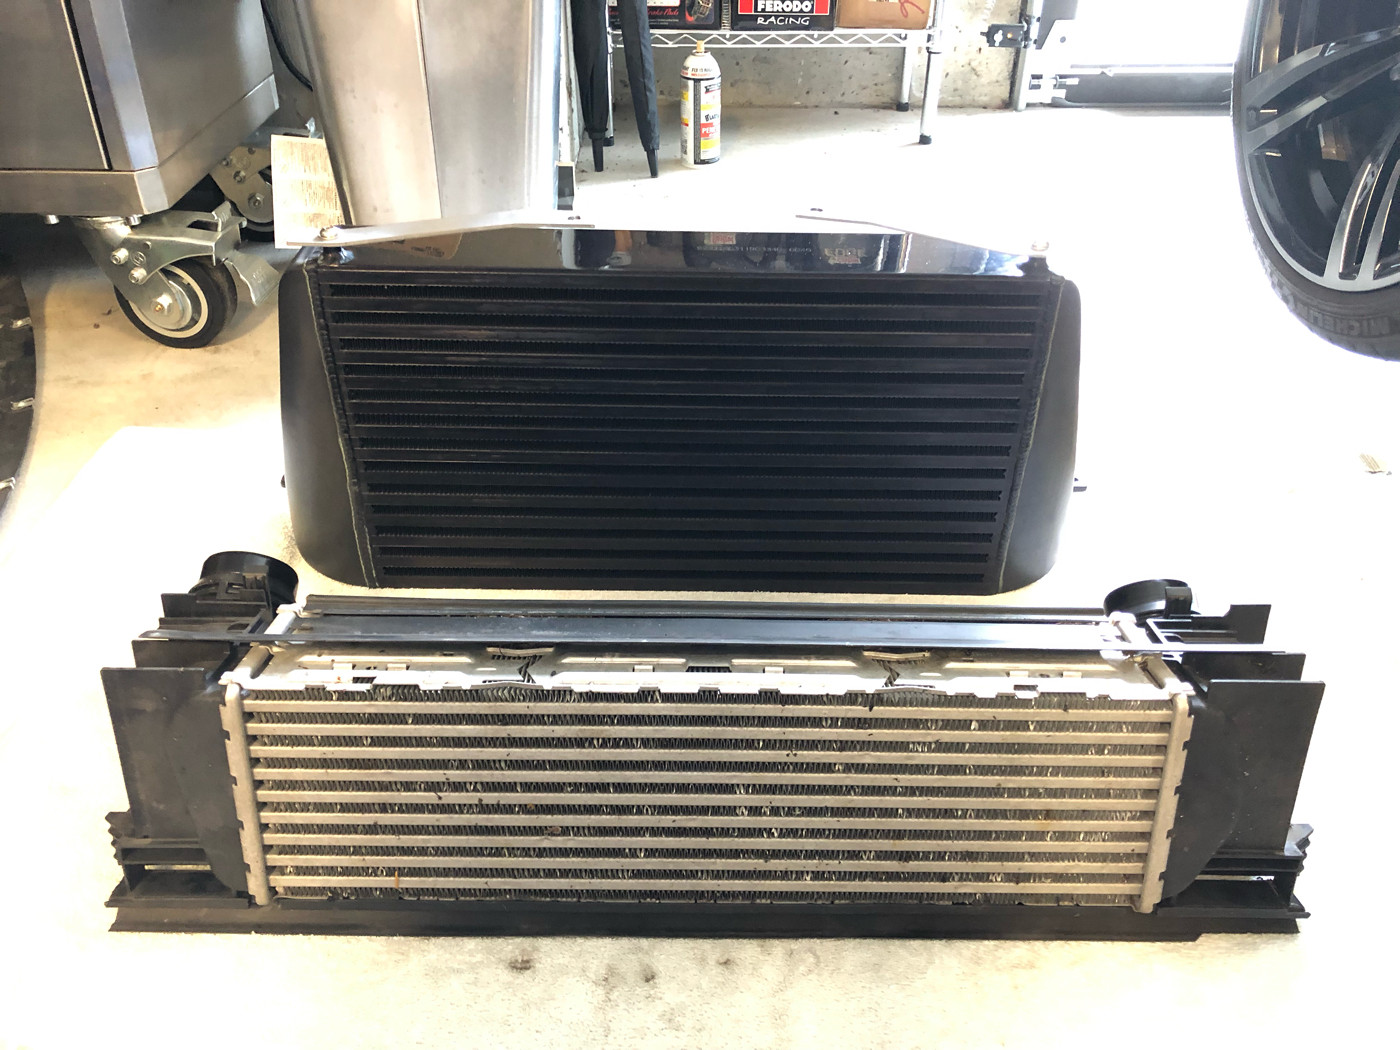 Weight of ER: 22lbs 13oz 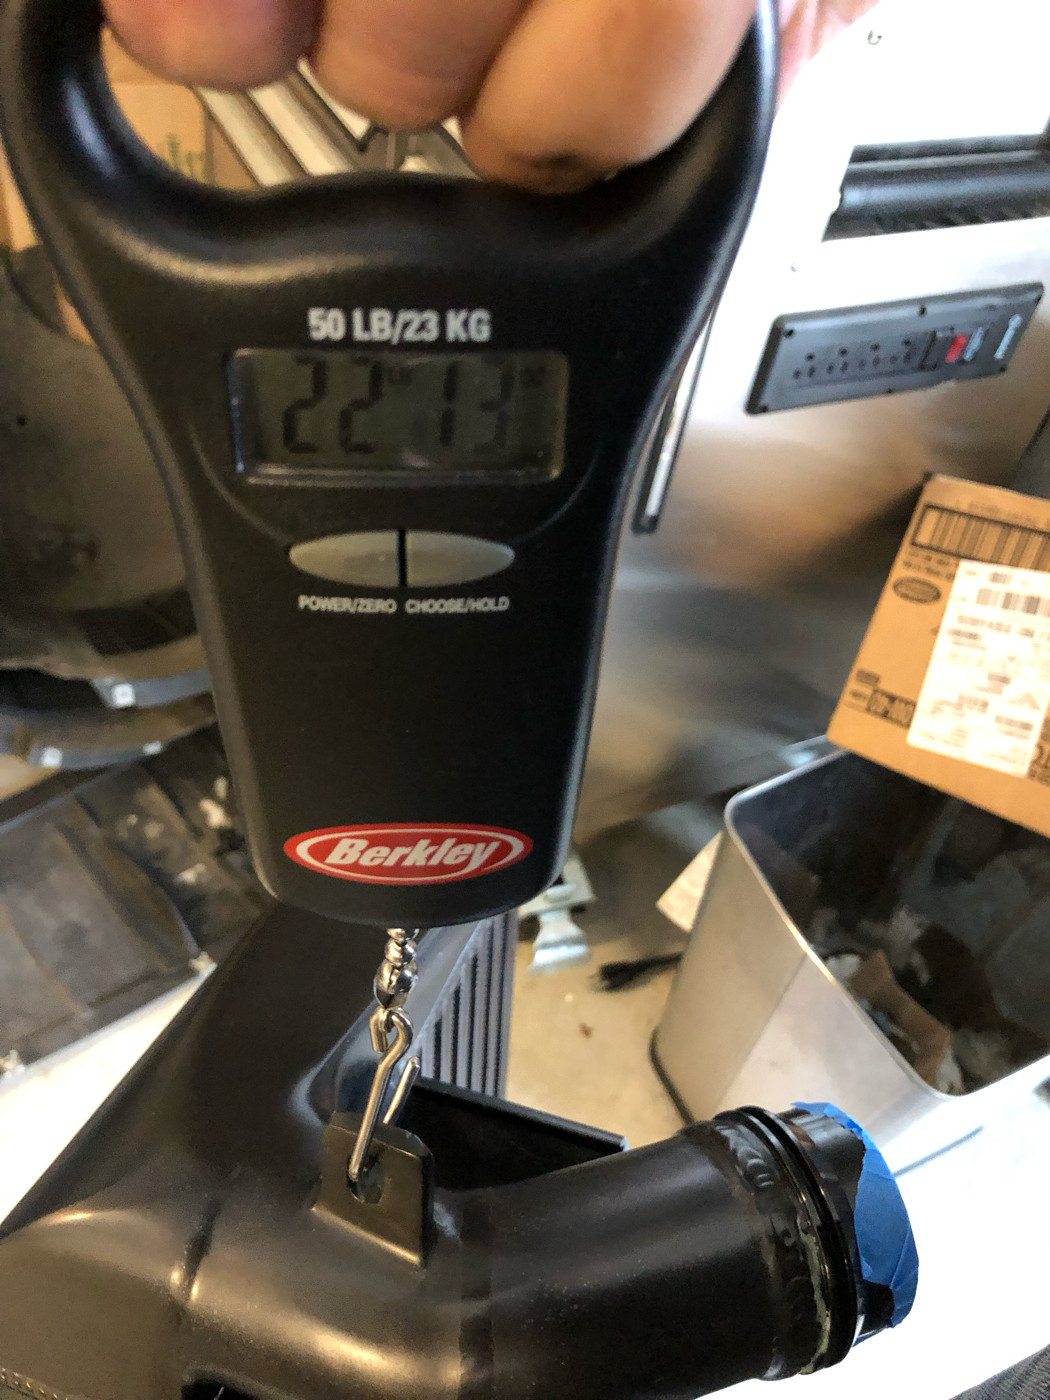 Charge pipe from the top - disconnect the MAP sensor and vacuum connector from the pipe. There is also a bracket and a rubber grommet holding the upper charge pipe. I removed the bracket altogether since the rubber grommet is hard to get off the pipe. 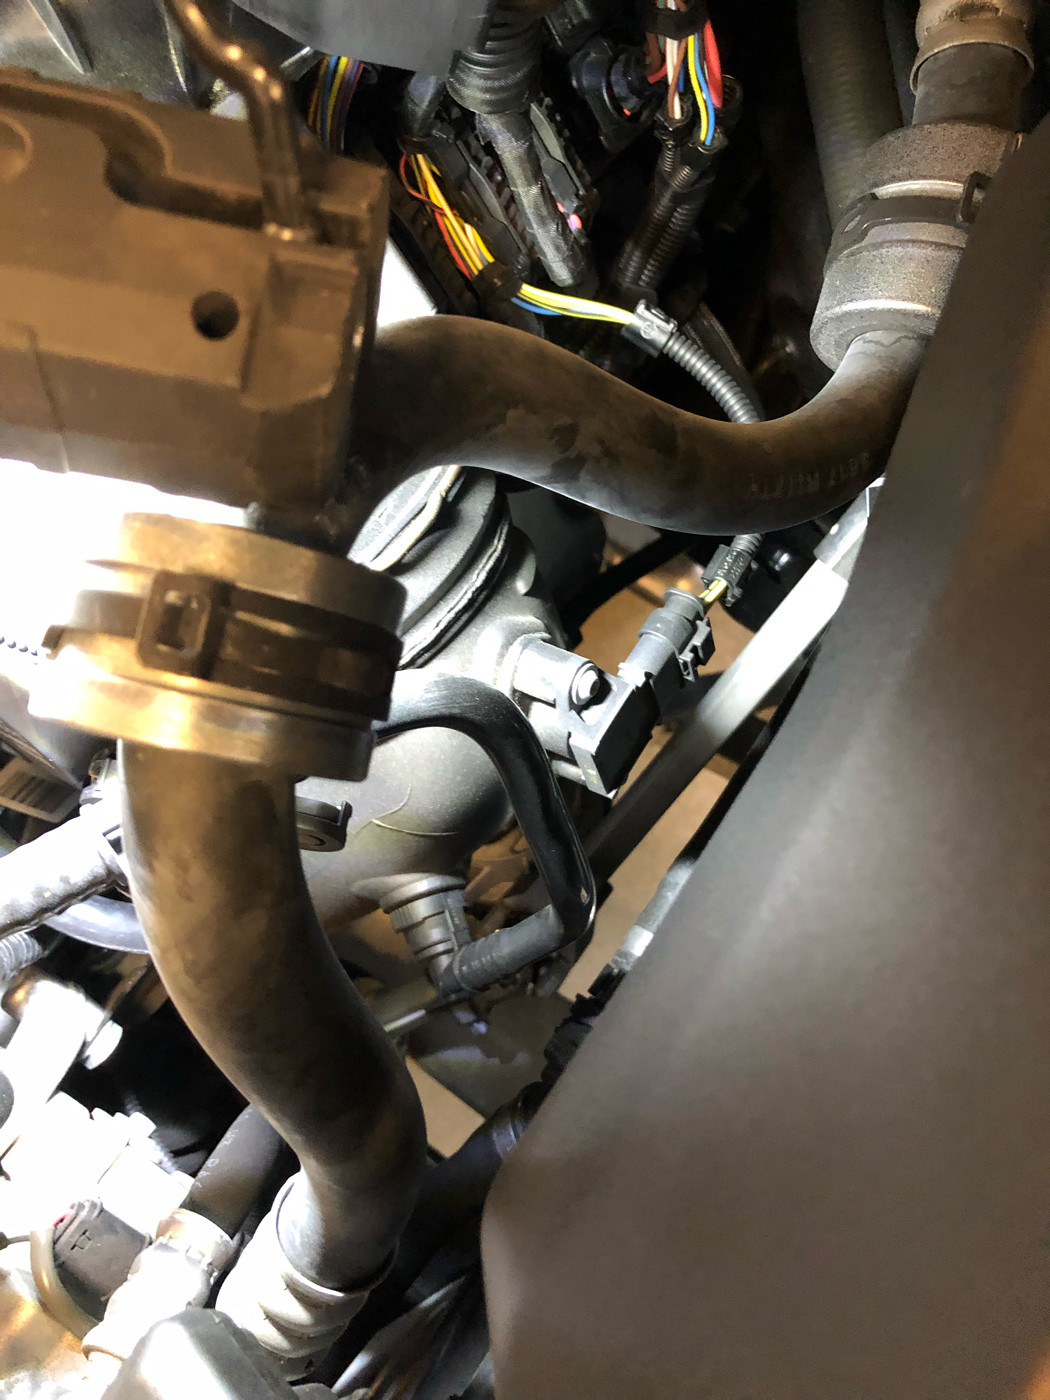 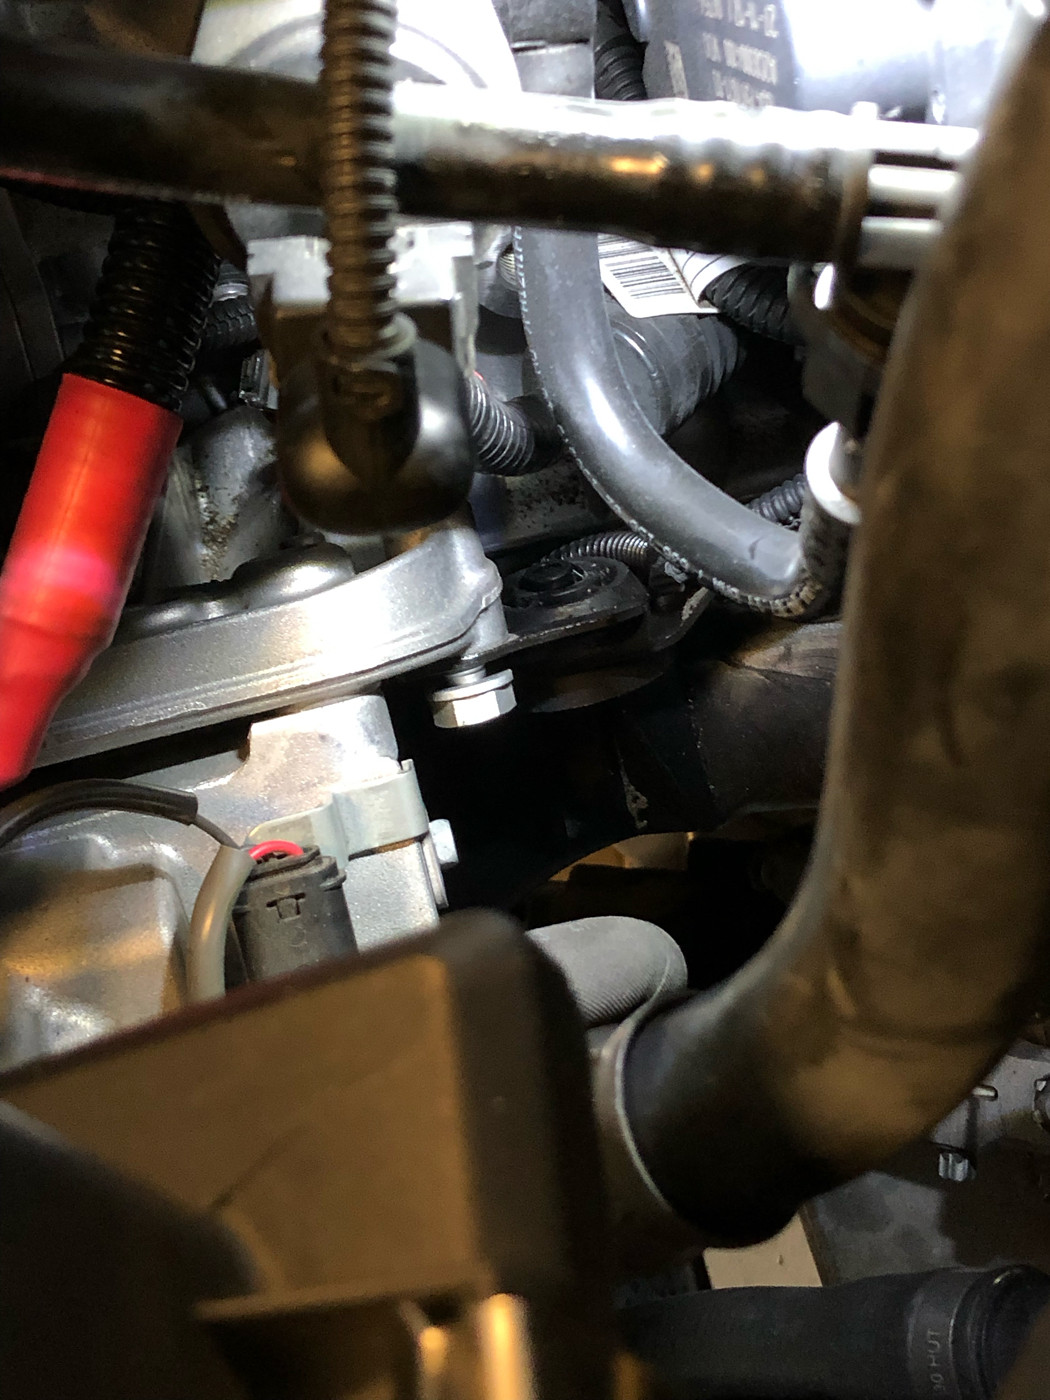 Charge pipe off throttle body. Then its a wiggle/rotate cycle from under the car to get it out. 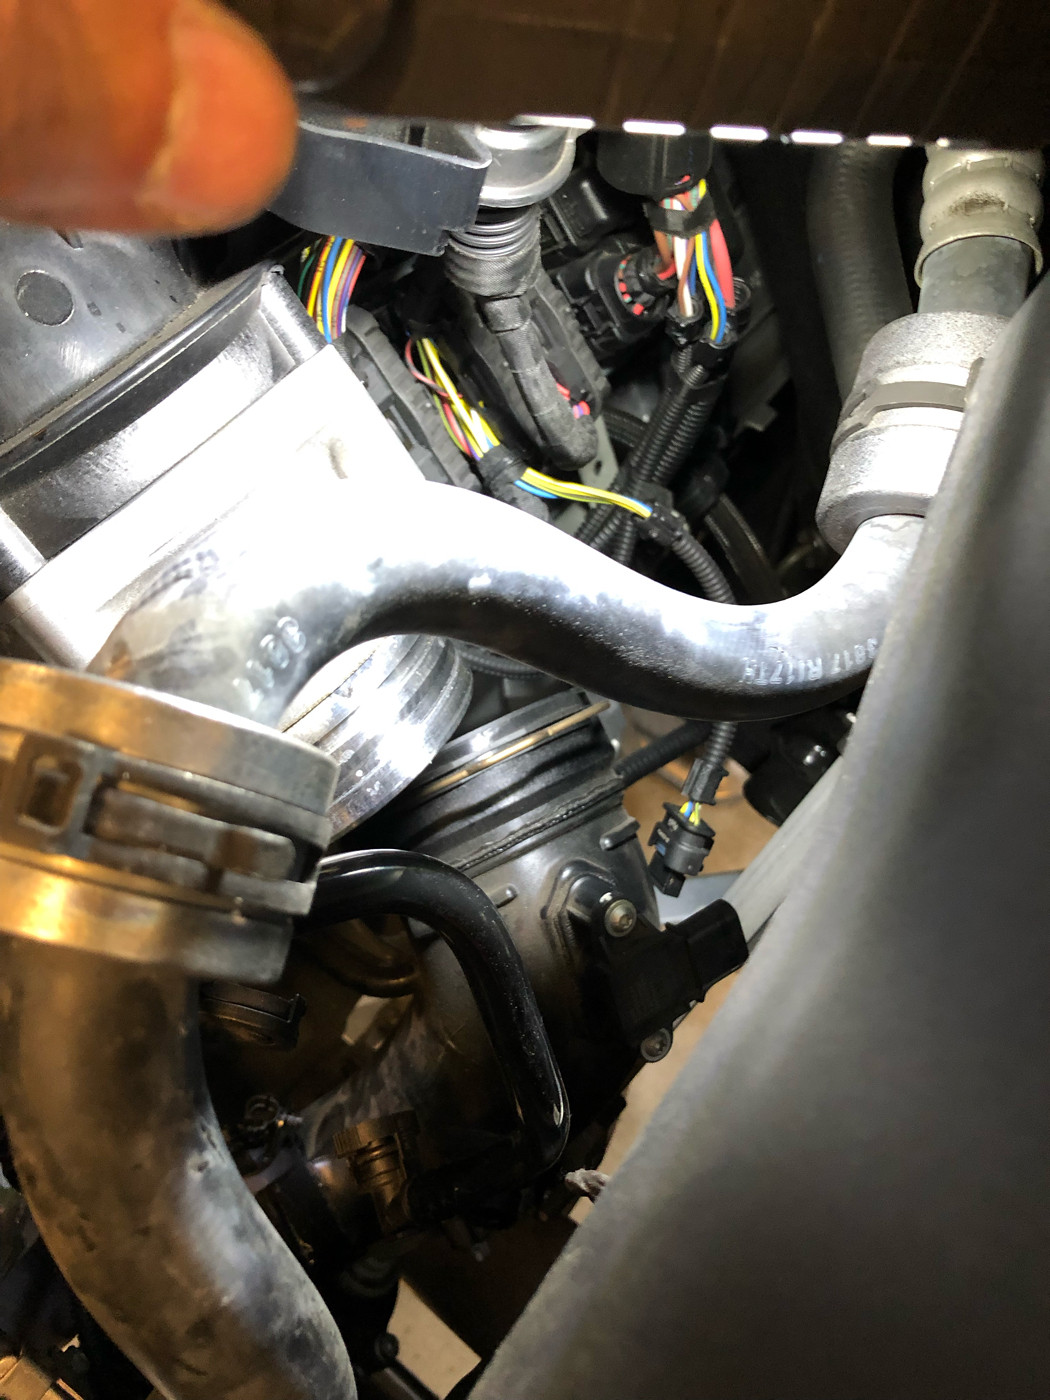 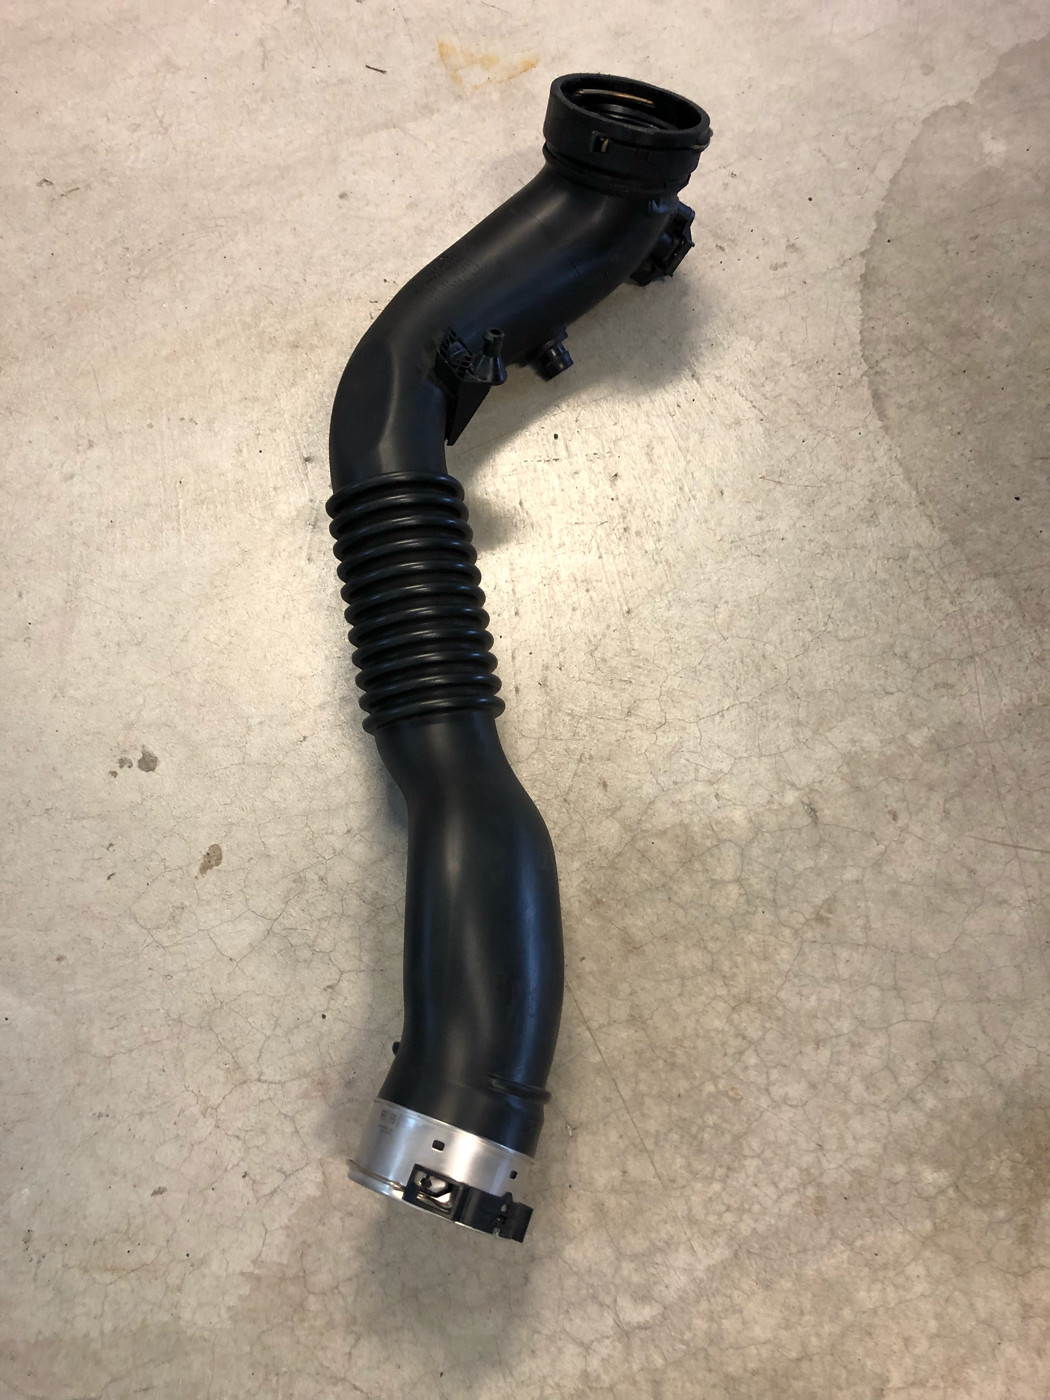 Transfer MAP sensor over to the ER charge pipe. And the rubber O-rings on either end of the charge pipe to the ER pieces. 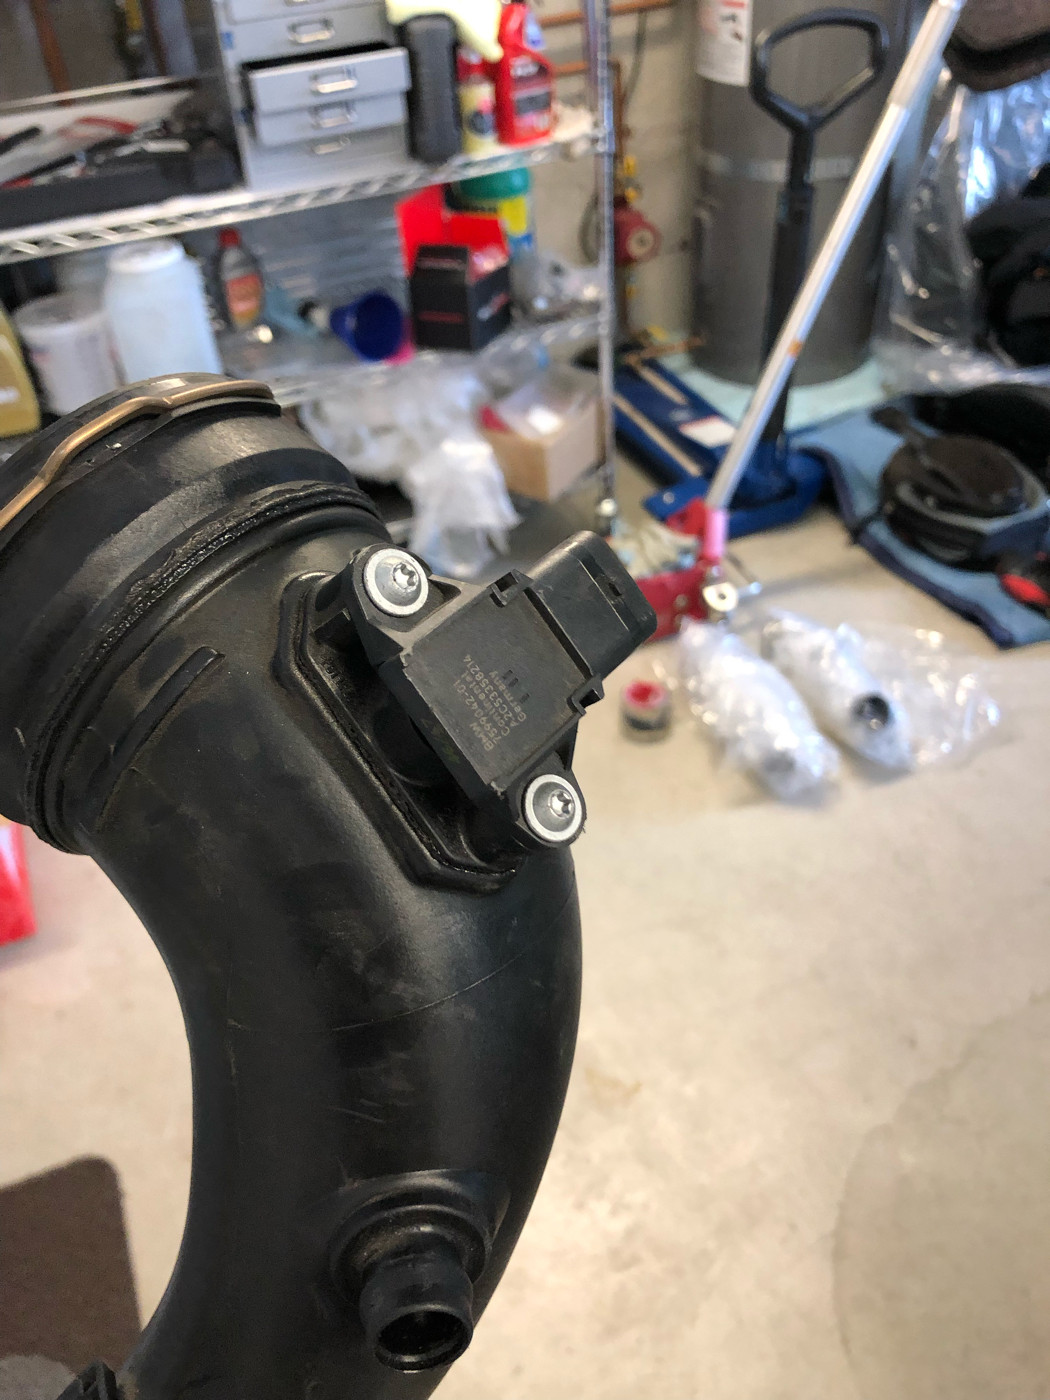 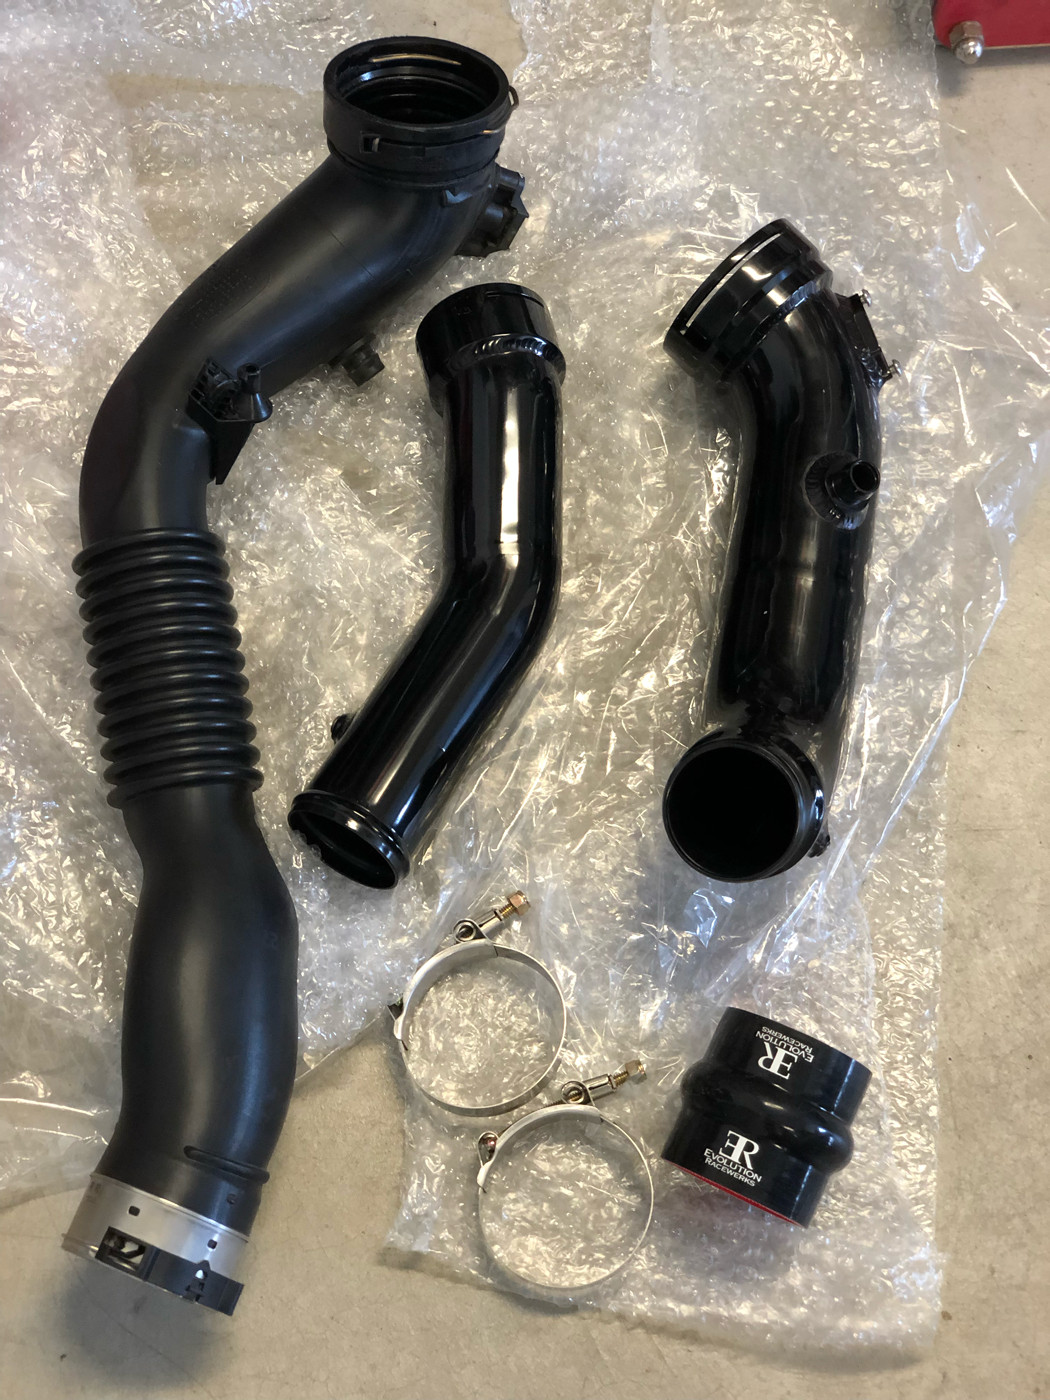 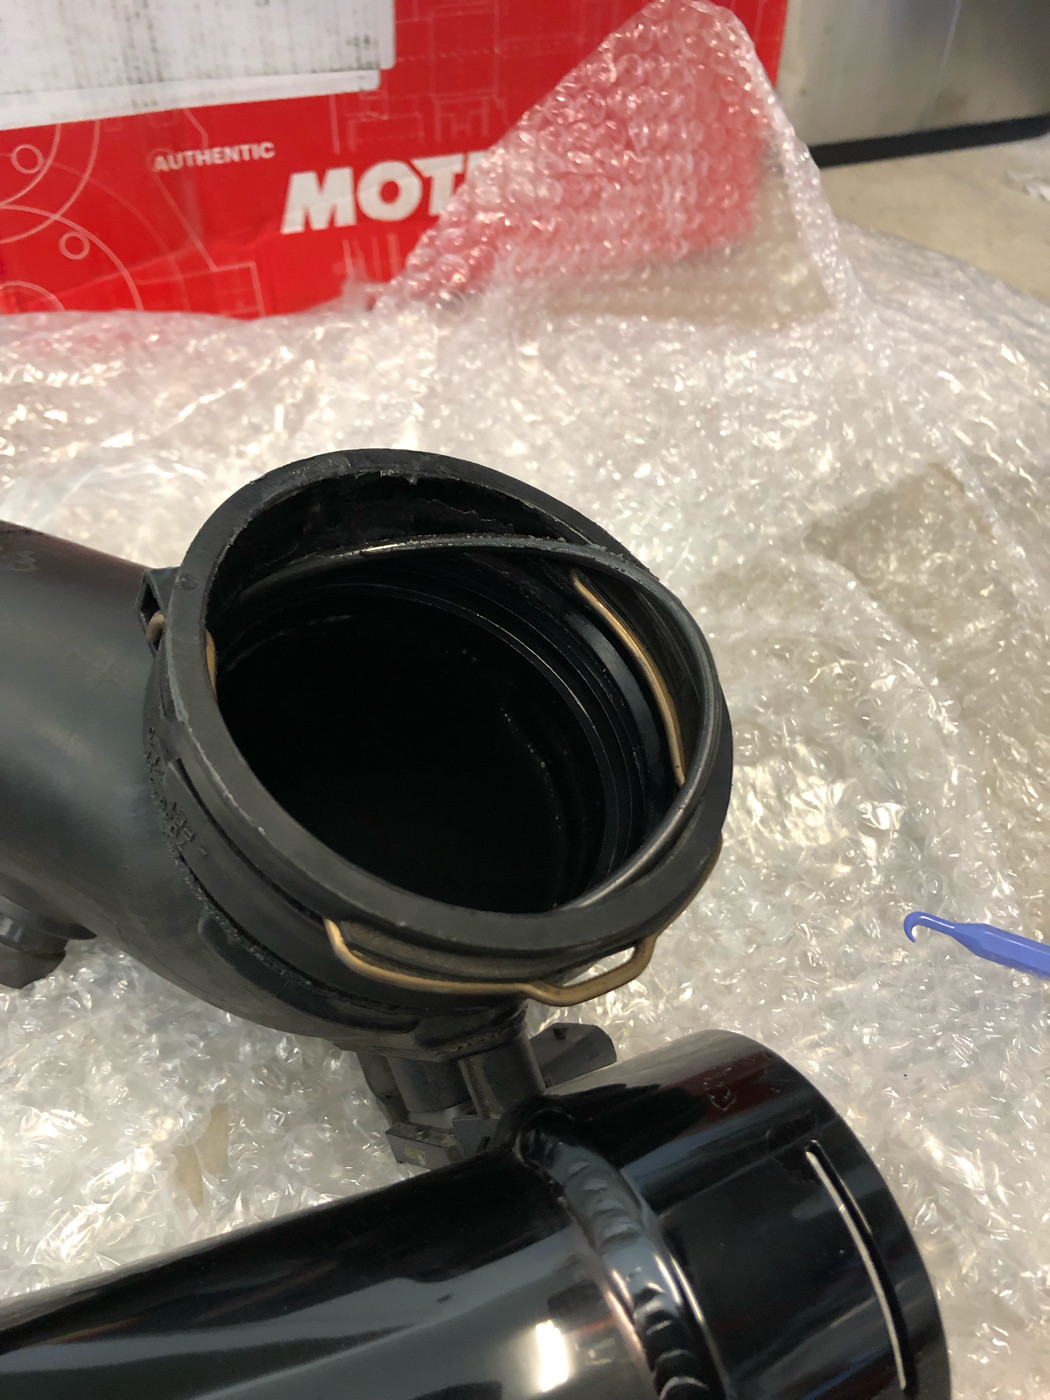 Crash foam and bar come off next. 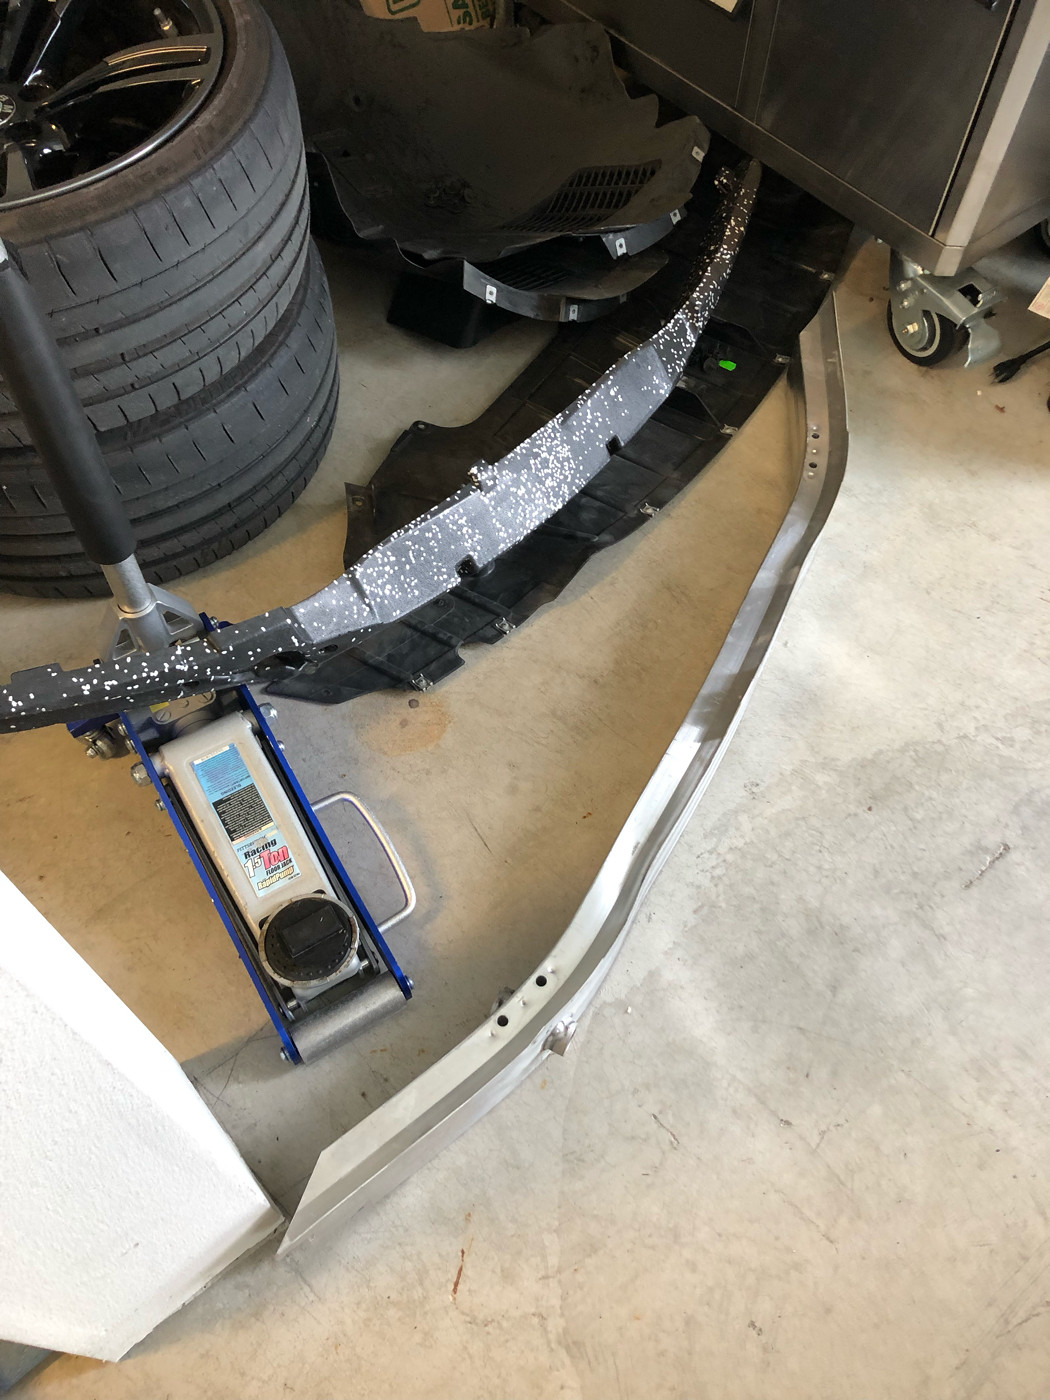 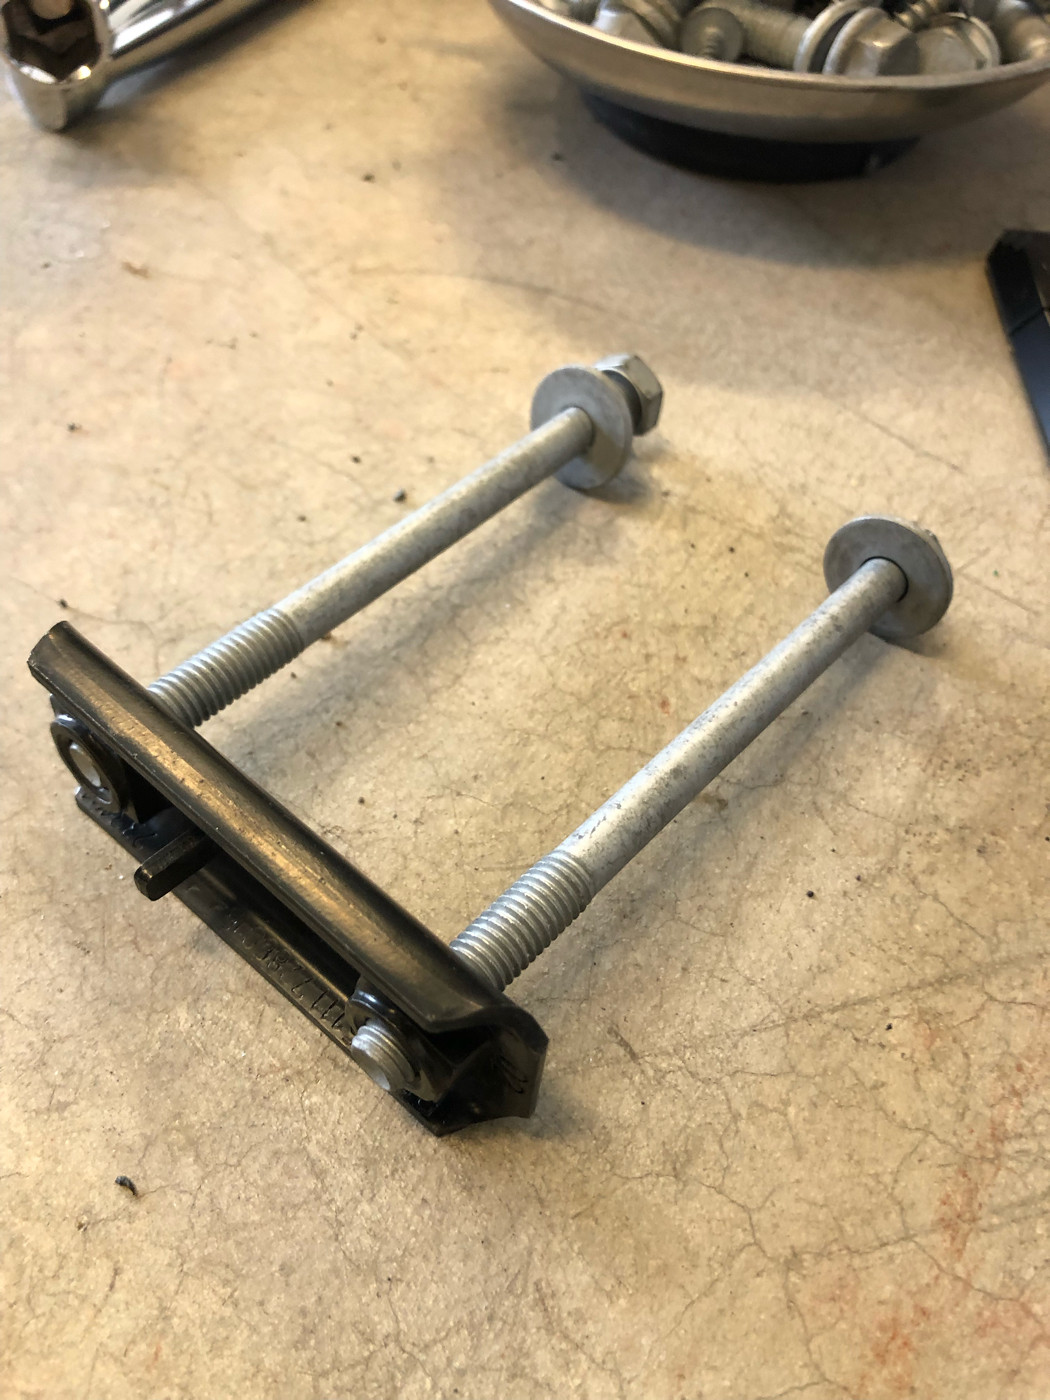 Black triangular brace comes off next. 6 bolts. 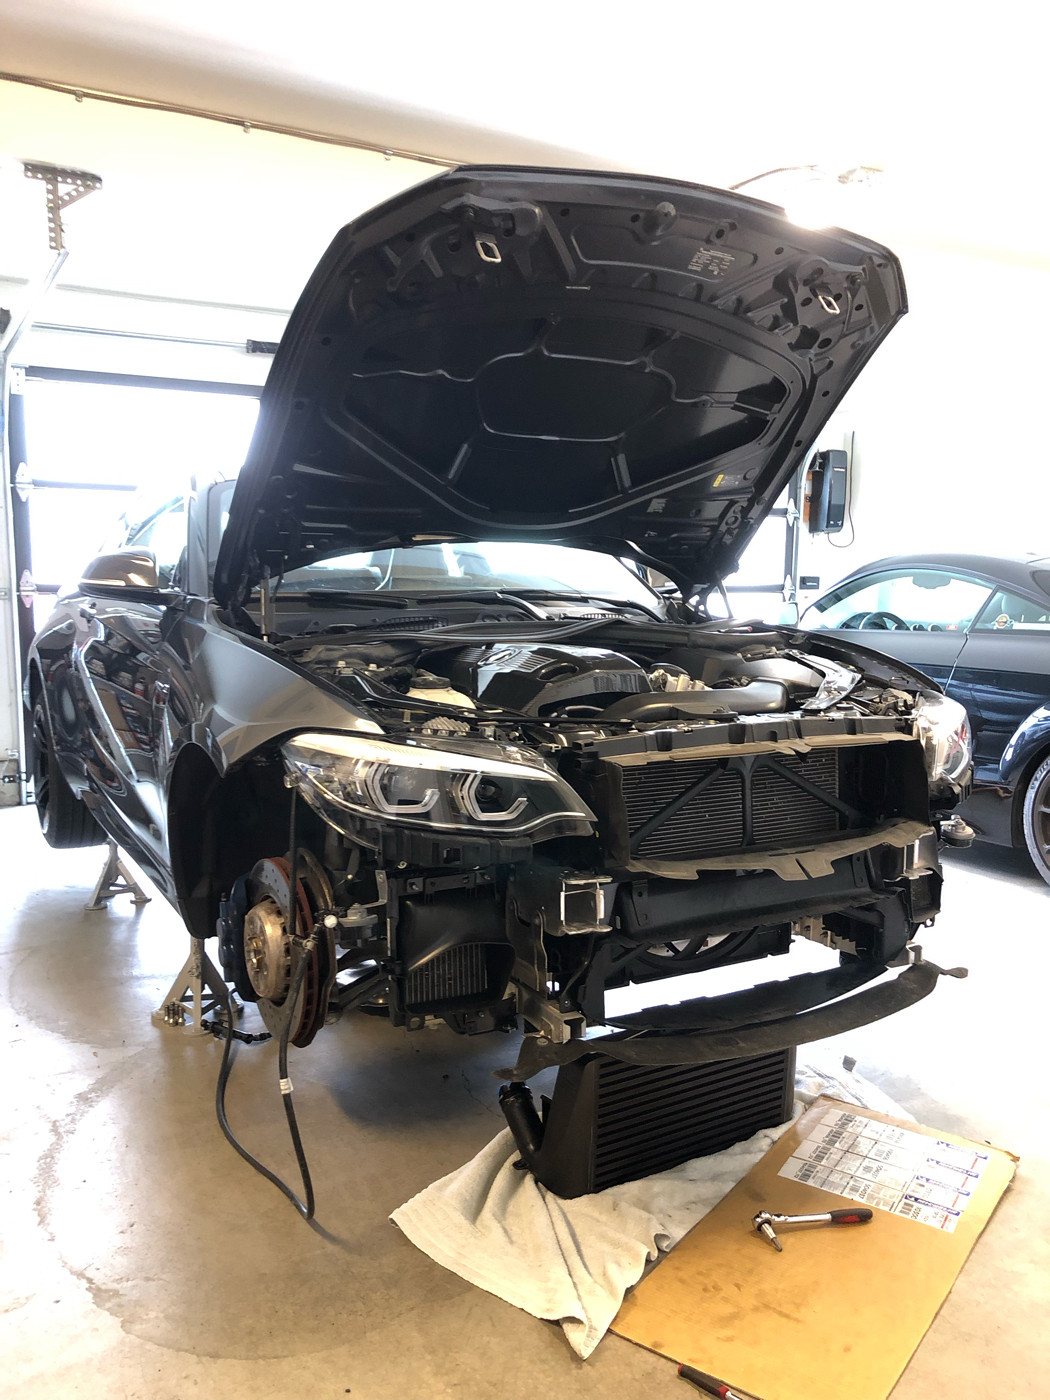 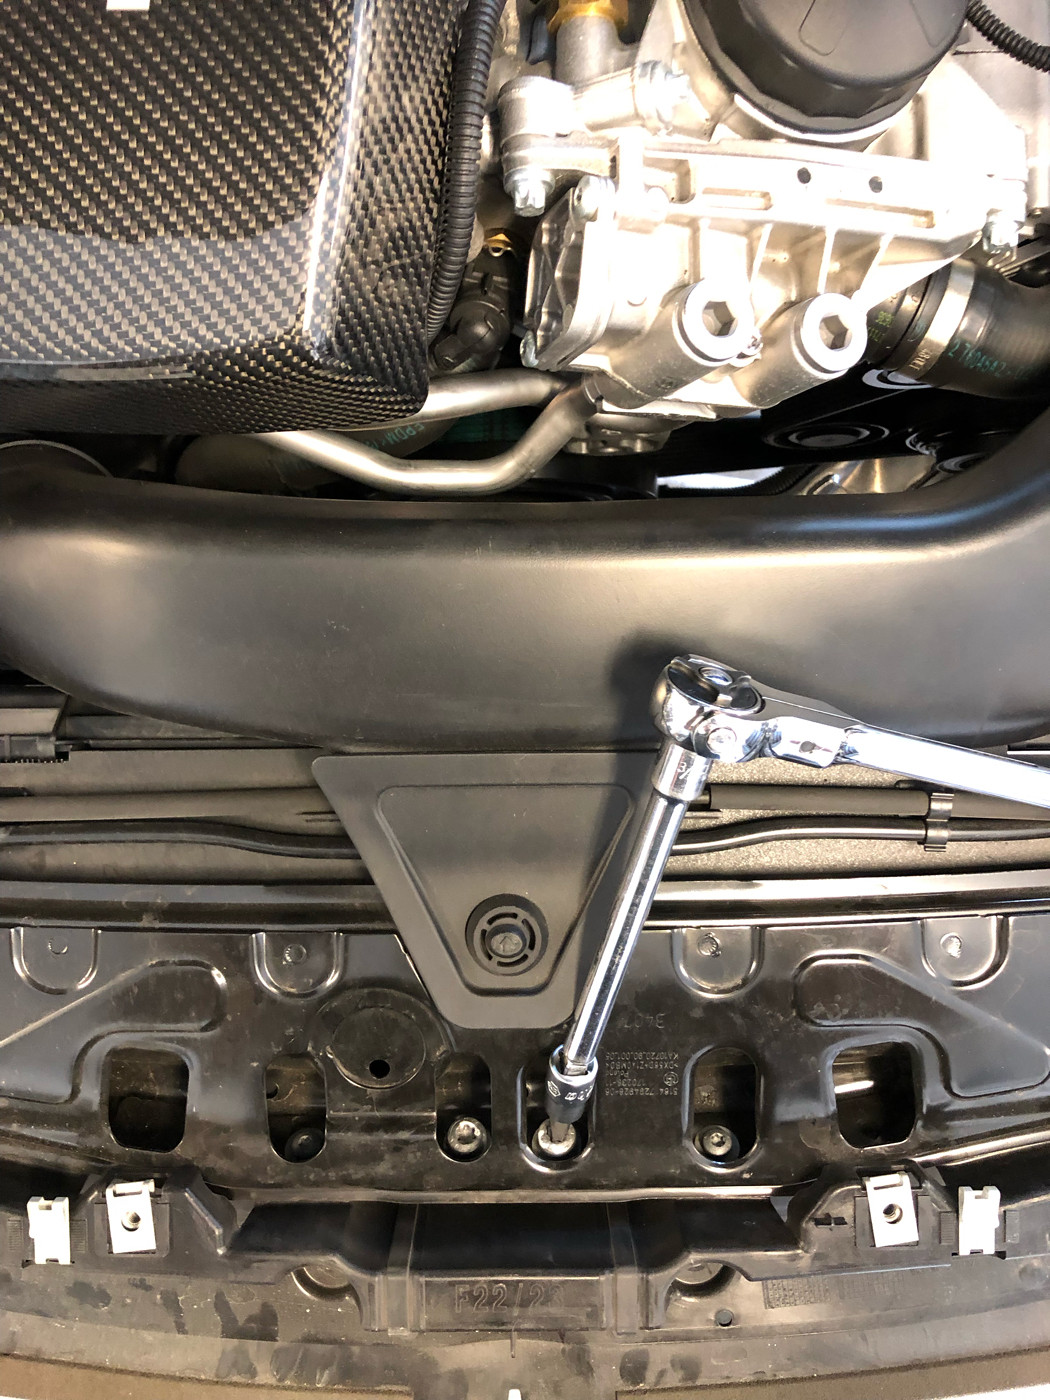 Plastic stock intercooler shroud comes off and stays off. 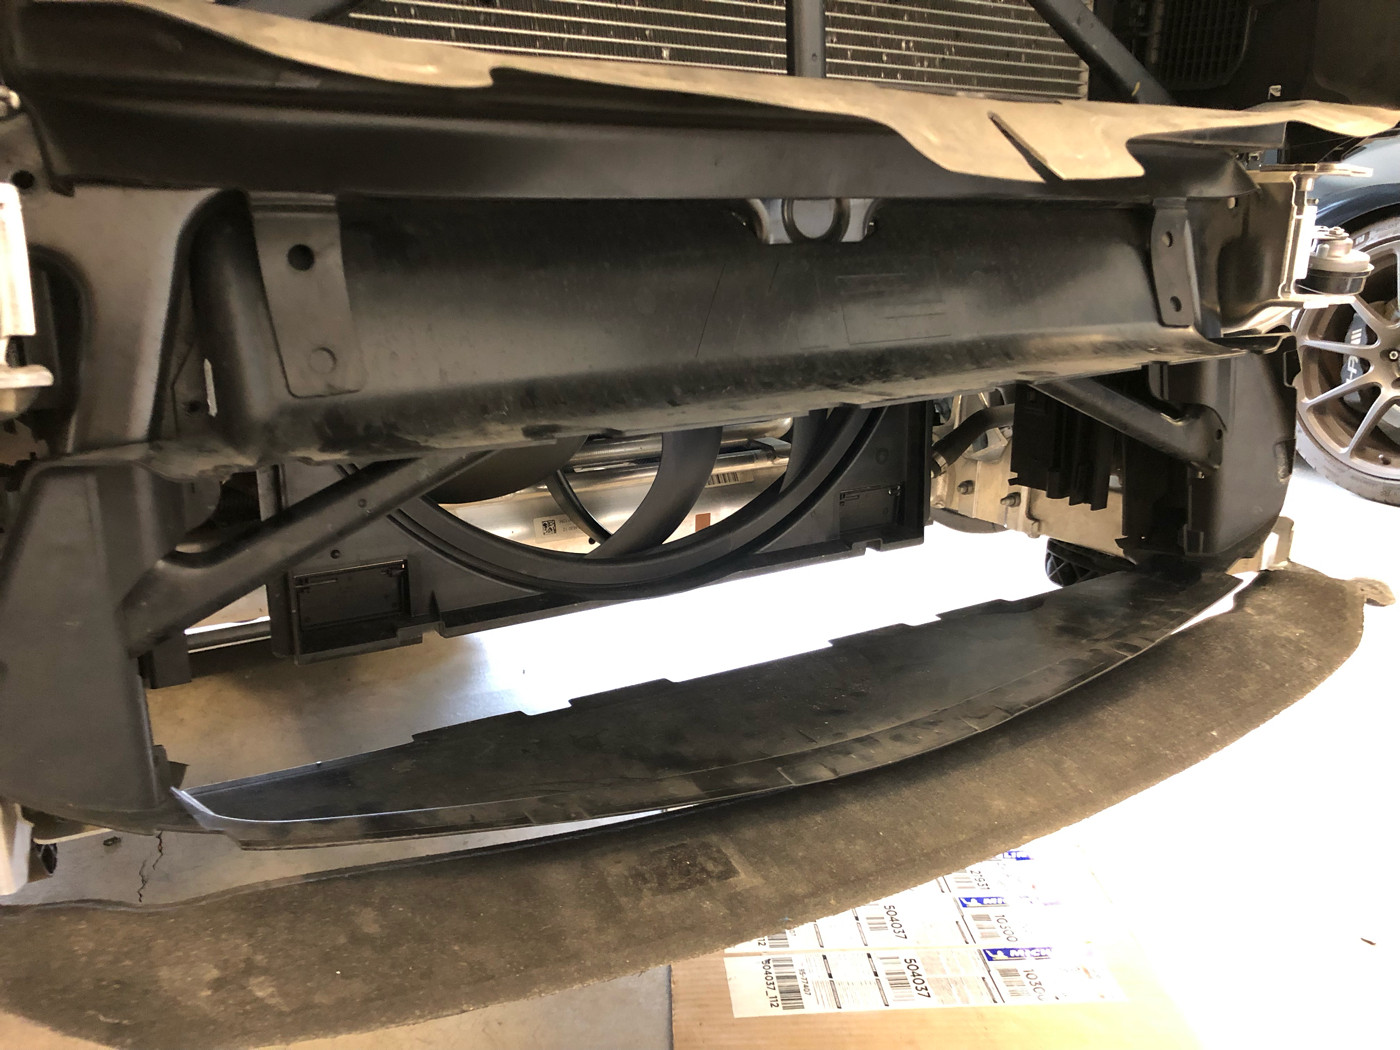 Shroud weight: 14 oz (almost a lb) 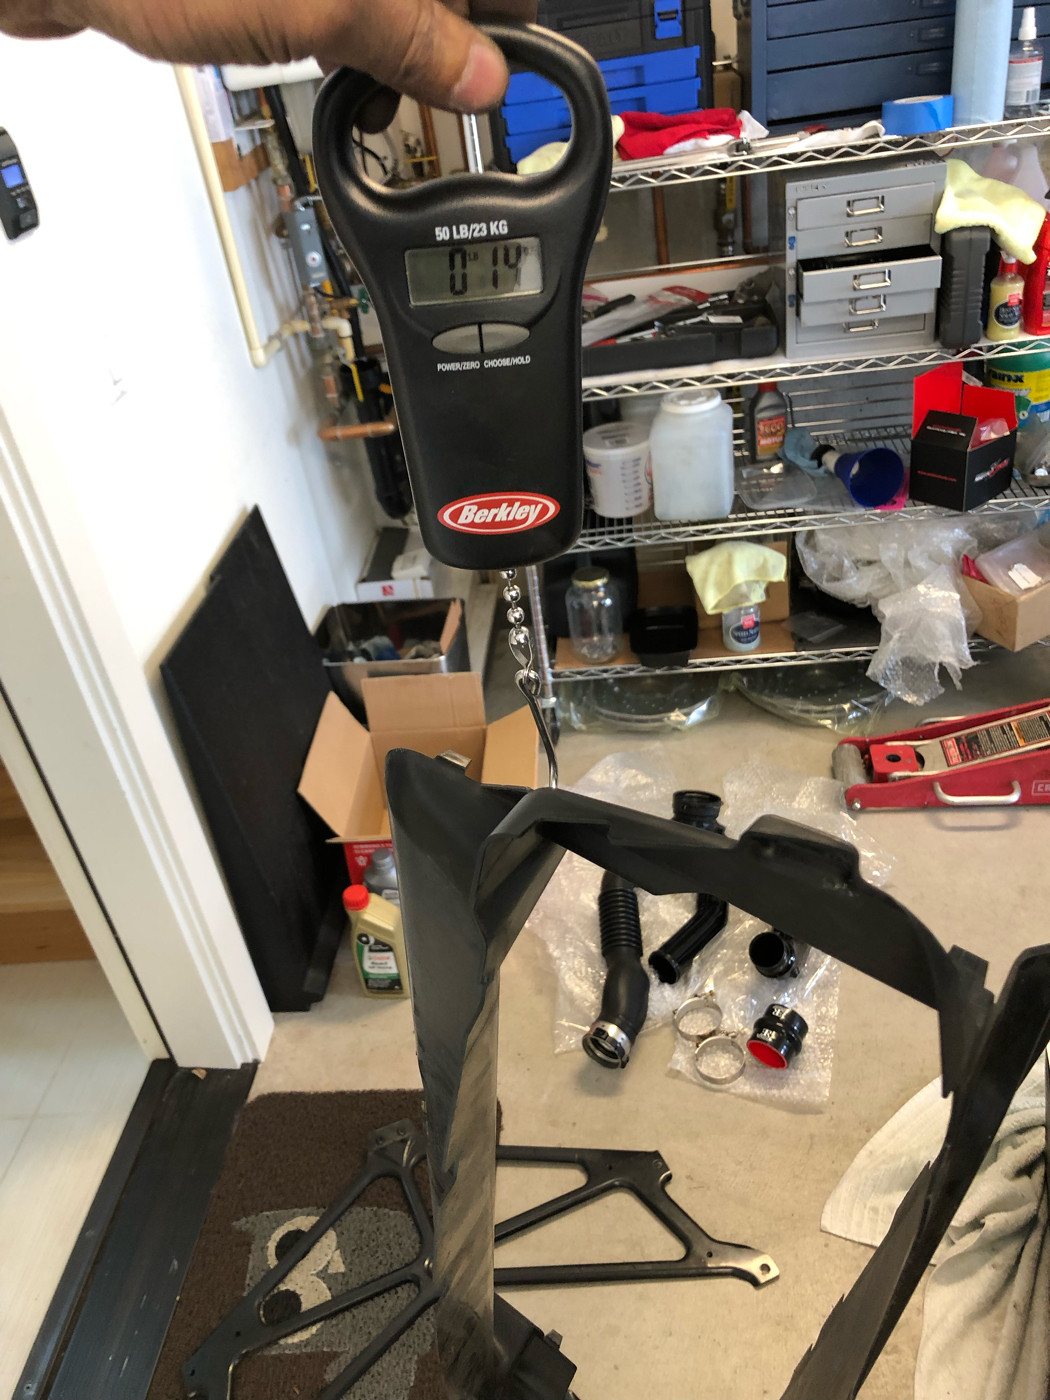 Brace weight: 1lb 9oz 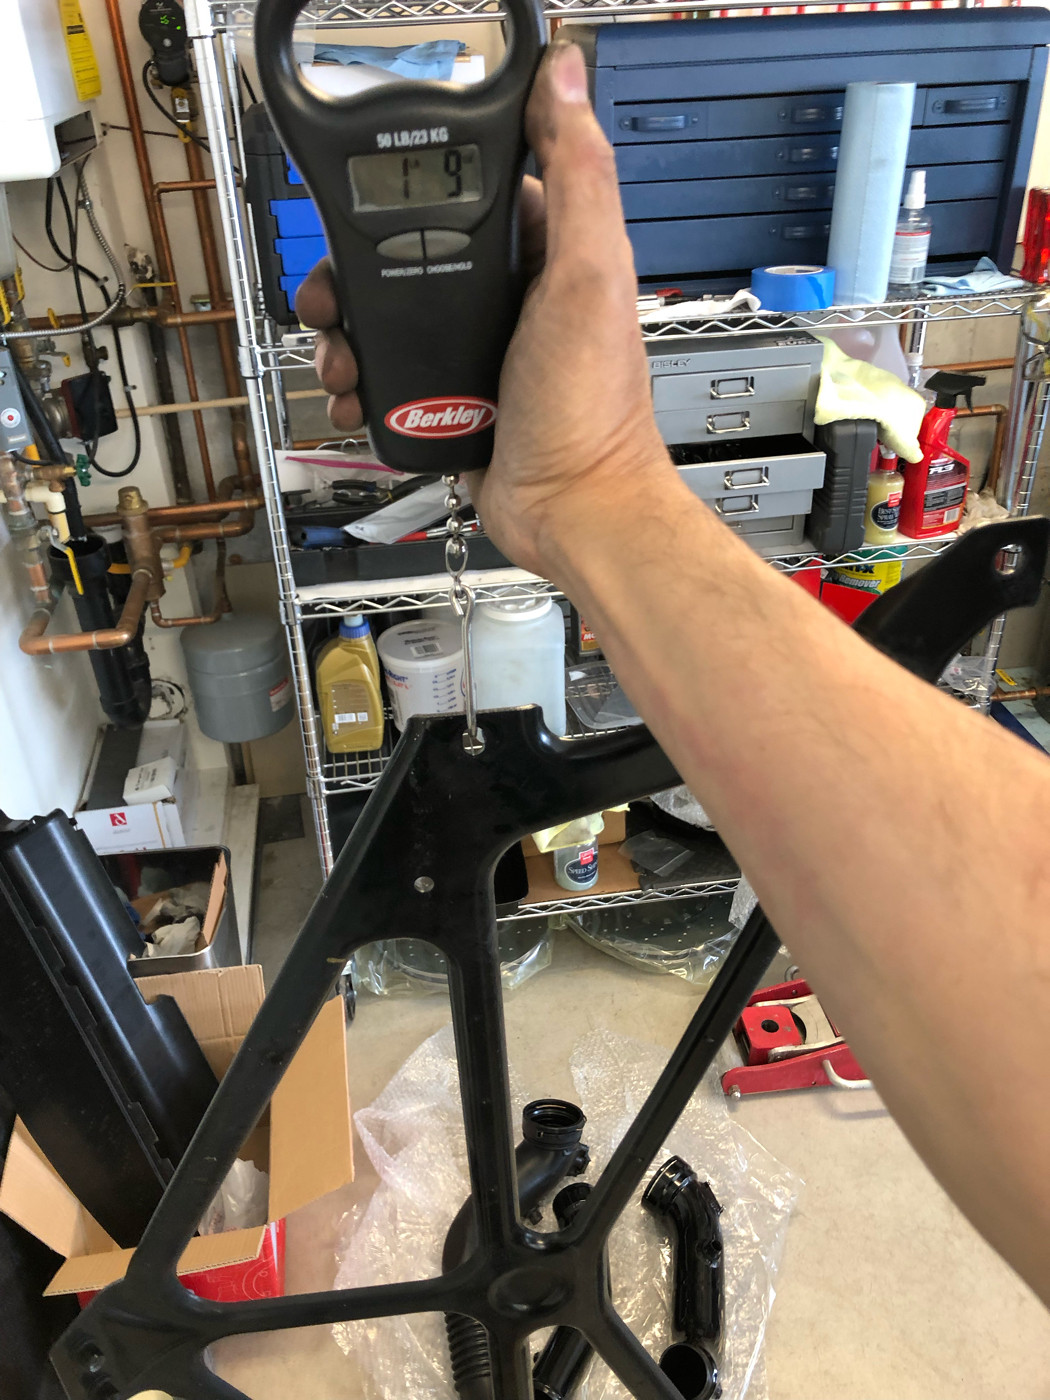 New brace weight: 1lb 3oz 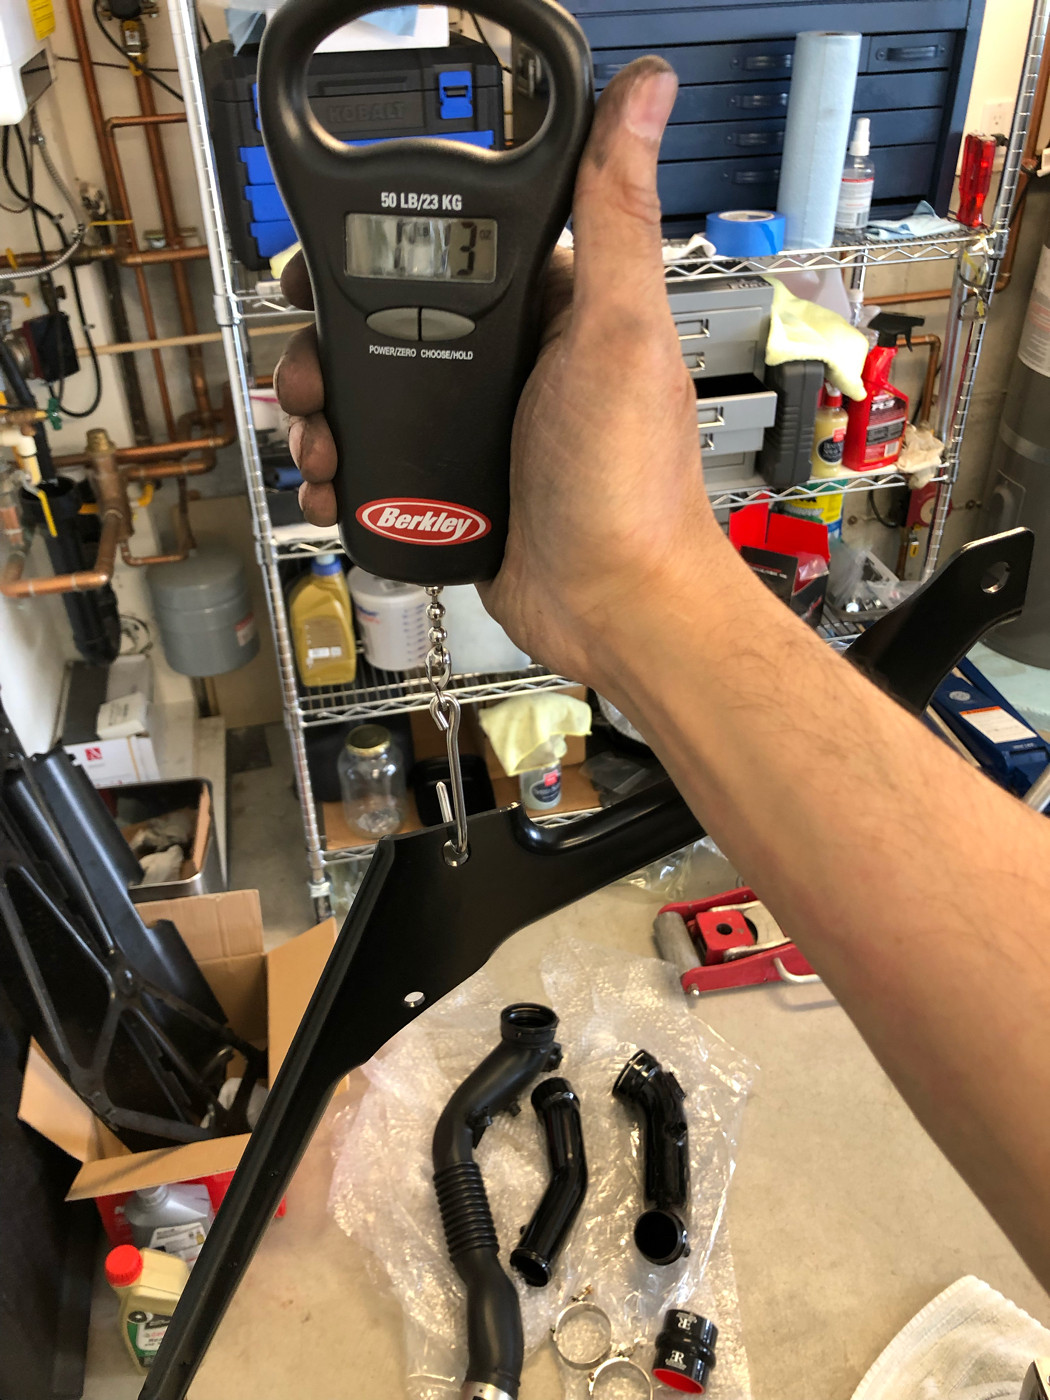 Upper ER charge pipe installs next, with the silicone coupler tightened down with supplied t-bolt clamp. 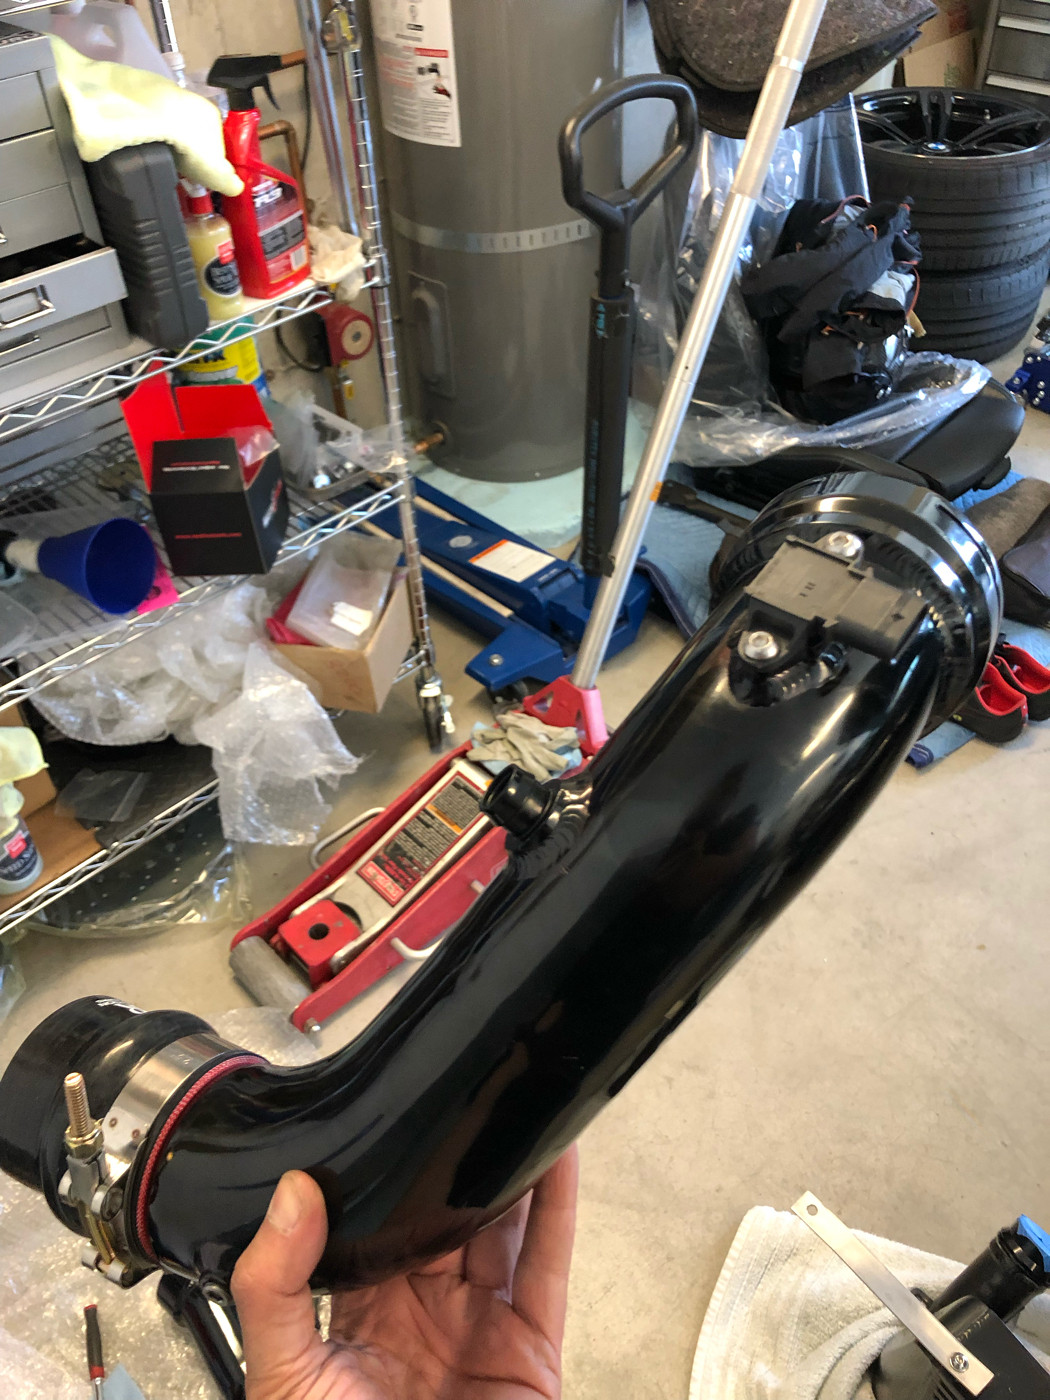 Onto the intercooler. The ER intercooler has 2 steel plates on top that are bolted to a threaded hole in the crumple frame bar on the car. These provide added support to hold the intercooler in place. We had to Dremel the inner holes (that bolt to top of intercooler) into an oval to allow some side to side play on the intercooler to allow for centering and locating. 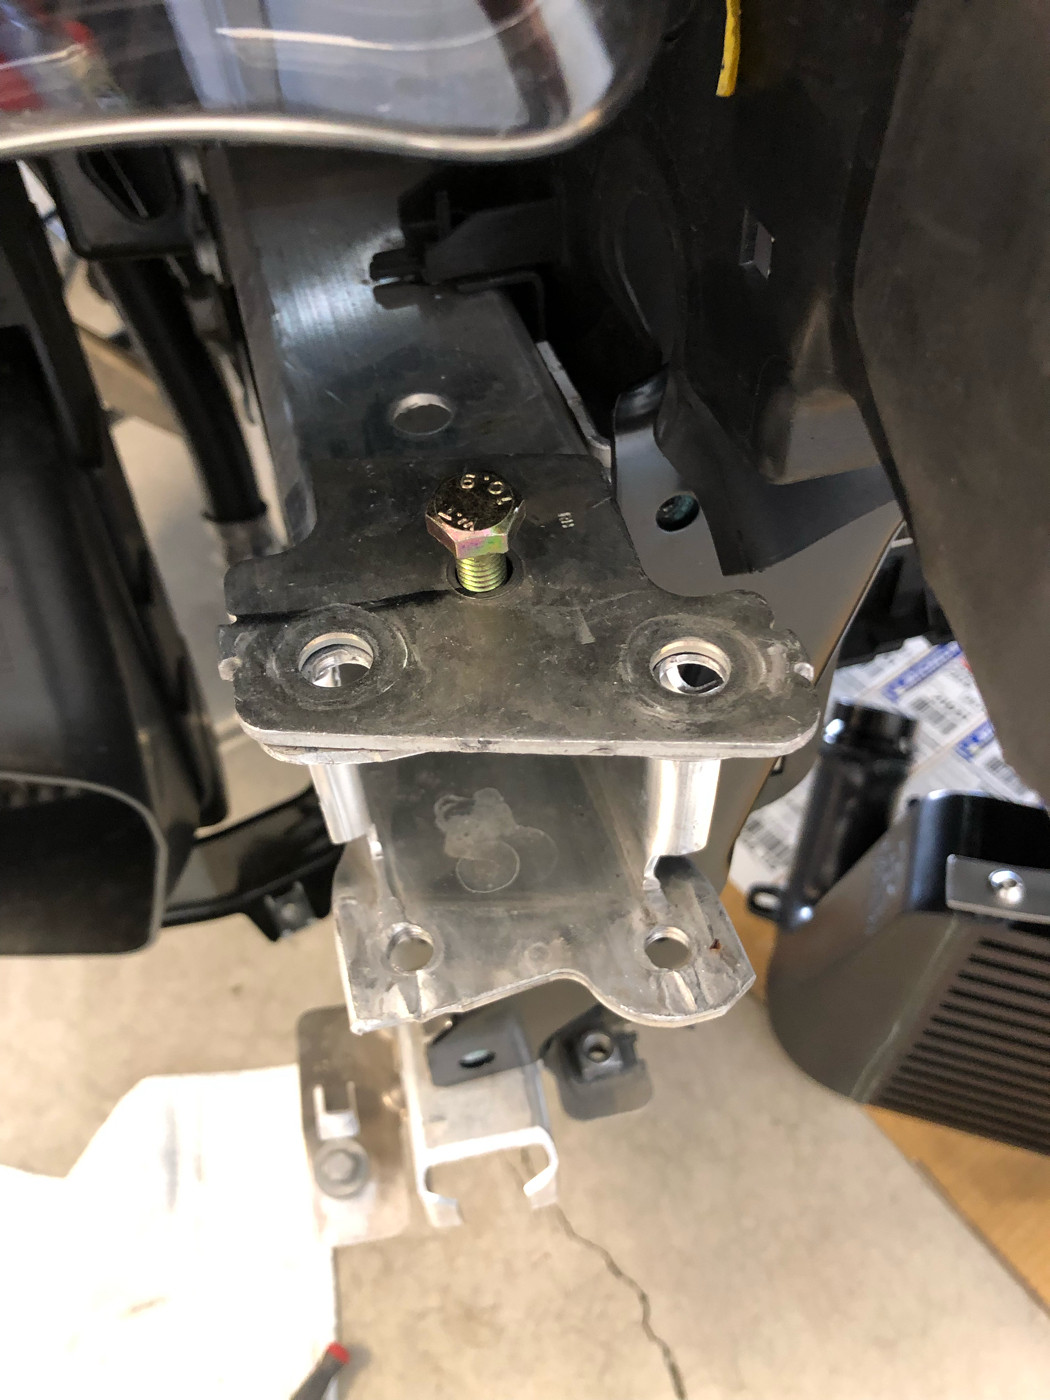 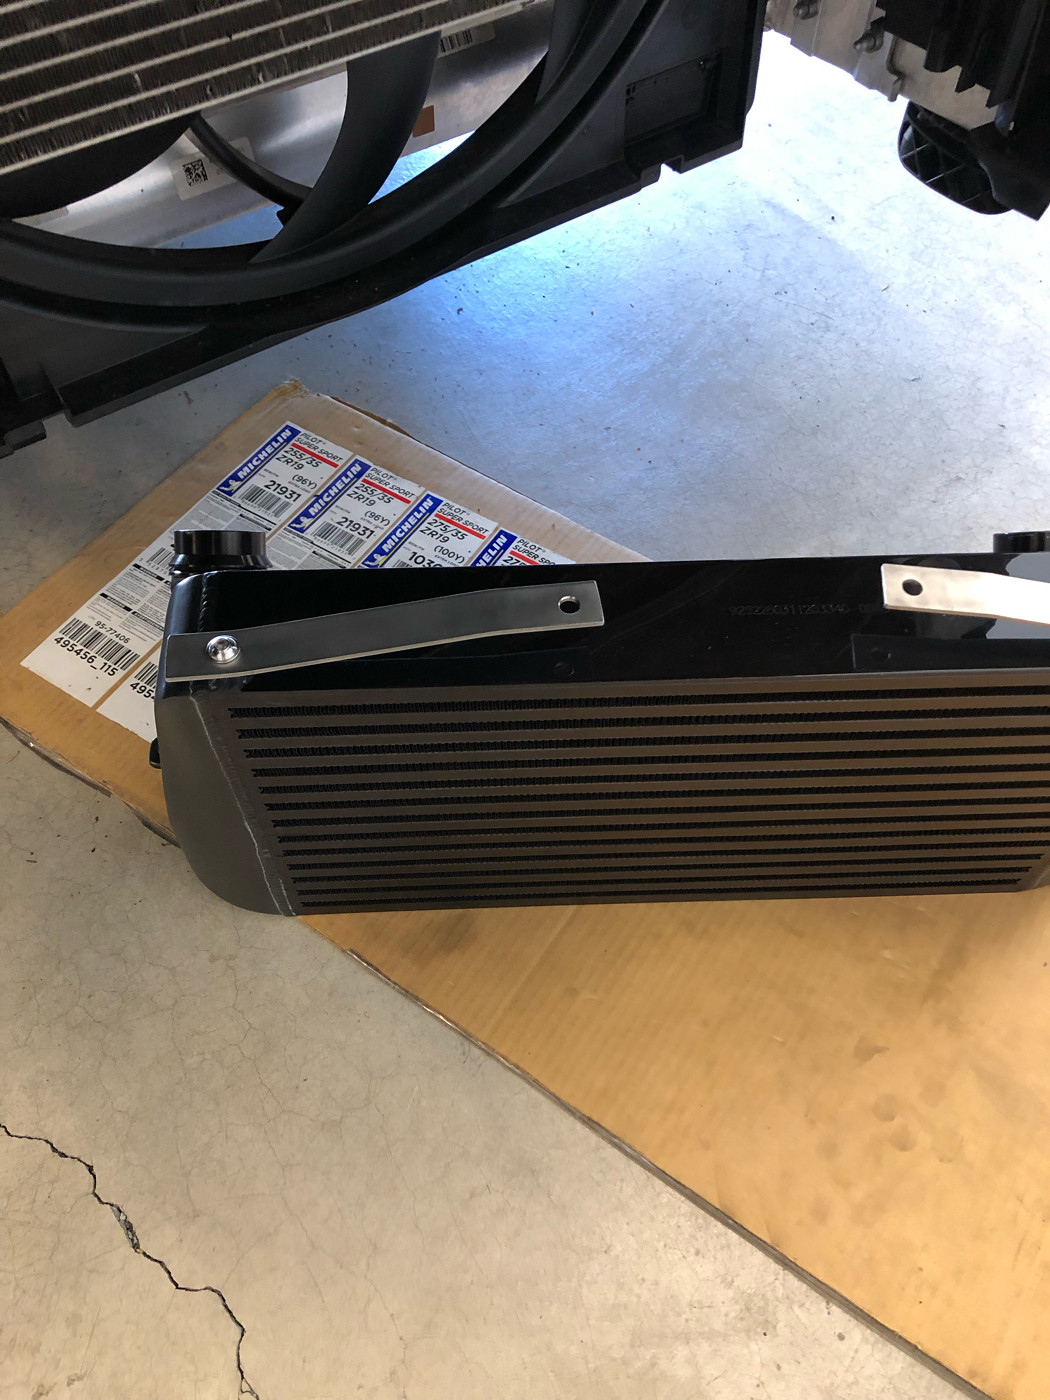 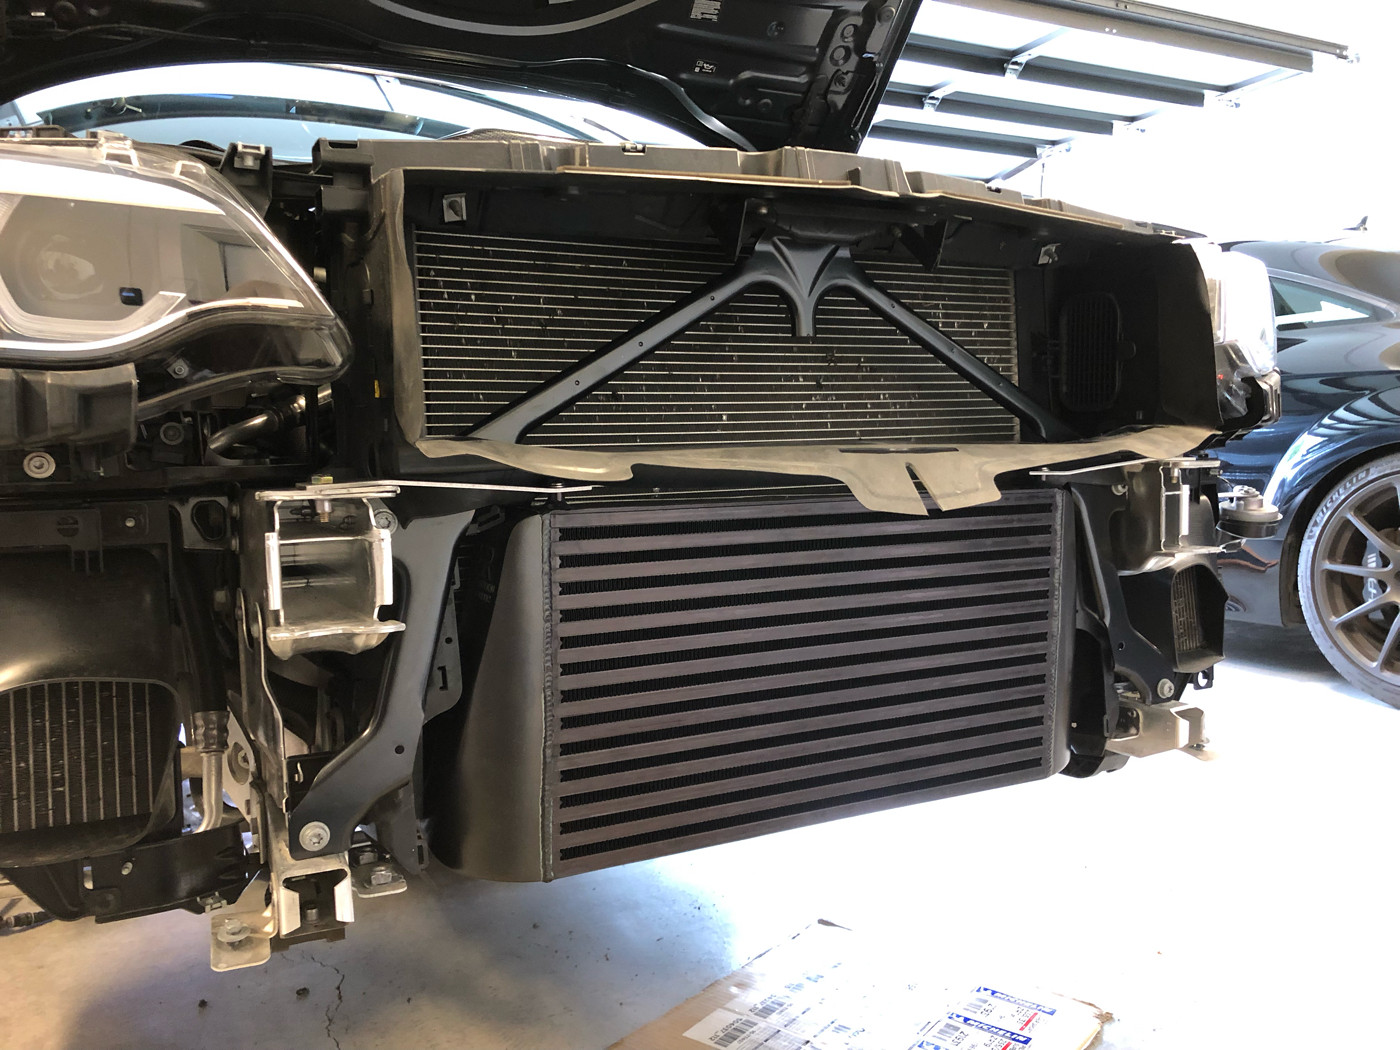 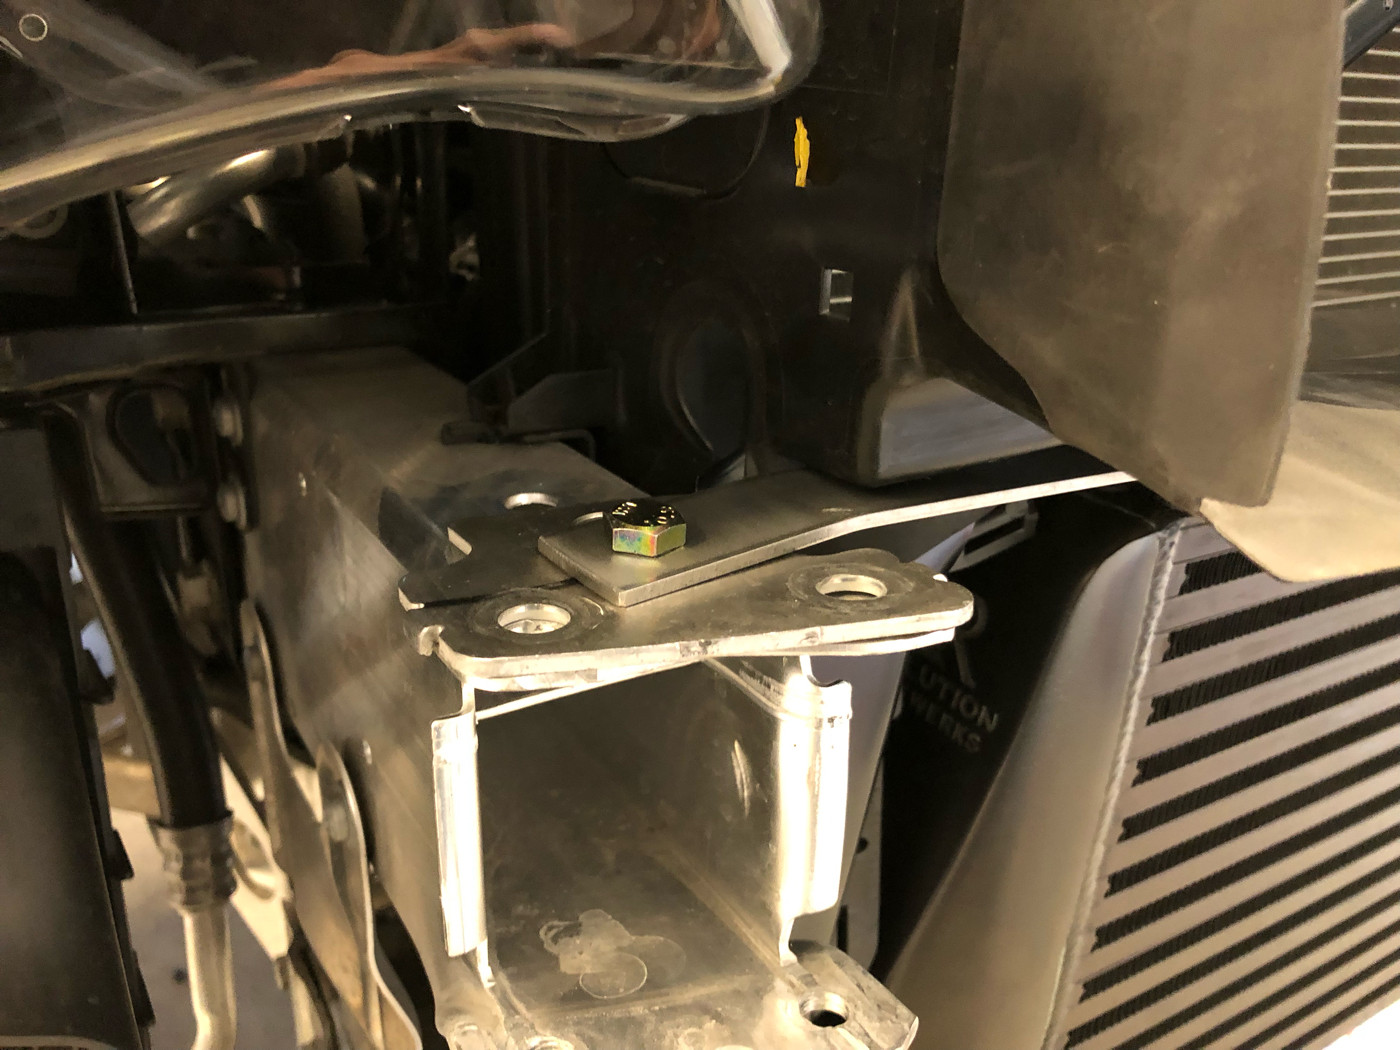 This Dremel bit made quick work of extending the hole in the steel plates. 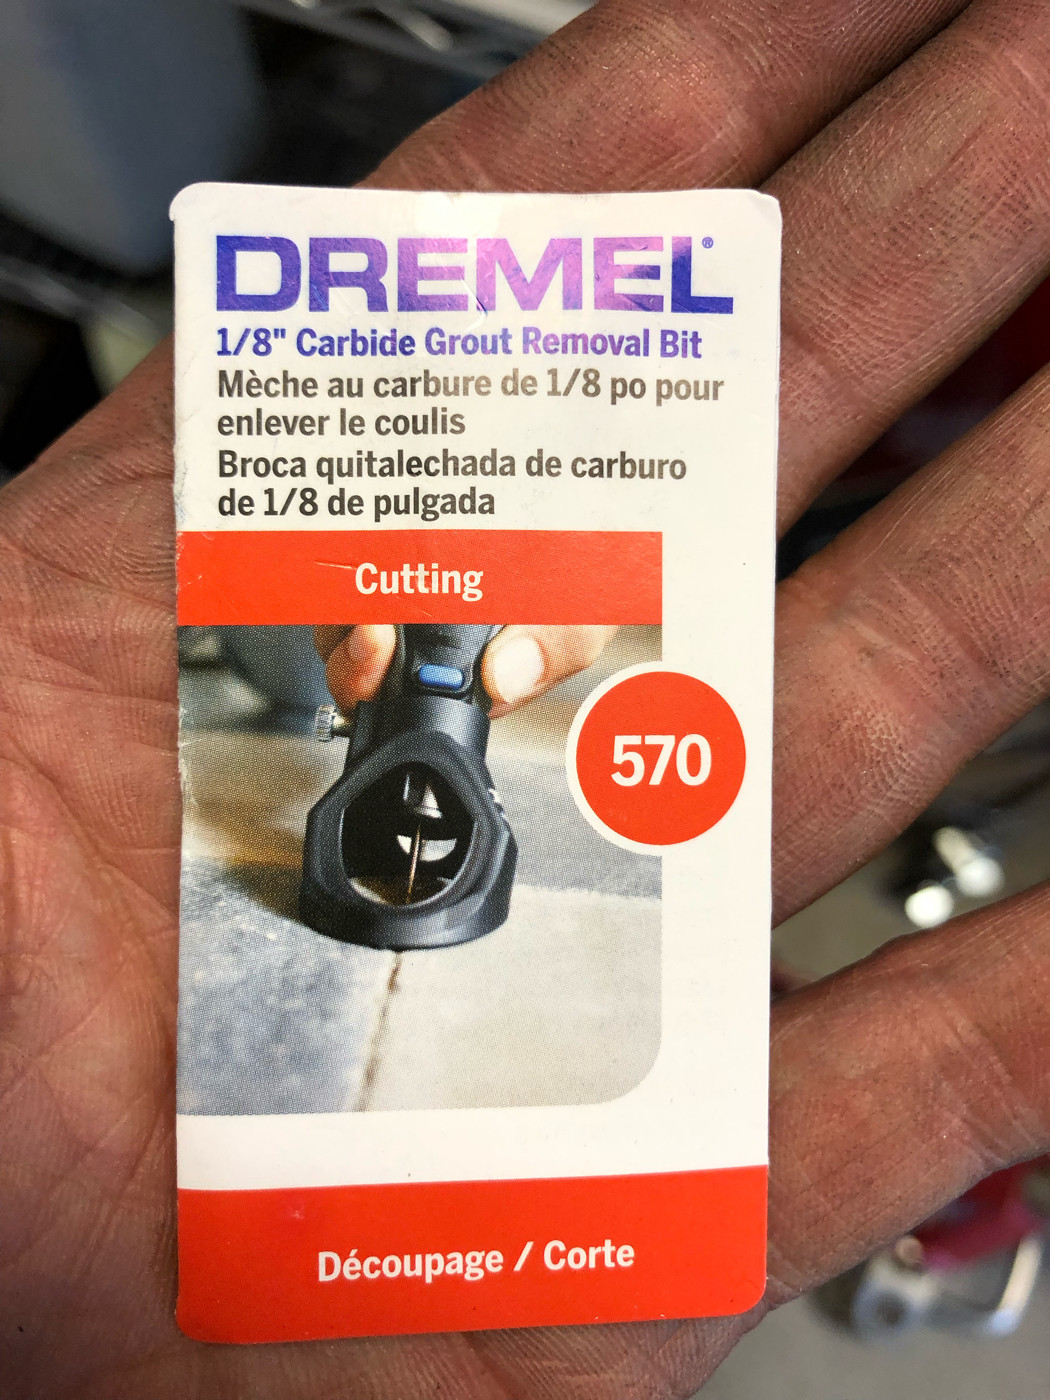 With the help of bentom2, we lined the bumper back up to the car and carefully aligned the corners to the fender. Loosely started the top 6 tors bolts so the bumper wont slide off. 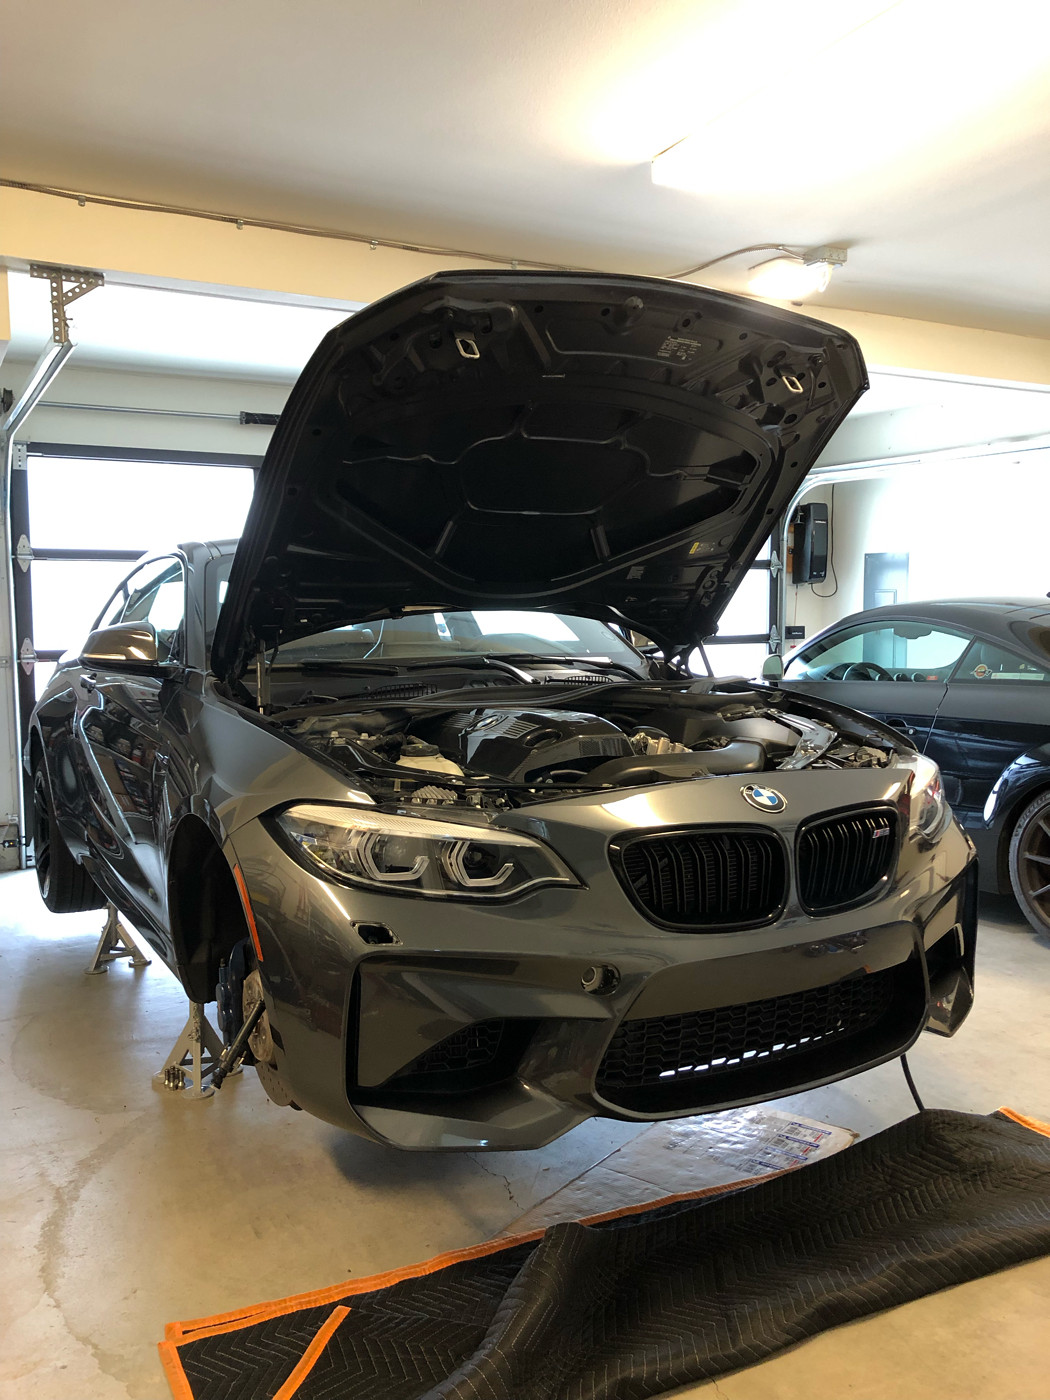 Re-install in reverse order of removal. Underbody panels are all in. 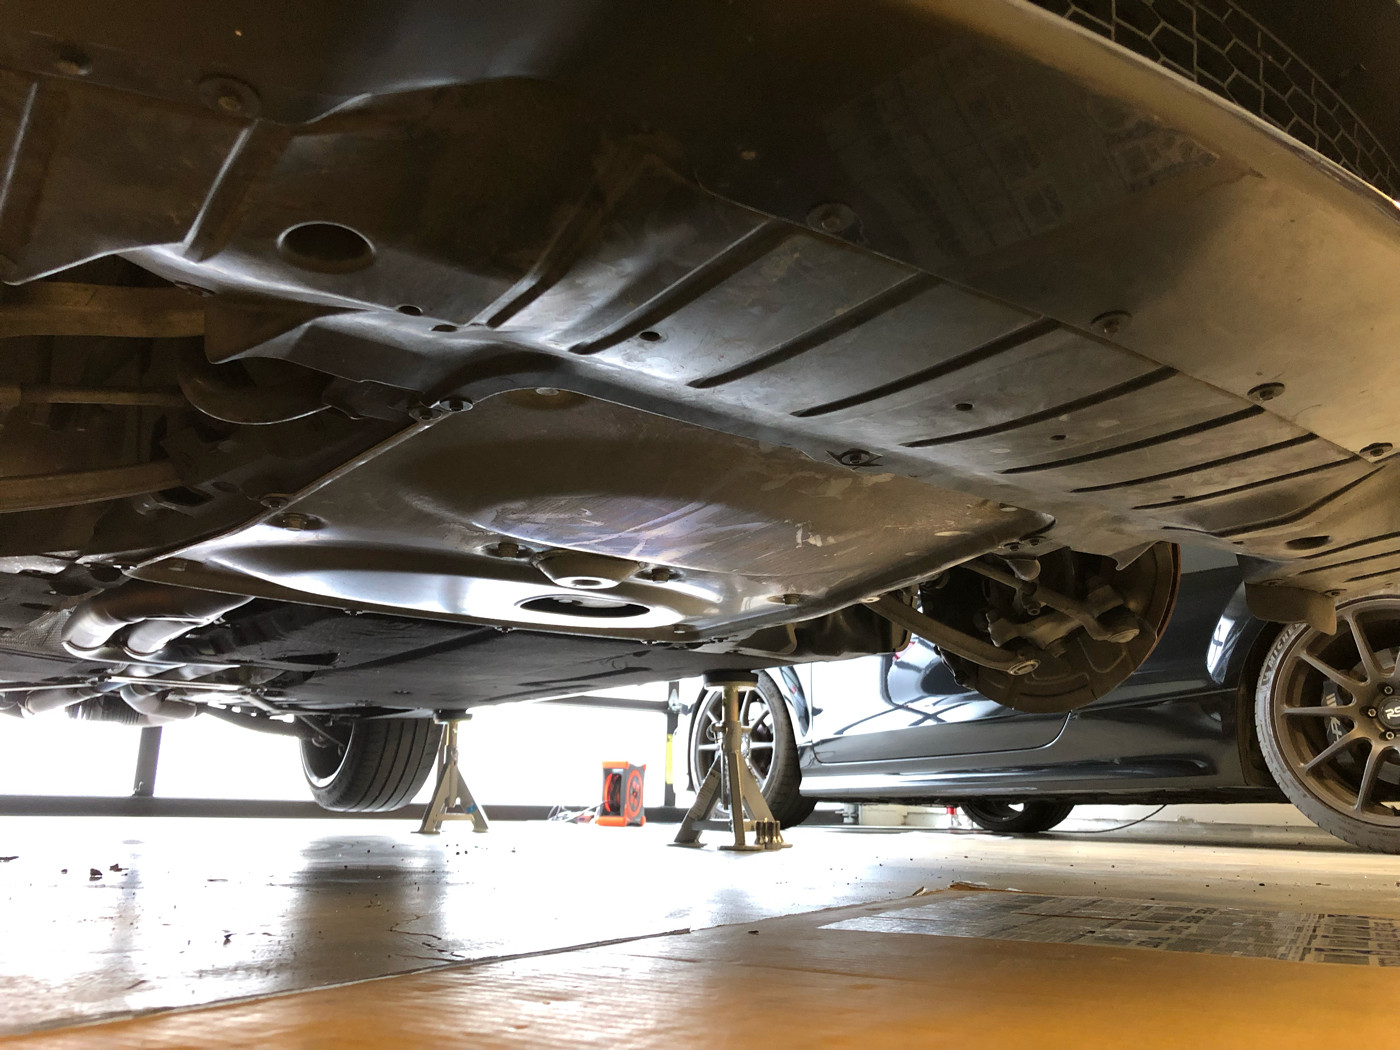 Wheels on, bolts torqued and car back on the ground 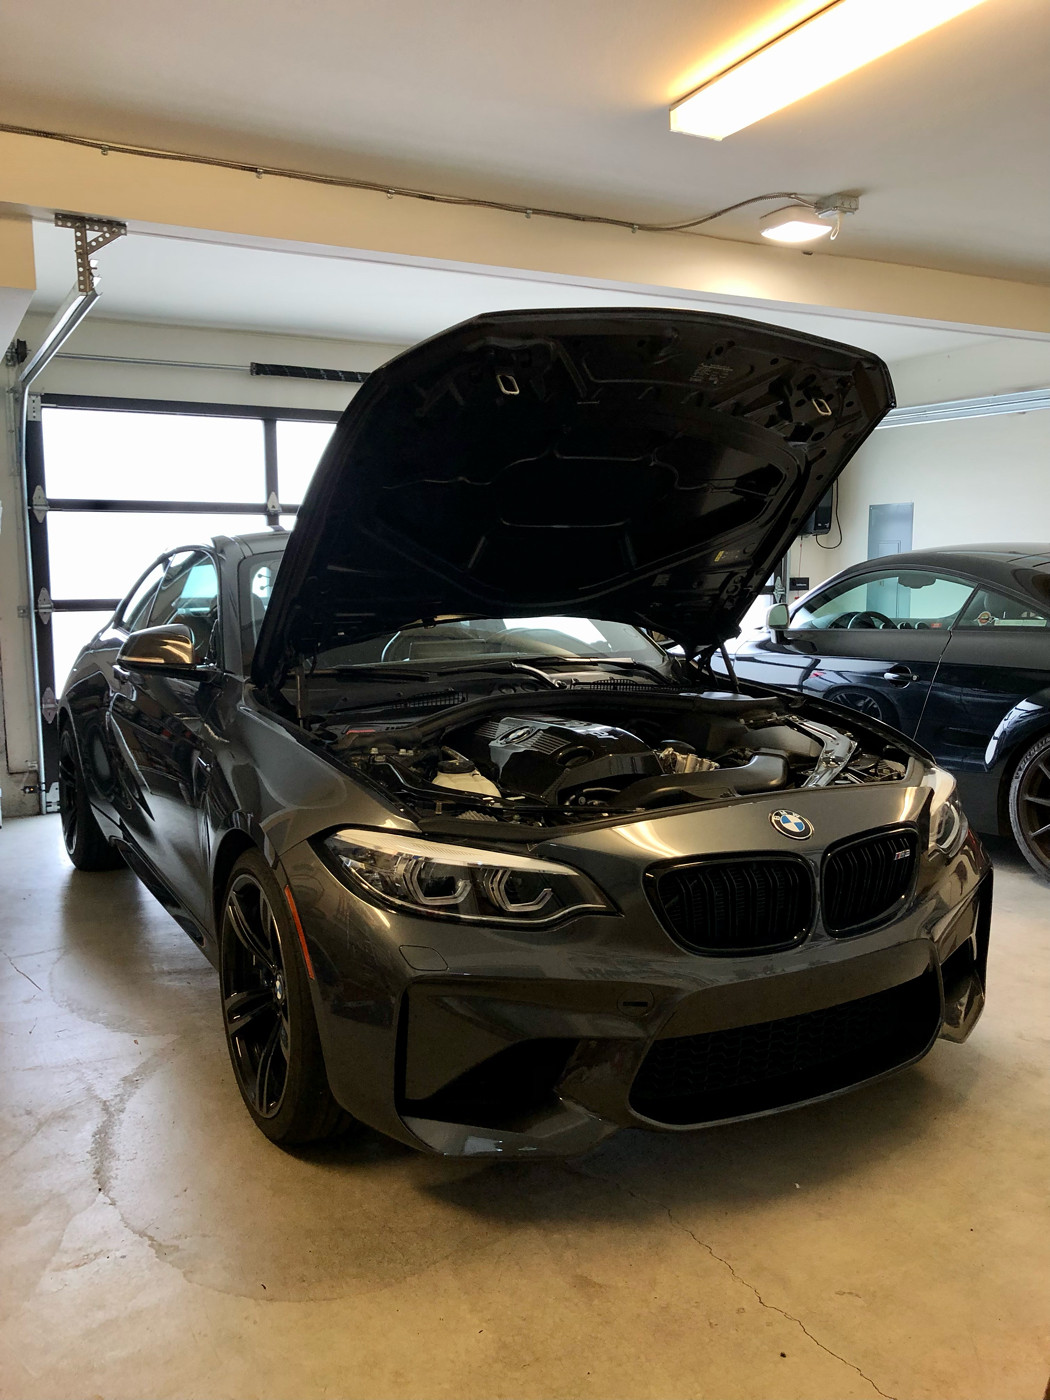 |
|
Appreciate
9
bentom2335.50 6speed_M23633.50 VisualEcho6636.50 nioh_lbbm21716.50 AmuroRay2282.50 akkando5864.50 fleetfoot120.00 terrywang94.00 ggggbmw432.50 |
| 05-24-2021, 03:32 AM | #2 |
|
New BMW owner


325
Rep 843
Posts |
oh wow that looked like a lot of work. How long did it take you? I wanted to get the ER coz of the frontal area but I didn't want to mess w/ the bracket and removal of the bumper. So I purchased the CSF. Did you install the ER bracket that came w/ the IC?
__________________
2018 BMW M2 LCI BM3 Stage 2 + MPE + FTP charge pipe + MST V2 Inlet + TurboSmart DV + CSF FMIC + AA Hi-flow Downpipe + Turner Rear Shifter Bushing + Wiechers Strut Brace + Bilstein B16 PSS10 + Apex VS-5RS
|
|
Appreciate
0
|
| 05-24-2021, 06:24 AM | #4 |
|
Banned

6637
Rep 4,145
Posts
Drives: '18 M2 6MT
Join Date: Sep 2019
Location: Missouri
|
Epic post, thank you!!
|
|
Appreciate
0
|
| 05-24-2021, 07:38 AM | #5 | |
|
Captain
433
Rep 753
Posts |
Quote:
Yes, the brackets on top of the ER do bolt onto the car into a pre-threaded hole in the crumple beam that comes out of the frame of the car. The front crash bar attaches to these beams. I have pictures above. [IMG]https://media.fotki.com/2v2aHTFTjxu6LVA.jpg[/IMG] |
|
|
Appreciate
0
|
| 05-24-2021, 08:52 AM | #6 |
|
BimmerPost Supporting Vendor
24201
Rep 190,807
Posts  |
Very helpful, thank you for sharing

__________________
Check out our current sale by clicking on this link!
https://x-ph.com/sale/ Phone number 702-494-9435  |
|
Appreciate
0
|
| 05-24-2021, 11:27 AM | #7 | |
|
Captain
433
Rep 753
Posts |
Quote:
|
|
|
Appreciate
0
|
| 05-24-2021, 12:32 PM | #8 |
|
Lieutenant
336
Rep 427
Posts |
Nice write up Pal (can’t take due to short name...)!
This will be a nice reference if I go this route next year. Was happy to lend a hand. It’ll be interesting to compare max IAT between you (ER), Alex (CSF), and me (stock) this summer. While I wasn’t there start to finish, my perspective of the install was that it was just some pretty straightforward unbolting of the bumper cover and crash bar vs the CSF on Alex’s car. The bolts were all unique and fairly easy to get to. You definitely need a second pair of hands to heft the IC into place and to ensure you don’t damage the bumper when getting it back on. The more fiddly bits were similar to other intercoolers I’d imagine- getting the charge pipe and inlet pipe locked in place, etc. When we get to it, if the IAT values are notably better with the ER than the CSF on the same day, then I’ll happily take the additional time and effort to pull the bumper on my car as well. Especially with a hand from Pal when the time comes. |
|
Appreciate
0
|
| 05-24-2021, 02:15 PM | #9 | |
|
BimmerPost Supporting Vendor
24201
Rep 190,807
Posts |
Quote:
__________________
Check out our current sale by clicking on this link!
https://x-ph.com/sale/ Phone number 702-494-9435 |
|
|
Appreciate
0
|
| 06-06-2021, 07:35 AM | #10 |
|
Captain
433
Rep 753
Posts |
I drove down from Seattle to Thunderhill Raceway Park on Friday (679'ish miles). The last couple hundred miles in California were 85-105°F ambient. A few 5th and 6th gear pulls for about +20-30mph would end in IATs in the 7-10° over ambient. The interesting bit was how quickly the IATs drop as soon as I start to roll into the throttle.
Yesterday was about 90'ish miles on track with the afternoon ambient temps in the 90-100°F range. The Evolution Racewerks Intercooler worked well. In the afternoon when ambient was reading in 98-100°F range, my IAT for the entire session stayed in the 120-131°F range. If the ambient dropped by 1-2°, peak IAT would drop by 3-5°F. A buddy in a F80 M3 (competition pack) was in the 122-125°F range for his IATs on the stock air/water S55 intercooler for comparison. He's a bit more conservative as a driver than I am. Overall, I am pretty happy with the ER. And I shudder to think what the stock IC would do … |
| 06-06-2021, 09:34 AM | #11 |
|
Brigadier General
 2814
Rep 3,696
Posts |
Nice.
Results sound similar to when I stress tested my Evo3 Comp (pushing around 420whp on the tune version in this log): https://www.bootmod3.net/log?id=5f11...729b5ec78a69a2 Pros: The ER is cheaper and lighter. Possible Cons: Increased fin density impacts throttle response more so than the less fin dense (but more surface area) Evo3. Good IC, either way! Let’s both post up some hot summer track logs when we’ve got them. |
|
Appreciate
0
|
| 06-07-2021, 09:56 PM | #12 |
|
Captain
433
Rep 753
Posts |
How are you logging? I can't have a laptop in the car and I don't have a tune. The OBD Link app does not seem to have a logging function for the Bluetooth MX+ dongle.
|
|
Appreciate
0
|
| 06-08-2021, 05:15 AM | #13 | |
|
Brigadier General
2814
Rep 3,696
Posts |
Quote:
I’m unsure of the logging solutions available when not utilizing one of the tuning platforms. Last edited by ZM2; 06-08-2021 at 11:31 AM.. |
|
|
Appreciate
0
|
| 06-08-2021, 09:11 AM | #14 |
|
Brigadier General

2283
Rep 4,146
Posts |
MHD allows you to buy the logger software separately, and it's about $99 - I think it now works with Iphone as well.
Actually, I just checked, it does! You'll need a wifi adapter to use it with an Iphone, or if it's an Android tablet or phone (ugh) you can use the cable. Any comparison to the guy who was using the CFS?
__________________
Mods: Yes.
|
|
Appreciate
1
ZM22813.50 |
| 06-08-2021, 11:29 AM | #15 |
|
Captain
433
Rep 753
Posts |
ZM2 - cleaned up some messages, so we can move back there. When you say seals, do you mean the dust boots on the pistons?
AmuroRay - I'll look into the MHD logging solution. I will be using a iPhone. |
|
Appreciate
0
|
| 06-08-2021, 11:33 AM | #16 | |
|
Brigadier General
2814
Rep 3,696
Posts |
Quote:
|
|
|
Appreciate
0
|
| 06-08-2021, 12:15 PM | #17 | |
|
Brigadier General
2283
Rep 4,146
Posts |
Quote:
__________________
Mods: Yes.
|
|
|
Appreciate
0
|
| 06-08-2021, 01:06 PM | #18 | |
|
Brigadier General
2814
Rep 3,696
Posts |
Quote:
I run the DS2500s on the street and theyre great, just dusty. |
|
|
Appreciate
1
AmuroRay2282.50 |
| 06-08-2021, 06:11 PM | #19 | ||
|
First Lieutenant

194
Rep 309
Posts
Drives: 2018 M2 LBB - 6MT
Join Date: Jan 2019
Location: Toronto
|
Quote:
On the track, the brakes will see extremely high temps to the point where dust boots may begin to fail. They may melt/burn, and you are left with a bit of a mess. BBKs like the Essex AP Racing kit omit dust boots altogether, which is why it's a non-issue. Some who stay on OEM calipers often take off the dust boots before the track, or even permanently if they don't drive their cars through the elements as much. There are also higher temperature aftermarket dust boots, but I haven't seen any success stories with those. There's a decent amount of info from Essex themselves here: https://www.essexparts.com/cp9449-2s...nodized-2934mm |
||
|
Appreciate
1
AmuroRay2282.50 |
| 06-08-2021, 08:50 PM | #20 | |
|
Brigadier General
2814
Rep 3,696
Posts |
Quote:
|
|
|
Appreciate
0
|
| 06-09-2021, 08:39 AM | #21 |
|
Captain
433
Rep 753
Posts |
Replacing dust boots a couple times a year doesn't bother me. I did that for a few years in my TT RS's Brembo 4-pot fronts, so got somewhat of a system down. Replaced two outer boots on the M2's front calipers that were cracking before this weekend at Thunderhill. I also removed the dust shield before this event and replaced it with a carbon half shield with a receiver for a cooling hose. I could get a host fitted for my liking before the event so ran as-is. Brakes performed fine in upto 100°F ambient temps for 20-25 min sessions. The tires and the driver were tired before the brakes
 |
|
Appreciate
0
|
| 06-09-2021, 09:04 AM | #22 | |
|
Brigadier General
2814
Rep 3,696
Posts |
Quote:
|
|
Post Reply |
| Bookmarks |
|
|


